Outdoor Kitchen Costs and ROI: Full Breakdown
Building an outdoor kitchen expands living space and supports year-round entertaining. Many homeowners convert an underused patio into a functional gathering area that also supports property value. Understanding cost drivers, return potential, and planning steps helps match the project to both budget and daily use.
Key Decisions That Shape Cost and Function
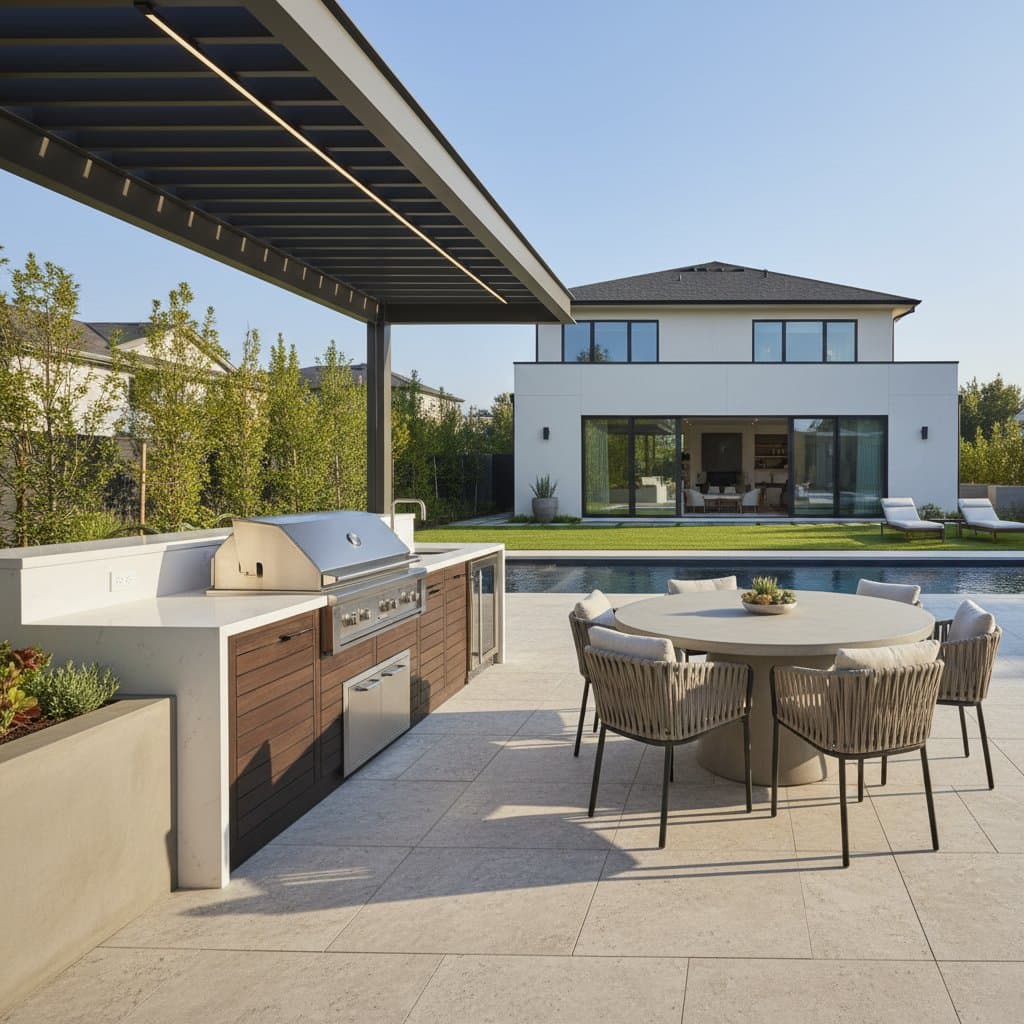
Several choices determine final price and performance. Layout options include straight-line islands, L-shapes, or U-shapes with bar seating. Appliance selections range from a basic grill to built-in units that add refrigeration, sinks, or smokers. Counter materials such as concrete, granite, tile, or stainless steel affect both durability and appearance. Structural choices include freestanding islands on existing pavers or fully roofed pavilions that require utility connections. Climate factors like freeze-thaw cycles or coastal humidity influence material selections, while the decision to build DIY or hire professionals controls both expense and customization.
Cost Breakdown by Component
Base construction for framing, masonry, and surface preparation typically ranges from 60 to 120 dollars per square foot. Concrete block with stone veneer remains less expensive than poured concrete or brick. Countertop prices vary by material: tile costs 15 to 30 dollars per square foot, concrete runs 40 to 70 dollars, granite or quartz falls between 60 and 100 dollars, and stainless steel reaches 80 to 120 dollars.
Appliances add further expense. A gas grill ranges from 800 to 3,000 dollars, a side burner from 300 to 700 dollars, and a refrigerator from 500 to 1,500 dollars. Sinks with faucets cost 200 to 600 dollars, while storage drawers or cabinets run 400 to 1,200 dollars each. Utility runs for gas, water, and electricity add 2,000 to 5,000 dollars depending on trenching distance and local codes. Roofing or pergola structures require an additional 3,000 to 10,000 dollars, and permits plus design fees total 500 to 2,000 dollars.
High-end finishes, pizza ovens, or custom lighting increase totals. Savings come from using propane tanks instead of gas lines, selecting modular bases with upgraded counters, reusing level patios, or phasing utilities over time.
DIY Scope and Professional Requirements
Intermediate to advanced skill levels support a 40- to 80-hour modular build. Required tools include a circular saw, level, trowel, masonry tools, and a wrench set. Safe DIY tasks cover assembly, tiling, sealing, and furniture placement. Licensed professionals must handle gas lines, electrical circuits, water connections, and structural roofing to meet code.
Maintenance Practices and Expected Lifespan
Proper care extends service life to 10 to 20 years. Clean grills after each use, wipe counters with mild soap, and reapply stone sealers every two years. Annual gas-line inspections and winter covers protect appliances. Marine-grade stainless steel performs best in humid or coastal settings, while trimmed vegetation and vented bases reduce moisture damage.
Climate-Specific Planning
Cold regions require frost-rated materials and drainage details to prevent cracking. Hot or coastal zones benefit from stainless steel that resists corrosion. Desert installations favor lighter stone colors to limit heat absorption. Overhead shelter improves comfort and appliance longevity in any location.
Return on Investment and Long-Term Value
Homeowners typically recover 55 to 75 percent of project cost at resale, with stronger returns in warm climates and luxury markets. Energy consumption stays low, and outdoor cooking can reduce indoor cooling loads in summer. Designs that echo the home's existing materials and scale deliver the highest financial and visual integration.
Steps to Begin Construction
Define a budget range and list must-have features first. Sketch layouts that maintain at least 36 inches of counter space beside cooking zones and clear paths to seating. Obtain quotes from at least two licensed contractors for utility work. A phased approach allows utilities and the base to be installed initially, with counters and appliances added later. A straightforward setup that includes a quality grill, durable counter, and shade structure provides reliable service for many seasons.