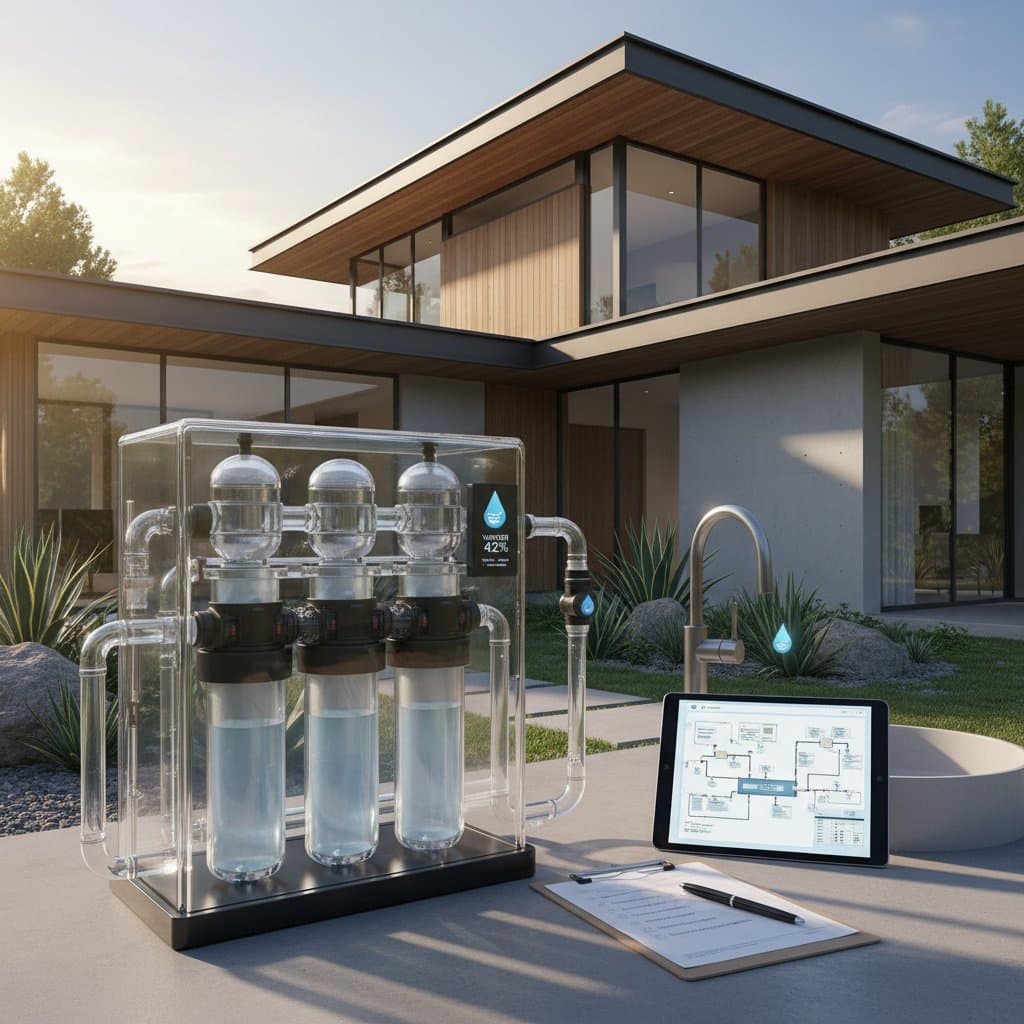
Understanding Greywater Systems and Their Benefits
Homeowners seek ways to lower water bills and conserve resources, and greywater systems offer a practical solution. These systems collect lightly soiled water from sources such as showers, bathroom sinks, and washing machines, then redirect it for uses like landscape irrigation or toilet flushing. This guide addresses key concerns, including installation costs, permit requirements, and suitable installation approaches, presented in clear, straightforward language.
Greywater systems promote sustainability by recycling water that would otherwise enter sewer or septic systems. In regions facing water scarcity, such setups prove especially valuable. The following sections detail advantages, challenges, and implementation steps to help readers make informed decisions.
Advantages, Drawbacks, and Ideal Applications
Advantages
- Reduces outdoor water consumption by 30 to 50 percent, leading to noticeable bill reductions.
- Eases the load on septic or municipal sewer infrastructure, extending system longevity.
- Qualifies for rebates or incentives in areas with water conservation programs.
- Proves particularly effective in regions prone to droughts or subject to usage restrictions.
Drawbacks
- Initial investment exceeds that of basic irrigation enhancements.
- Demands regular maintenance, including filter cleaning to prevent blockages.
- Often requires permits and periodic inspections to maintain compliance.
- Compatibility issues arise with certain detergents that may harm plants or pipes.
Ideal Applications
Greywater systems suit single-family residences equipped with dedicated laundry drains, accessible plumbing routes, and landscaping that requires irrigation. They function well in suburban settings with yard space. However, these systems prove less feasible for compact urban properties lacking gardens or for apartment complexes without centralized oversight. Consider local climate and soil conditions, as sandy soils absorb greywater efficiently while clay soils may require additional treatment.
Detailed Installation Process
Safety remains paramount during installation. Equip yourself with gloves, safety glasses, and hearing protection. Disconnect water supply and electricity at the main breaker before altering any plumbing lines.
-
Planning and Design Phase. Identify fixtures generating greywater, such as laundry or bathroom sinks, and designate reuse areas like garden beds. Review local building codes to ensure the design aligns with regulations. Sketch a simple diagram showing pipe routes and filtration points to visualize the layout.
-
Permit Acquisition. Prepare and submit detailed plans to the local building department or environmental health authority. Include specifications for materials and expected water volume. Approval times vary from one week to several months, depending on jurisdiction.
-
Rough Plumbing Installation. Fit diverter valves on source lines to switch between sewer disposal and greywater reuse. Route new pipes from fixtures to a central filtration unit or storage tank, ensuring proper slopes for gravity flow where possible.
-
Filtration and Storage Setup. Secure a filtration unit, such as a sand or multimedia filter, to remove solids and pathogens. Install a storage tank if buffering volume is necessary, and connect any required pumps for distribution to elevated areas.
-
Distribution Network. Extend pipes to irrigation zones, incorporating emitters or soaker hoses for even application. For indoor reuse, link to low-flow toilet tanks, ensuring backflow prevention devices are in place.
-
Final Inspection. Arrange for official testing of pressure, flow, and leak integrity. Authorities may require dye tests to verify no cross-contamination with potable water occurs.
-
System Activation. Flush all lines with clean water to clear debris, inspect joints for leaks, and monitor initial flow rates. Adjust valves as needed to optimize performance.
A basic laundry-to-landscape configuration typically requires one weekend for completion. Comprehensive whole-house systems, handled by professionals, span five to ten business days, including coordination with inspectors.
Common Pitfalls and Prevention Strategies
Avoid these frequent errors to ensure long-term success and compliance.
- Bypassing Permit Processes. Unauthorized installations may result in fines or mandatory dismantling by code enforcement.
- Incorporating Kitchen Wastewater. Oils, grease, and food residues lead to rapid clogs and bacterial growth in pipes.
- Selecting Incompatible Cleaners. Opt for eco-friendly, biodegradable detergents free of salts, boron, or harsh chemicals to protect plants and system components.
- Excessive Application to Landscapes. Accumulated salts from greywater can harm soil; implement zone rotation and monitor plant health regularly.
- Overlooking Filter Maintenance. Clogged filters diminish efficiency, foster odors, and necessitate costly repairs; schedule cleanings every three to six months.
Additional risks include improper sloping, which causes backups, and ignoring backflow prevention, which endangers drinking water supplies. Consult local guidelines to address site-specific challenges.
Deciding Between Professional and DIY Installation
Evaluate options using a structured decision framework.
-
Assess Skill Level. Individuals with foundational plumbing and irrigation knowledge can manage simple laundry diversion projects. Advanced setups demand expertise in electrical integration or complex piping.
-
Evaluate Safety Factors. Exterior rerouting poses minimal risks, while interior modifications or pump installations heighten exposure to hazards like electrical shocks.
-
Check Tool Inventory. Essential items include pipe wrenches, PVC cutters, drills, and shovels for basic tasks. Larger projects require PEX tools, trenching equipment, and pressure testers.
Engage a licensed plumber or certified greywater installer for systems involving multiple sources, pumps, tanks, or custom engineering drawings. DIY approaches work best for gravity-fed, single-fixture designs that avoid structural alterations or electrical components. Professional involvement ensures warranty coverage and code adherence, often justifying the added expense through durability.
Preparation Checklist
| Task | Requirement |
|---|---|
| Tools Required | Pipe wrench, PVC cutter, drill, shovel, Teflon tape |
| Skills Required | Basic plumbing techniques, irrigation planning, leak detection methods |
| Safety Gear | Gloves, safety goggles, knee pads, hearing protection |
| Permits Needed | Plumbing permit; environmental health review in some areas |
| Preparation Steps | Locate drain sources, verify pipe slopes, map irrigation areas |
| Site Considerations | Schedule work during dry weather; avoid frozen or unstable ground for digging |
Realize Sustainable Savings Through Greywater
Implementing a greywater system positions homeowners to achieve substantial water and cost savings while contributing to environmental stewardship. By following these guidelines, individuals navigate permits, installations, and maintenance with confidence. The result is a resilient setup that delivers 30 to 50 percent reductions in water usage, fostering both financial benefits and resource conservation for years ahead.


