2025 Garage Conversion: Permits, Costs, and Essential Strategies
Project Overview
National average cost: $28,000
Typical range: $20,000 to $45,000
Low end: $10,000 for basic drywall, insulation, and simple flooring in a small space
High end: $80,000 for a complete accessory dwelling unit (ADU) including full kitchen, bathroom, and separate utilities
Time to complete: 6 to 12 weeks, depending on scope and local regulations
DIY or professional: Primarily professional installation, with DIY options for demolition and painting
ROI potential: 60 to 80 percent, influenced by local housing market and quality of finishes
Last updated: March 2025
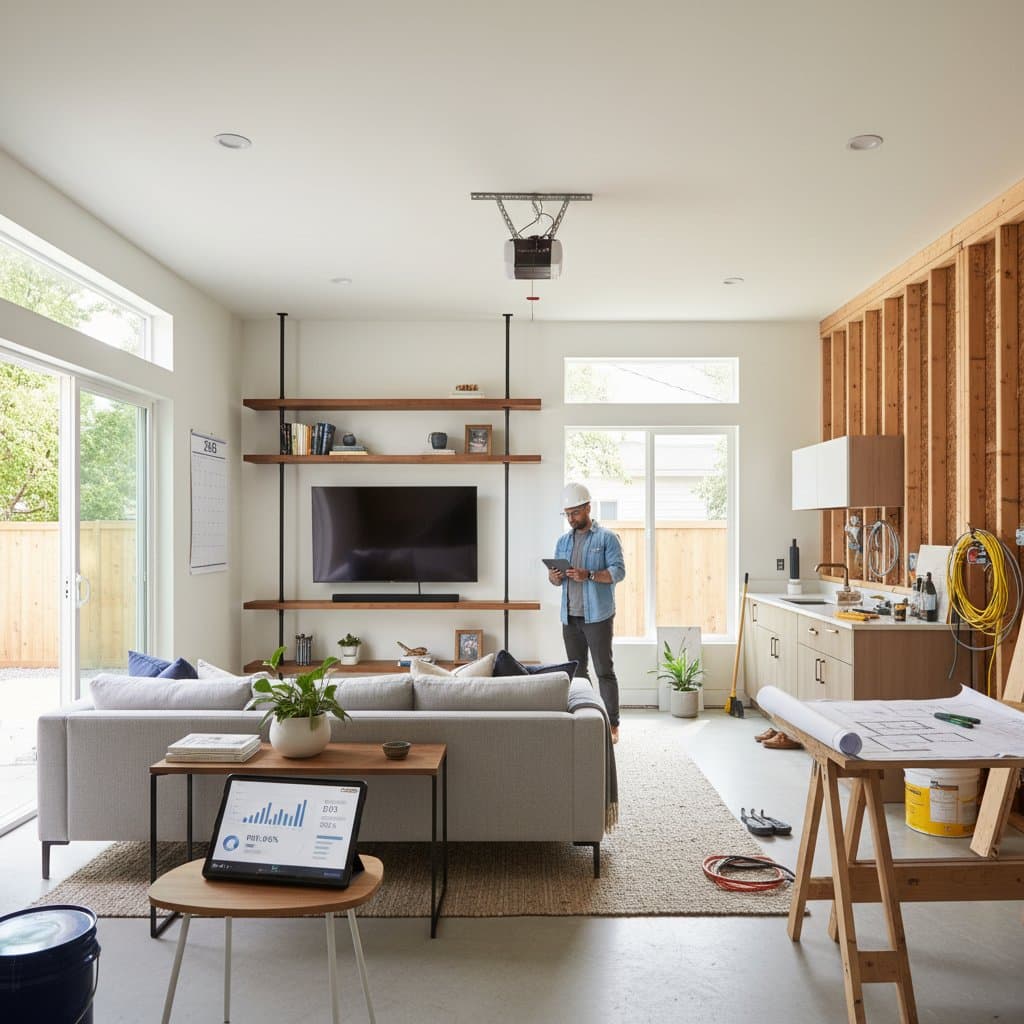
Garage conversions offer a practical way to expand living space without major new construction. These projects suit homeowners seeking home offices, guest rooms, or rental units. Success hinges on thorough planning to align with building codes and budget constraints.
Key Cost Influences
Scope and Square Footage
Single-car garages typically measure 250 square feet, while two-car versions span 400 to 500 square feet. Larger areas demand more framing materials, insulation, and electrical outlets, which can increase expenses by 50 percent or more. Consider your intended use early to avoid oversized designs that inflate costs unnecessarily.
Material Quality and Finishes
Opt for durable yet affordable options like engineered hardwood or luxury vinyl plank flooring, which resist wear in high-traffic areas. High-end choices such as quartz countertops or designer lighting fixtures can add thousands, but standard alternatives maintain functionality without excess spending. Balance aesthetics with longevity to ensure the space feels integrated with your home.
Location and Site Challenges
Detached garages often require extending utility lines for water, electricity, and sewage, involving excavation that adds $2,000 to $5,000. Uneven slabs or poor drainage may necessitate foundation reinforcement or moisture barriers. Coastal or seismic zones impose stricter codes, potentially raising insurance and compliance fees.
Regional Labor and Timing
Contractor rates differ widely; expect 10 to 20 percent premiums in cities like San Francisco or New York due to ADU demand. Rural areas offer lower bids, sometimes 15 percent below average. Schedule during winter months when crews seek steady work to negotiate better terms and avoid peak-season delays.
Additions and Modifications
Incorporating features like built-in storage, energy-efficient windows, or structural reinforcements for seismic compliance introduces variables. Mid-project alterations, such as relocating a bathroom, trigger redesign fees and additional inspections. Define all custom elements in the initial contract to minimize surprises.
Strategies to Control Expenses
Design with Purpose
Sketch your layout before committing to construction. For a home gym, prioritize ventilation and rubberized flooring; for a studio apartment, focus on compact plumbing. Early decisions prevent costly relocations, such as shifting an egress window that could add $1,500 in labor.
Select Practical Materials
Choose pre-finished MDF for trim and LED recessed lights for efficiency. These selections provide a polished look at mid-tier prices, often 30 percent less than premium imports. Test samples in the space to confirm they suit natural light and overall decor.
Handle Preliminary Tasks Yourself
Demolish old shelving and haul away debris to shorten professional timelines. Vacuum dust from walls and seal cracks in the slab to prepare for insulation. These steps can trim 5 to 10 percent from total bids by streamlining the crew's workflow.
Coordinate Multiple Upgrades
If refreshing the adjacent mudroom or backyard, combine efforts for shared setup costs. Bulk material purchases and single mobilization fees reduce per-project overhead. Consult contractors on bundling to leverage economies of scale.
Evaluate Bids Thoroughly
Request detailed proposals from at least three licensed firms. Verify inclusions like material specifications, waste disposal, and progress-based payments. Confirm warranties cover at least one year on workmanship and that timelines account for permit approvals.
Detailed Conversion Process
Preparation Tools
Gather a pry bar, hammer, utility knife, tape measure, shop vacuum, safety glasses, and gloves. These basics support safe demolition without specialized equipment.
1. Demolition and Assessment
Evacuate all contents and dismantle non-structural elements like garage doors. Inspect the concrete slab for levelness and water intrusion; patch fissures with epoxy filler if detected. Document issues with photos for contractor review.
2. Layout and Code Compliance
Outline framing for interior walls, doors, and windows using chalk lines. Ensure minimum 7-foot ceilings and at least one 20-inch egress window per code. Submit plans to your local building department for preliminary feedback.
3. Structural Framing and Insulation
Install pressure-treated sill plates on the slab to resist moisture. Frame walls with 2x4 lumber and fill cavities with R-13 batt insulation; use R-30 for the ceiling to meet energy standards. Secure vapor barriers to prevent condensation buildup.
4. Utility Installations
Hire licensed electricians for 20-amp circuits and GFCI outlets, plumbers for drain lines, and HVAC specialists for ductwork. Each phase requires passing inspections to verify safety and compliance. Coordinate trades to avoid overlapping disruptions.
5. Interior Finishing
Apply 1/2-inch drywall to walls and ceilings, then mud, sand, and prime for painting. Lay subflooring before installing final surfaces like laminate or tile. Add baseboards and door casings once walls dry fully.
6. Final Review and Use
Schedule the comprehensive building inspection to confirm all systems function. Address any noted deficiencies promptly. Once approved, add furniture and appliances to occupy the space legally.
Long-Term Care
Well-constructed conversions endure 50 years or more alongside the primary residence. Maintain exterior caulking around windows and doors to block drafts. Annually check the slab perimeter for settling and ensure downspouts direct water at least 5 feet away. Address minor issues early to preserve structural integrity and energy efficiency.
Launch Your Project Successfully
Start by consulting local zoning rules to confirm feasibility. Assemble a team of vetted professionals and secure financing options like home equity loans. Track progress against your budget to realize the full potential of added square footage and enhanced property appeal.


