
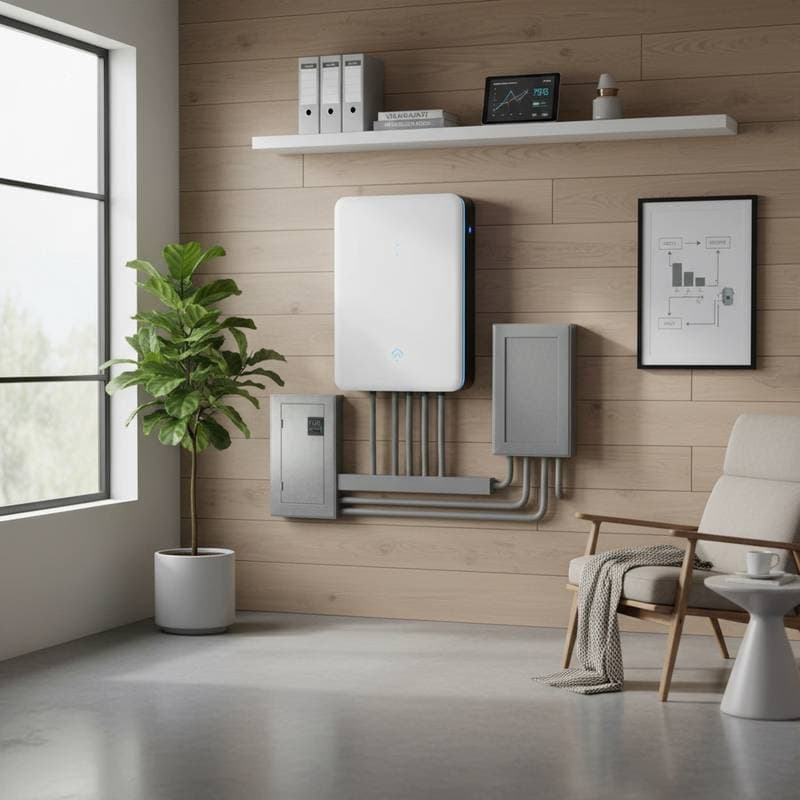
Home Battery Backups: Essential Costs, Installation, and Warranty Insights
Home battery backups store electrical energy to support households during grid failures or periods of elevated utility rates. These systems integrate with solar panels on rooftops or draw power from the grid during off-peak times. Homeowners must evaluate if the initial investment aligns with their energy requirements, regional electricity prices, and outage frequency.
Understanding Home Battery Systems and Ideal Applications
A home battery backup consists of a wall-mounted or floor-standing unit that utilizes lithium-ion or lithium-iron phosphate cells for energy storage. The system links to the home's main electrical panel via an inverter, which transforms direct current (DC) from the battery into alternating current (AC) for household use. Install such a system to maintain power for vital appliances, including lighting, refrigeration, and internet connectivity, during blackouts. It also proves valuable for minimizing expenses associated with peak electricity pricing.
Advantages, Disadvantages, and Suitable Home Profiles
Advantages
- Sustains operation of essential circuits amid power disruptions
- Diminishes dependence on fuel-based generators
- Lowers overall electricity expenses under time-of-use pricing structures
- Operates silently with minimal upkeep and no requirement for fuel
Disadvantages
- Substantial initial financial outlay
- Restricted duration for supporting full household demands
- Necessitates skilled professional setup
These systems suit residences experiencing regular outages, those equipped with solar installations, or properties subject to elevated time-of-use rates. Consider your average daily consumption and local grid reliability before proceeding.
Detailed Cost Analysis and Influencing Factors
The standard installed price for a 10 to 15 kWh home battery system, capable of powering key loads for 8 to 12 hours, falls between $9,000 and $18,000. This range accounts for materials, labor, and regional variations. Capacity, battery chemistry, and installation complexities primarily dictate the final expense.
| Component | Material Cost Range | Labor Cost Range | Total Range | Key Influencers |
|---|---|---|---|---|
| Battery Module (10–15 kWh) | $6,000–$10,000 | N/A | N/A | Battery chemistry and storage capacity determine pricing |
| Inverter and Accessories | $1,500–$3,000 | N/A | N/A | Hybrid models incur higher costs for advanced features |
| Labor and Electrical Work | N/A | $2,000–$5,000 | N/A | Upgrades to panels or additional wiring increase labor time |
| Overall Installed Cost | N/A | N/A | $9,000–$18,000 | Local labor rates, permitting fees, and site-specific adjustments apply |
To refine estimates, obtain quotes that specify inclusions like permitting and any necessary electrical upgrades. Larger capacities beyond 15 kWh may push costs toward the upper limit.
Step-by-Step Installation Process
Professional installation ensures compliance with safety standards and optimizes system performance. The process typically spans one to two days for a qualified team.
Preparation and Safety Measures: Use personal protective equipment such as gloves, insulated tools, and eye protection throughout.
Detailed Steps:
- Site Evaluation: Inspect available wall space, ensure adequate ventilation, and assess the electrical panel's capacity to handle the addition.
- Permitting Procedures: Secure electrical permits from local authorities; some jurisdictions mandate fire department approvals for energy storage systems.
- Unit Mounting: Position the battery on a stable concrete pad or securely anchored wall, maintaining at least 6 inches of clearance for airflow.
- Electrical Connections: Link the battery to the inverter, integrate with the breaker panel, and install the communication hub for monitoring.
- System Testing: Conduct a comprehensive load test and safety verification prior to energizing the setup.
Homeowners rarely qualify for do-it-yourself installation due to stringent code requirements and warranty stipulations.
Safety Standards, Building Codes, and Warranty Considerations
Select batteries certified under UL 9540 and install them in accordance with National Electrical Code Article 706. Position units in dry, well-ventilated spaces away from direct sunlight to prevent overheating. Manufacturers generally mandate certified installers to preserve warranty validity. Standard warranties extend for 10 years or 6,000 charge cycles, whichever occurs first. Errors such as improper wiring or failure to apply firmware updates may invalidate protection.
Common Errors and Prevention Strategies
Avoid selecting a battery capacity insufficient for your essential loads, which could lead to premature depletion during extended outages. Do not install in uncontrolled environments prone to moisture or extreme temperatures, as this risks performance degradation. Always obtain necessary permits and inspections to prevent legal issues or insurance complications. Ensure compatibility between the battery and inverter models to avoid operational failures.
Ongoing Maintenance and Expected Lifespan
Home battery systems require limited routine care to maximize longevity, typically spanning 10 to 15 years with proper handling. Perform visual inspections quarterly for signs of damage or dust accumulation, and clean vents gently with a soft cloth. Update firmware annually through the manufacturer's app or service portal to maintain efficiency and security. Monitor performance via the system's dashboard; if capacity drops below 80 percent, consult a technician for diagnostics. Professional servicing every two years ensures optimal function and warranty adherence. Factors like cycle frequency and ambient temperature influence lifespan, with lithium-iron phosphate models offering superior durability in varied conditions.
Professional Installation Versus Do-It-Yourself Options
Opt for professional installation in nearly all cases, as it guarantees code compliance, safety, and warranty preservation. Certified electricians possess the expertise to navigate complex wiring and integrate with existing solar setups. Do-it-yourself approaches suit only experienced individuals with electrical licenses, but most regions prohibit them for battery systems due to fire and grid interconnection risks. Weigh the potential savings against liabilities: professional work averages $2,000 to $5,000 but avoids costly rework or voided coverage.
Pre-Installation Readiness Checklist
Prepare thoroughly to streamline the process and minimize disruptions.
| Preparation Item | Specific Requirements |
|---|---|
| Tools Needed | Multimeter, torque wrench, insulated screwdrivers |
| Required Skills | Knowledge of electrical wiring and conduit installation |
| Safety Equipment | Gloves, face shield, arc-rated clothing |
| Permits | Electrical permit; solar interconnection if paired with panels |
| Site Preparation | Clear mounting area; verify breaker panel capacity |
| Environmental Factors | Select locations avoiding freezing temperatures or high humidity |
Address these elements during initial planning to facilitate smooth execution.
Steps to Secure and Implement Your System
Initiate the process by soliciting bids from at least three licensed installers with proven experience in battery systems. Compare offerings based on warranty duration, storage capacity, and post-installation support. Request documentation of UL certifications and familiarity with local permitting. This thorough evaluation positions you to select a reliable solution that enhances energy independence and resilience against outages, delivering long-term value aligned with your household needs.