Unlock Peaceful Productivity with Home Office Soundproofing
Working from home offers flexibility and comfort, yet background noise often undermines concentration. Challenges such as children playing, external traffic, or noisy neighbors can disrupt focus. Effective soundproofing transforms a workspace into a serene, private area conducive to deep work. This guide details methods to soundproof a home office, associated costs, professional involvement, and budget strategies for sustained tranquility and efficiency.
Cost Breakdown
The following table outlines typical expenses for a mid-sized home office soundproofing project. Costs vary by location, material quality, and project scope. These estimates assume a 120-square-foot room with moderate noise reduction needs.
| Item | Unit Cost | Typical Quantity | Line Total | Notes |
|---|---|---|---|---|
| Acoustic caulk | $7 per tube | 4 tubes | $28 | Seals gaps around trim, outlets, and baseboards to prevent sound leakage |
| Weatherstripping | $10 per roll | 2 rolls | $20 | Applies to door and window edges for airtight seals |
| Door sweep | $20 each | 1 | $20 | Eliminates the gap beneath the door |
| Mass loaded vinyl (MLV) | $2.50 per sq ft | 120 sq ft | $300 | Provides a dense barrier against airborne sound transmission |
| Acoustic panels | $60 each | 6 panels | $360 | Enhances absorption of echoes and mid-frequency noises |
| Insulation (fiberglass or mineral wool) | $1.50 per sq ft | 120 sq ft | $180 | Fills wall cavities to dampen vibrations and low-frequency sounds |
| Resilient channels | $1.20 per linear ft | 100 ft | $120 | Decouples drywall from studs to reduce structure-borne noise |
| Drywall (5/8" sound-rated) | $20 per sheet | 10 sheets | $200 | Used for overlay or rebuild to add mass and isolation |
| Labor (carpentry, drywall, finish) | $45 per hour | 20 hours | $900 | Covers installation, taping, mudding, and painting |
| Disposal and cleanup | Flat fee | 1 | $50 | Handles removal of old materials and debris |
| Total Estimated Cost | $2,178 | Midrange project; DIY elements can reduce labor costs |
Budget ranges from $800 for basic DIY sealing to $3,000 for comprehensive professional installation. Factor in permits if structural changes occur.
DIY Versus Professional Installation
Homeowners can manage initial soundproofing tasks independently, while complex modifications demand expert skills. This section clarifies suitable approaches for each.
DIY-Friendly Tasks:
Sealing air gaps with acoustic caulk requires minimal expertise. Installing weatherstripping and a door sweep involves straightforward adhesion or attachment. Hanging removable acoustic panels uses basic hardware like hooks or clips. These steps demand tools such as a caulk gun, measuring tape, and screwdriver, with completion possible in a weekend.
Professional-Required Tasks:
Constructing double-stud walls or installing resilient channels involves precise framing. Reworking drywall with sound-rated materials necessitates proper staggering of seams and acoustic sealing. Modifications around electrical outlets, HVAC vents, or plumbing must comply with building codes to ensure fire safety and functionality. Engage a licensed contractor experienced in acoustic renovations for these elements.
Safety and Compliance Considerations:
Structural alterations, electrical adjustments, or insulation near wiring require professional supervision to avoid hazards. Permanent barriers must not obstruct vents or junction boxes, as this violates safety standards. Adhere strictly to installation guidelines for fire-rated products. Local codes may mandate inspections for any wall modifications.
Impact on Warranties:
Simple DIY applications seldom affect existing warranties. However, errors in insulation placement or drywall fastening could invalidate coverage for structural components or finishes. Consult manufacturers before proceeding with invasive changes.
Step-by-Step Guide to DIY Soundproofing
Prepare the space by removing furniture and protecting floors with drop cloths. Equip yourself with safety gear including gloves, goggles, and a dust mask to shield against dust and fibers. This process focuses on foundational improvements achievable without advanced skills.
Essential Tools
- Utility knife for cutting materials
- Screwdriver set for hardware installation
- Hammer, nails, or drill with screws for securing items
- Caulk gun for precise application
- Measuring tape for accurate sizing
- Ladder or step stool for overhead access
Safety Equipment
- Work gloves to handle rough materials
- Dust mask to filter airborne particles
- Safety glasses to protect eyes from debris
- Hearing protection for power tool use
Detailed Installation Steps
-
Inspect and Seal Gaps:
Examine walls, ceilings, and floors for cracks or openings. Apply acoustic caulk in a continuous bead along baseboards, window frames, and around electrical outlets. Allow 24 hours for curing before testing seals. -
Apply Weatherstripping to Doors and Windows:
Measure frame perimeters and cut foam or rubber strips to fit. Press adhesive-backed material firmly into place, ensuring even coverage. Install a door sweep by attaching it to the door bottom, adjusting for smooth operation. -
Incorporate Soft Furnishings:
Position area rugs on hard floors to minimize impact noise. Hang heavy curtains over windows to dampen external sounds. Add fabric wall coverings or bookshelves to scatter reflections, though these complement rather than replace barriers. -
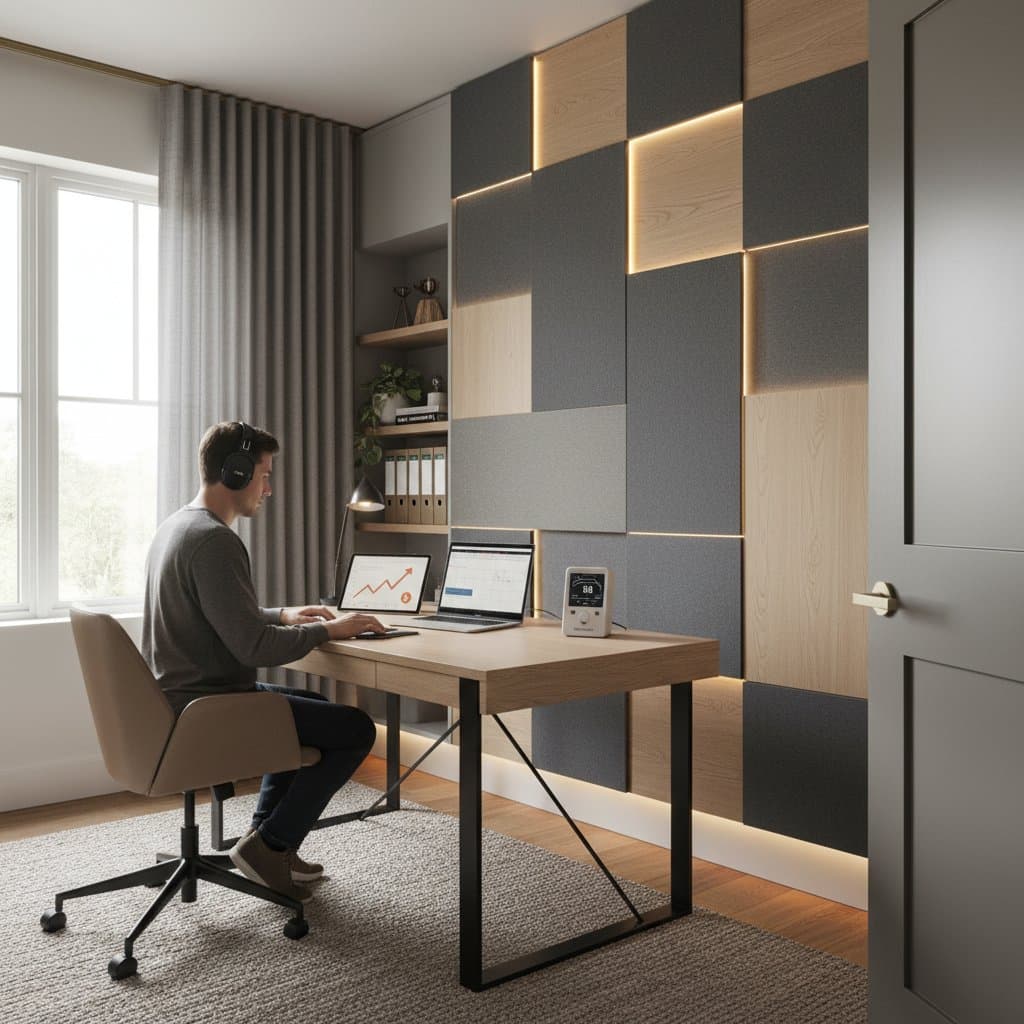
Install Acoustic Panels:
Identify key reflection areas, such as walls behind the desk or opposite the primary noise source. Secure panels with adhesive hooks, Z-clips, or impaling clips for stability. Space them evenly for optimal coverage without overwhelming the room's aesthetics. -
Enhance Insulation During Open-Wall Opportunities:
If walls are accessible during remodeling, measure cavity depths accurately. Cut fiberglass or mineral wool batts to fit snugly without compression, which reduces effectiveness. Wear protective gear to avoid skin irritation from fibers. -
Implement Surface Decoupling for Advanced Users:
For walls under reconstruction, attach resilient channels horizontally to studs at 24-inch intervals. Fasten new drywall to these channels rather than directly to the frame. This isolation prevents sound vibrations from traveling through the structure. -
Apply Sound-Rated Drywall:
Select 5/8-inch thick sheets certified for acoustic performance. Install over existing walls or in new frames, staggering joints to avoid continuous seams. Seal edges with acoustic caulk prior to taping, mudding, and priming for a seamless finish. -
Evaluate and Refine the Setup:
Close the door and play audio from adjacent areas to detect leaks. Use a decibel meter app for objective measurement. Address remaining gaps by reapplying caulk or repositioning panels as needed.
Project Timeline and Logistics
Planning ensures smooth execution. Material availability influences start dates, while on-site work depends on scope.
Material Procurement:
Standard items like acoustic panels and mass loaded vinyl ship within days from suppliers. Specialty orders, such as custom-sized resilient channels or sound-rated drywall, may take one to two weeks. Verify stock levels and delivery fees upfront to prevent setbacks.
On-Site Duration:
Basic DIY sealing completes in 4 to 8 hours. Professional retrofits for a small office span 1 to 3 days, including setup and cleanup. Extensive rebuilds with insulation and multiple drywall layers extend to 5 to 7 days, accounting for compound drying between coats.
Regulatory Checkpoints:
Projects altering electrical, plumbing, or framing trigger building inspections in most areas. Arrange permits early and schedule reviews before enclosing modified walls. Non-compliance risks fines or rework, so confirm requirements with local authorities.
Regional Variations in Soundproofing
Costs and methods adjust based on geography. In urban high-rises, focus on floor and ceiling isolation to block neighbor noise, adding $500 to $1,000 for underlayment or ceiling tiles. Rural settings prioritize external barriers like MLV on outer walls against wind or machinery sounds. Humid climates require mold-resistant insulation, increasing material prices by 10 to 20 percent. Consult regional contractors for code-specific adaptations, such as seismic reinforcements in earthquake-prone zones.
Strategies for Effective Implementation
A soundproofed office enhances daily output by reducing distractions and stress. Begin with low-cost seals and furnishings to gauge improvements. Progress to targeted professional upgrades if persistent noise interferes with calls or concentration.
Compare contractor bids by scrutinizing techniques and material specs, not just totals. Prioritize solutions aligned with your home's layout and daily routines. This tailored approach yields the greatest long-term value in comfort and performance.


