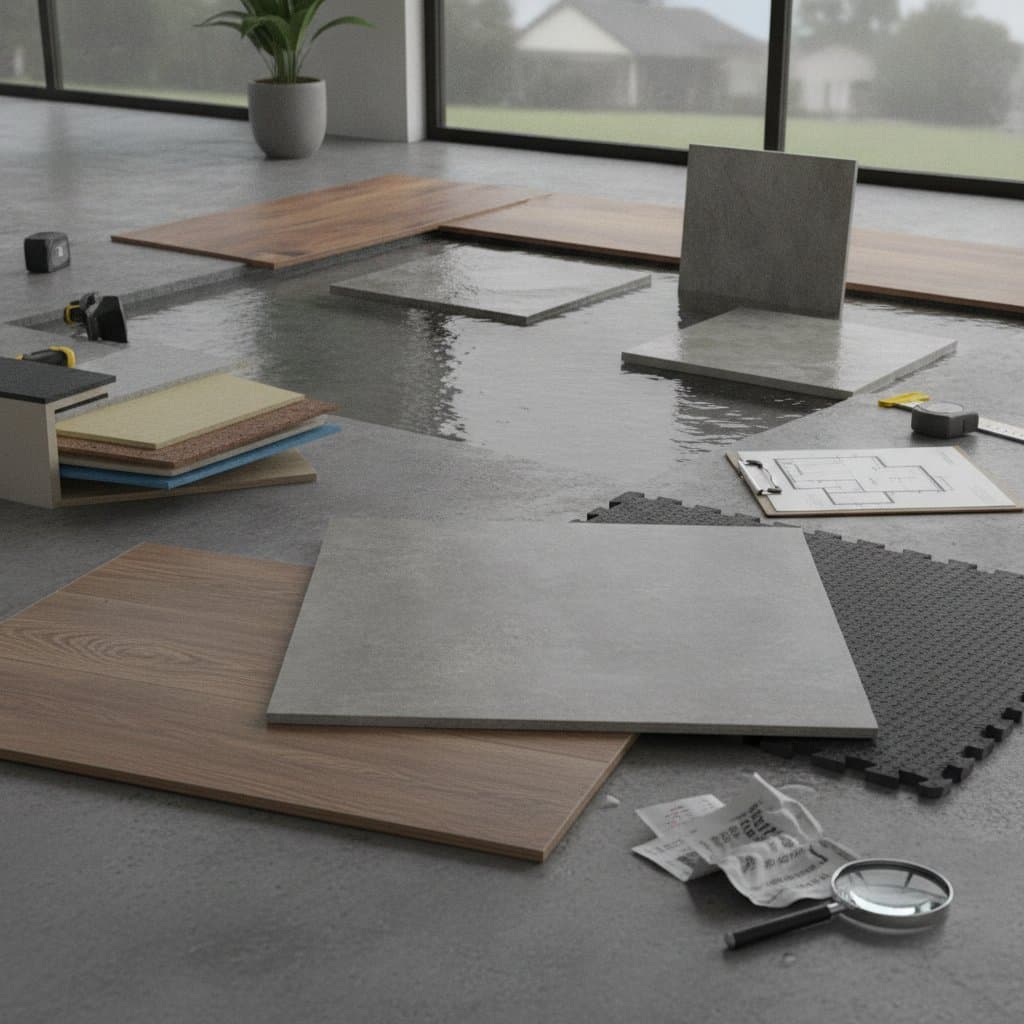
** Deploy a concrete moisture test kit to measure vapor emission rates. Levels exceeding 4 percent necessitate installing a vapor barrier or operating a dehumidifier for at least 72 hours prior to proceeding.
2. Prepare the Subfloor: Strip away existing flooring, repair cracks with patching compound, and achieve levelness within 1/8 inch over 10 feet using self-leveling underlayment.
3. Apply Sealing Layers: Coat the subfloor with a waterproof membrane or epoxy primer, allowing 24 to 48 hours for complete curing based on product specifications.
4. Lay the Flooring: Adhere to manufacturer instructions for spacing, adhesive type, and pattern layout. Incorporate 1/4-inch expansion gaps around perimeter walls to accommodate natural movement.
5. Secure Joints and Perimeters: Apply waterproof silicone caulk or compatible sealant to all edges, baseboards, and transition points, ensuring full coverage without gaps.
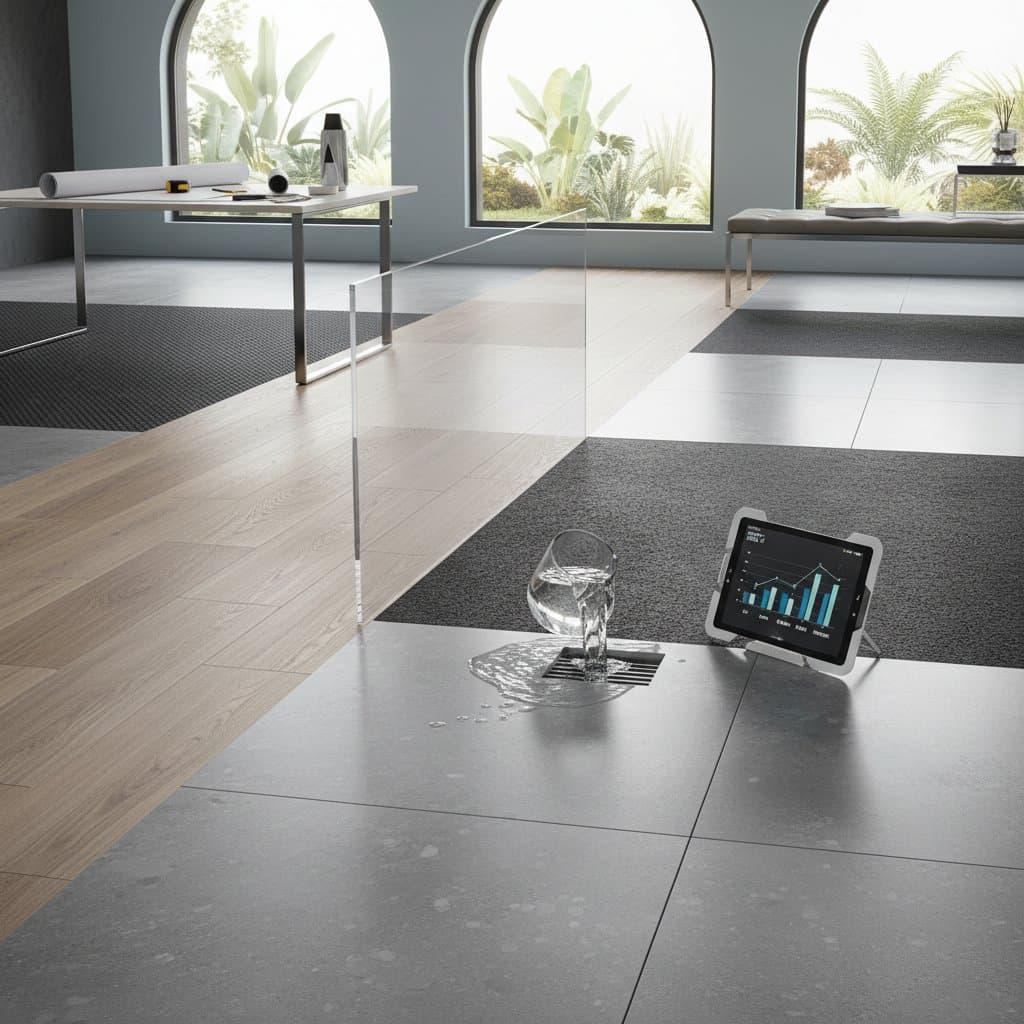
6. Verify Drainage Systems: Inspect and clear sump pumps, floor drains, and perimeter slopes to direct water away efficiently before conducting a final walkthrough and cleanup.
For DIY projects, anticipate dedicating a full weekend to cover 200 to 300 square feet, including drying times. Professional teams typically complete the same scope in one day after preparation, leveraging specialized equipment for efficiency.
Common Pitfalls and Prevention Strategies
Avoiding errors during flood-resistant flooring projects preserves both budget and performance. Focus on preparation and compatibility to sidestep costly rework.
- Neglecting Moisture Assessment: High vapor pressure leads to bubbling or delamination. Always test and mitigate before installation to prevent failures within the first year.
- Incorporating Wood-Based Underlayment: Materials like plywood absorb moisture and compromise seals. Opt for cement board or direct bonding to concrete for superior stability.
- Overlooking Floor Sloping: In flood-vulnerable areas, ensure a minimum 1/4-inch per foot pitch toward drains. Flat surfaces trap water, accelerating wear.
- Applying Sealants Prematurely: Sealing over uncured adhesives traps humidity, resulting in odors or peeling. Adhere strictly to recommended drying periods, often 24 to 72 hours.
- Selecting Incompatible Products: Combining silicone with urethane sealants causes chemical reactions and adhesion loss. Review product data sheets to match chemistries.
By addressing these issues upfront, homeowners reduce the risk of premature replacement, which can double initial costs.
Deciding Between Professional Installation and DIY
Choosing the installation approach hinges on project scope, skills, and risk tolerance. Use the following framework to guide your decision.
| Factor | Proceed with DIY If... | Hire a Professional If... |
|---|---|---|
| Skill Level | You possess experience in measuring, leveling, and sealing surfaces accurately | The subfloor shows significant unevenness, cracks, or requires structural reinforcement |
| Safety Concerns | The work involves no electrical wiring or load-bearing modifications | Local codes mandate inspections for flood retrofits or elevated risk zones |
| Equipment Access | You own or can rent essential tools like moisture meters, rollers, and sealant applicators | Specialty items such as industrial grinders or epoxy mixers are unavailable or cost-prohibitive |
DIY approaches suit simpler projects like vinyl plank or rubber flooring, potentially saving 30 to 40 percent on labor—translating to $600 to $1,200 for a mid-sized room. However, tile and epoxy installations demand precision in mixing, sloping, and curing, making professional expertise advisable. Errors in these areas often incur repair expenses exceeding the cost of initial hiring, so consult licensed contractors experienced in flood mitigation.
Addressing Installation and Post-Flood Issues
Even robust systems encounter challenges over time. Prompt troubleshooting maintains flooring integrity and extends lifespan.
- Bubbling or Lifting Edges: Typically results from trapped moisture vapor or inadequate adhesion. Sand the affected zones, re-level the subfloor if needed, and reapply sealant after thorough drying.
- Cracking in Grout Lines: Stemming from subfloor shifts or thermal expansion. Remove old grout and replace with flexible epoxy varieties designed for dynamic environments.
- Hazy or Dull Surface: Arises from residue buildup. Clean with a pH-neutral solution, followed by a thorough rinse and dry to restore clarity.
- Persistent Odors Following Flooding: Indicates hidden moisture in wall cavities. Remove baseboards, deploy fans and dehumidifiers for ventilation, and replace any water-damaged insulation promptly.
- Excessive Slippage: Common on sealed concrete or tile when wet. Integrate non-slip additives into the final topcoat or position rugs featuring perforated, moisture-wicking backings.
Regular maintenance, such as annual sealing and drain checks, prevents minor issues from escalating.
Project Preparation Checklist
Systematic planning streamlines your flood-resistant flooring upgrade. Review this checklist to confirm readiness and minimize disruptions.
| Category | Key Items |
|---|---|
| Tools | Moisture meter, roller, trowel, sealant gun, laser level |
| Required Skills | Precise measuring, adhesive mixing, material cutting, perimeter sealing |
| Safety Equipment | Gloves, respirator mask, knee pads, protective eyewear |
| Permits and Compliance | Building permits for basements or flood-zone alterations; code adherence |
| Preparation Steps | Full removal of old flooring, moisture testing, crack repairs |
| Environmental Factors | Schedule during low-humidity periods; avoid installations below 50 degrees Fahrenheit |
Executing Your Resilient Flooring Strategy
Investing in flood-resistant flooring safeguards your home against water damage while enhancing daily livability. By selecting materials aligned with your needs, following meticulous installation protocols, and maintaining vigilance against common errors, you create a durable foundation for years of protection. Consult local experts to tailor these insights to your property's unique conditions, ensuring compliance and optimal results in 2026 and beyond.