Quiet Your Home Office with Affordable Soundproofing
A quiet home office supports better focus during tasks and clearer audio on calls. Soundproofing does not require a full renovation. Targeted upgrades such as sealing gaps and adding mass to surfaces reduce outside noise for a few hundred dollars and a weekend of effort.
When Soundproofing Delivers Results
Soundproofing reduces distractions when traffic, neighbors, or household activity interrupts concentration. It also helps when an office shares a wall with a laundry area or mechanical closet. Voices or footsteps that travel through walls call for treatments on those surfaces. Echo inside the room points instead to absorption steps such as panels or floor coverings.
Advantages, Limits, and Suitable Spaces
Soundproofing improves privacy and reduces vibration that travels through floors. It can lower echo that interferes with recordings. Some projects reduce usable floor space or add weight to walls. Results stay limited when sound travels through framing gaps that remain untreated. Spare bedrooms, basements, and garages often benefit because their walls usually lack dense insulation.
Budget Ranges for Common Upgrades
Costs vary with room size and existing wall construction. A combination of sealant, panels, and insulation stays within most budgets.
| Scope item | Material cost range | Labor cost range | Total range | Notes on drivers |
|---|---|---|---|---|
| Door seal kit and sweeps | 25 to 80 dollars | DIY | 25 to 80 dollars | Fit varies by door type |
| Acoustic panels per wall | 60 to 150 dollars | 80 to 150 dollars | 140 to 300 dollars | Thickness and density affect performance |
| Blown-in cellulose insulation per wall | 100 to 200 dollars | 150 to 250 dollars | 250 to 450 dollars | Cavity depth and access points matter |
| Area rugs and padding | 50 to 200 dollars | DIY | 50 to 200 dollars | Helps control echo on hard floors |
A complete small-office project averages between 400 and 1200 dollars nationally. Older homes with plaster or concrete walls often require extra materials.
Step-by-Step Soundproofing Process
Wear gloves, safety glasses, and a dust mask before starting.
- Seal gaps with acoustic caulk around outlets, window frames, and baseboards. Apply weatherstripping along door edges.
- Increase door mass by fitting a solid-core door or attaching mass-loaded vinyl sheets before finishing the surface.
- Fill wall cavities by drilling small access holes between studs and blowing in cellulose or fiberglass. Patch and paint the holes afterward.
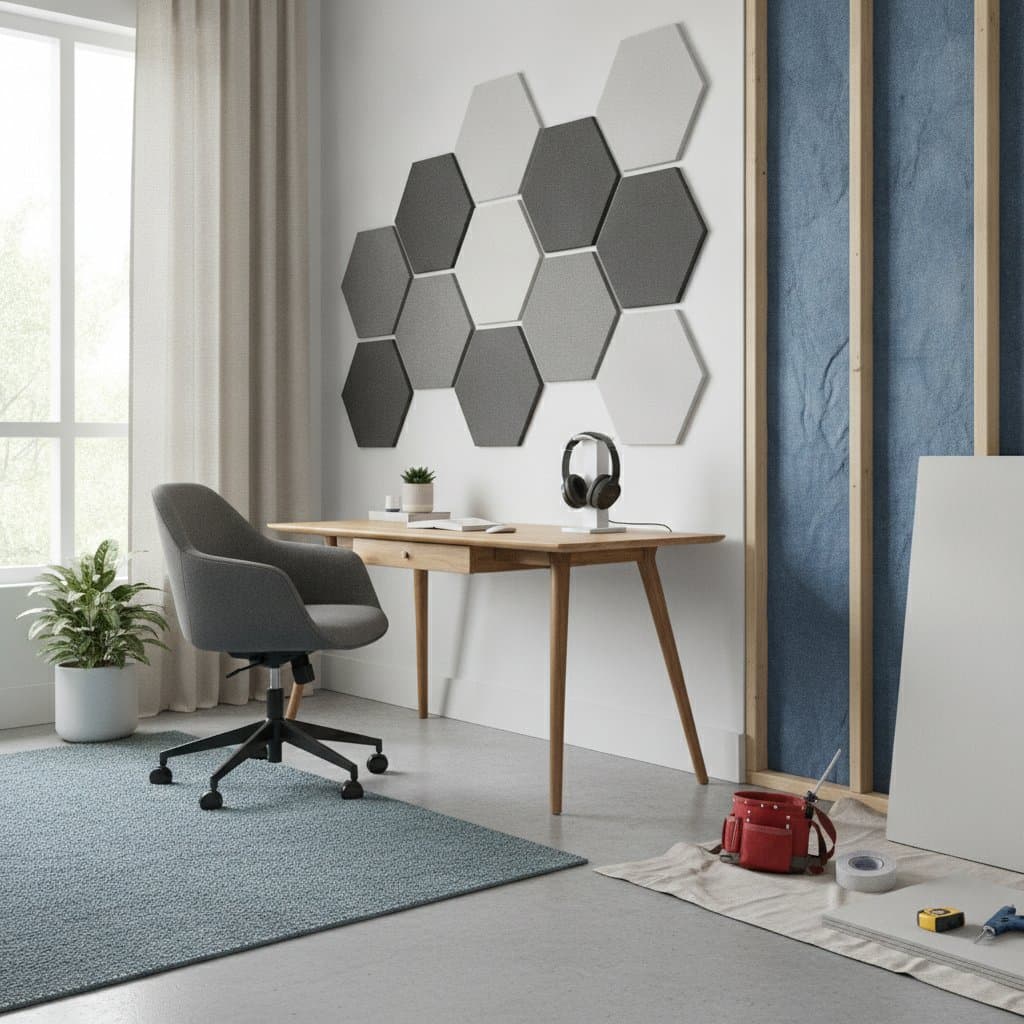
- Mount acoustic panels or dense foam at primary reflection points behind the desk and in opposite corners.
- Place thick rugs or carpet tiles with rubber backing to reduce floor echo.
- Add acoustic window inserts or heavy drapes when outside noise enters through windows.
Safety, Code, and Warranty Considerations
Most soundproofing work does not require a permit unless framing is opened or electrical work occurs. Keep outlets and vents uncovered. Choose insulation products that carry fire ratings required by local codes. Avoid sealing weep holes in basement walls to prevent moisture buildup.
Common Errors That Reduce Effectiveness
Skipping gap sealing before panel installation leaves sound paths open. Thin foam fails to block transmission compared with panels rated at sound transmission class 25 or higher. Overloading drywall with mass-loaded vinyl without proper fasteners can cause sagging. HVAC ducts often carry noise between rooms and need separate treatment.
Ongoing Care and Expected Lifespan
Inspect door seals every few months for wear that reduces compression. Check panel adhesive once a year. Vacuum wall panels and rugs regularly to maintain fiber performance. Properly installed insulation lasts for decades unless moisture enters the cavity.
Decide Between Professional Help and DIY
Basic carpentry and sealing skills suffice for most tasks. Electrical boxes must remain accessible. A caulking gun, drill, and utility knife handle the majority of steps.
Quick Readiness Checklist
- Identify main noise entry points by listening during peak hours.
- Measure wall and door surfaces to calculate material needs.
- Gather safety gear and basic tools before purchase.
- Confirm fire ratings on insulation products.
- Plan panel placement at reflection points first.
Achieving a Focused Workspace
Begin with sealing and door upgrades, then layer panels and insulation where noise persists. Track results after each step to guide further spending. A calm workspace supports sustained concentration and clearer communication throughout the workday.