2026 Granny Pod Costs: ADU Permits and Zoning Rules
Building a granny pod, also known as an accessory dwelling unit, offers families a practical option for housing relatives or creating rental space. These compact structures include independent kitchen, bath, and living areas on the same property as the primary residence. Homeowners often focus first on total expense and the permits or zoning approvals required by local authorities.
This overview examines the main cost drivers, necessary approvals, and a clear sequence for moving from initial plans to final approval.
Advantages, Drawbacks, and Suitable Situations
Advantages
- Property values typically rise between 20 and 35 percent after a permitted ADU is added.
- Rental income can offset construction expenses over time.
- Family members gain nearby yet separate living quarters.
- Overall costs remain lower than assisted living facilities or separate property purchases.
Drawbacks
- Every project requires permits, inspections, and adherence to building codes.
- Utility connections become expensive when main lines sit far from the building site.
- Property taxes and insurance premiums may increase after completion.
- Resale interest varies by location and market conditions.
Suitable Situations
Homeowners who have sufficient yard space and nearby utility access benefit most. Families that want long-term housing options without relocating also find value. Investors in jurisdictions with supportive ADU zoning see faster project timelines.
Planning and Construction Sequence
Successful projects begin with proper preparation. Required safety equipment includes a hard hat, gloves, eye protection, and steel-toe boots. Permits cover building, electrical, plumbing, and zoning review. Essential tools include a measuring tape, level, trenching equipment, and standard carpentry implements.
- Conduct a site assessment to confirm property lines, setbacks, easements, and drainage patterns.
- Prepare design drawings and engineering documents that satisfy local size and height restrictions.
- Submit permit applications with stamped plans to the building and zoning offices.
- Complete foundation work, schedule the required inspection, then proceed to framing.
- Erect walls, roof structure, and exterior sheathing.
- Install water, sewer, gas, and electrical lines.
- Add insulation, drywall, HVAC, and interior fixtures.
- Schedule and pass final inspections for structural, plumbing, and electrical compliance.
Professional teams finish most projects in 8 to 14 weeks. Owner-builder efforts often extend to 5 to 8 months because of part-time schedules and the need to master new skills.
Compliance, Safety, and Coverage Requirements
All accessory dwelling units must satisfy residential building codes for fire separation, insulation values, and emergency exits. Minimum standards include a 7-foot ceiling height, an egress window with 5.7 square feet of opening in sleeping areas, GFCI outlets in wet zones, and interconnected smoke and carbon monoxide detectors. Independent shutoffs for water and power are also mandatory.
Licensed contractors should handle electrical and plumbing work when warranty protection is desired. Unpermitted gas lines or DIY wiring can nullify insurance coverage and manufacturer warranties.
Ongoing Care and Expected Durability
A well-constructed granny pod remains serviceable for 40 to 60 years with regular attention. Follow this maintenance schedule to protect the investment.
- After installation, verify roof flashing, seal joints, and confirm proper site grading.
- Each season, clear gutters, test detectors, and replace HVAC filters.
- Annually, repaint exterior trim, drain the water heater, and check GFCI function.
- Plan roof and siding replacement at the 25- to 30-year mark based on material condition.
Consistent inspections limit moisture damage, the leading cause of deterioration in small buildings.
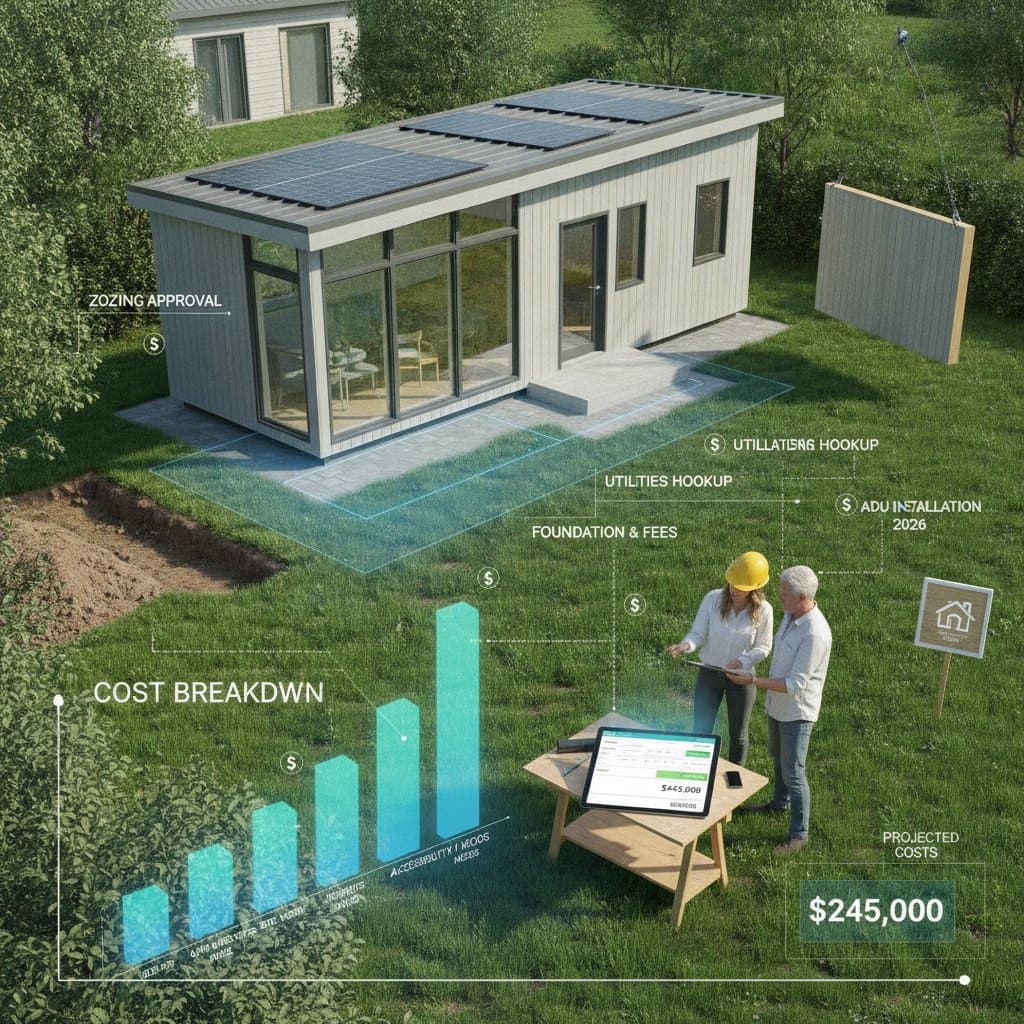
Cost Breakdown Comparison
| Line Item | Specification | Contractor A | Contractor B | Contractor C | Notes |
|---|---|---|---|---|---|
| Foundation | Slab with vapor barrier | $18,500 | $22,000 | $20,000 | Soil conditions affect pricing |
| Framing | 2x6 walls, R-21 insulation | $38,000 | $41,500 | $39,000 | Window upgrades included |
| Electrical | 200-amp subpanel, LED fixtures | $10,500 | $9,800 | $12,200 | Distance to main panel varies |
| Plumbing | Full bath and kitchen connections | $14,000 | $16,500 | $13,800 | Sewer tap depth influences cost |
| Finishes | Drywall, flooring, paint | $23,000 | $21,800 | $25,400 | Allowance differences appear here |
Preparation Requirements
Tools Required
Measuring tape, level, circular saw, drill, and trenching shovel.
Skills Required
Basic carpentry, ability to read layout plans, and commitment to safety protocols.
Safety Gear
Hard hat, gloves, steel-toe boots, and eye protection.
Permits Needed
Building, electrical, plumbing, and zoning clearance.
Prep Tasks
Site survey, soil test, and utility locate before excavation.
Weather or Site Constraints
Schedule foundation work outside heavy rain periods or frozen ground conditions.
Budget Planning for Your Project
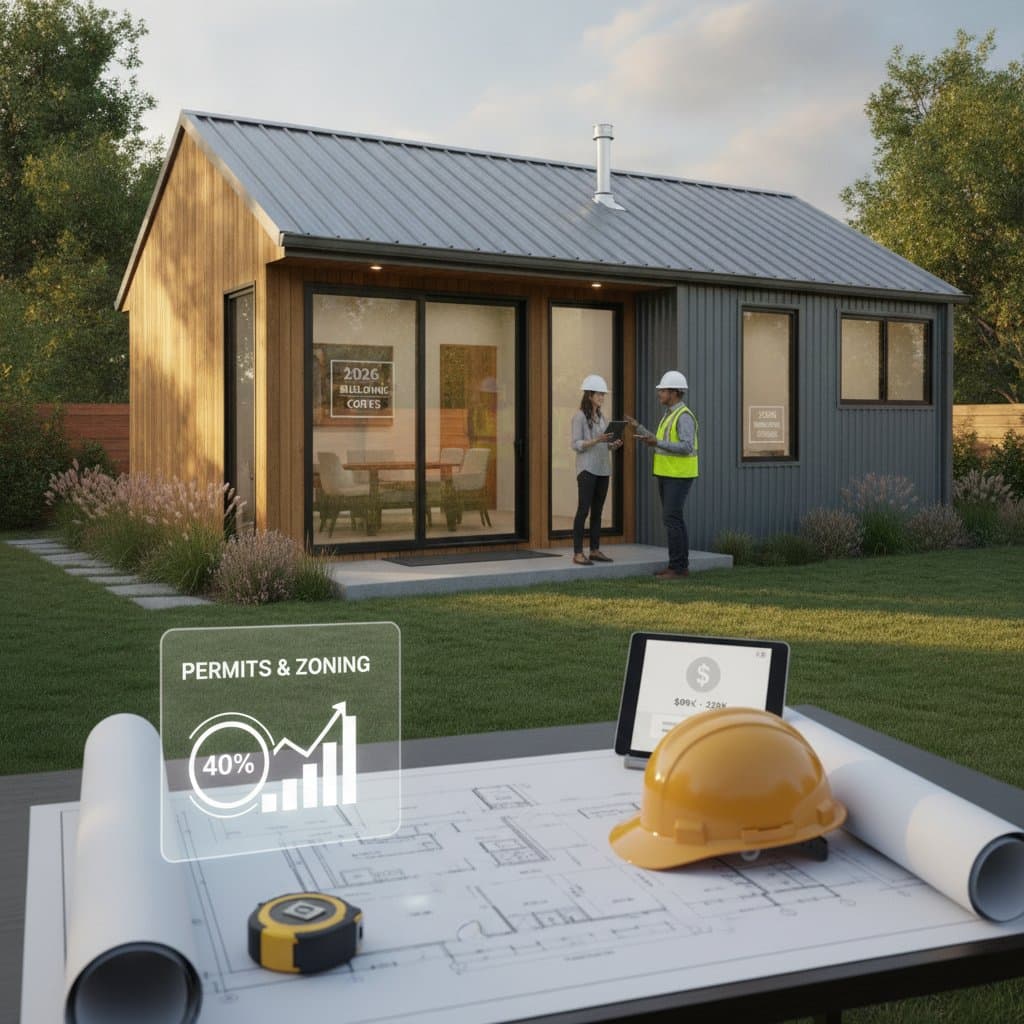
Permit fees and utility extensions frequently represent the largest single expense category. Early coordination with local departments reveals exact requirements and prevents costly redesigns later. Homeowners who align design choices with code minimums and secure competitive bids maintain better control over final totals.