
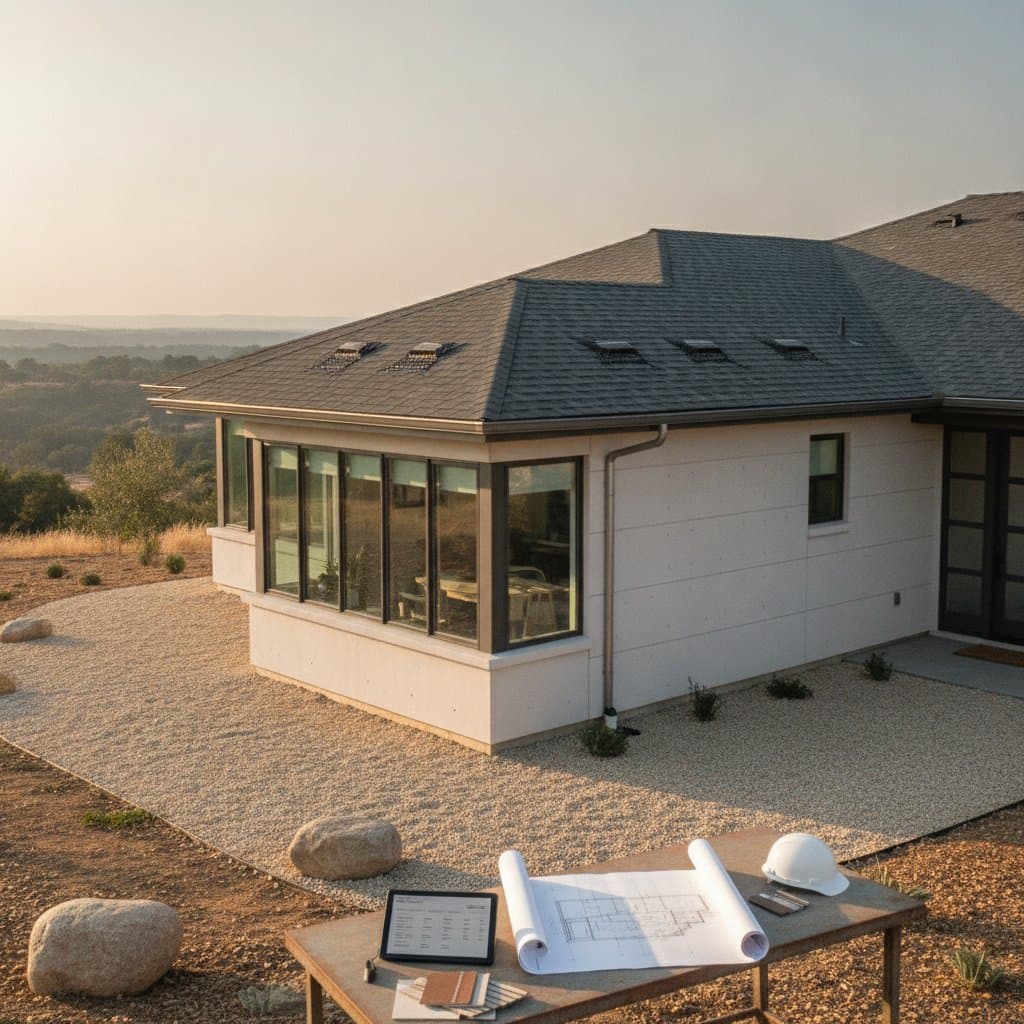
Wildfire Protection: Materials and Real Costs for Your Home
Quick Take
Wildfire protection starts with the roof, vents, windows, and the area around your home.
- Use a Class A roof, ember resistant vents, tempered glass, and noncombustible siding when replacement is due.
- Clear dry plants, wood piles, and debris from the first five feet around walls and decks.
- Expect material upgrades to cost hundreds for small repairs and many thousands for a full exterior project.
- Call a qualified contractor for roof work, structural changes, electrical work, and code questions.
What Wildfire Home Protection Means
Wildfire home protection reduces the ways flames, radiant heat, and windblown embers can reach your house. It does not make a building fireproof. A strong plan combines fire resistant materials with defensible space, clean gutters, sealed openings, and regular maintenance. Local rules, insurance requirements, climate, slope, and access for firefighters all affect the best choices.
Start with an inspection of the roof, vents, windows, decks, and nearby vegetation. Fix the most exposed parts first.
Where Fire Usually Gets In
Windblown embers often travel ahead of a wildfire. They can collect in gutters, enter attic vents, lodge under decks, or land in dry mulch. Small openings can let embers reach insulation, framing, or stored items.
Look for these warning signs:
- Pine needles and leaves in roof valleys or gutters
- Open soffit, crawlspace, or attic vents
- Cracked window glass or deteriorated screens
- Wood fencing connected directly to the house
- Dry plants under windows or beside decks
- Gaps under siding, doors, and roof edges
Remove loose fuel before buying expensive materials. A clean, accessible exterior improves every other protection measure.
Fire Resistant Materials That Matter
Roofing
A Class A roof offers the strongest common rating for resistance to fire from outside the building. Concrete tile, clay tile, metal, and many asphalt shingles can meet this rating when installed as tested.
Cost ranges often fall between $5 and $18 per square foot installed. A small asphalt roof repair may cost $500 to $2,000. A complete roof replacement can reach $12,000 to $35,000 or more. Steep slopes, tear off work, damaged decking, difficult access, and premium metal or tile raise the price.
Ask for the roof assembly rating, not just the product name. Confirm that underlayment, flashing, vents, and edge details match the tested system. Replace damaged roofing before fire season conditions worsen.
Vents and Openings
Use ember resistant attic, soffit, and crawlspace vents with corrosion resistant mesh. Fine stainless steel mesh can help block embers, but the vent must still provide required airflow. Covering a vent with household screen can create moisture and code problems.
Vent upgrades often cost $50 to $250 per opening for materials and installation. A whole house project may cost $1,000 to $4,000. Poor attic ventilation, inaccessible locations, and required framing changes raise the total.
Never block vents without a replacement design. Ask a contractor to verify airflow, insect protection, and local code requirements.
Windows and Doors
Single pane glass breaks faster under heat. Dual pane windows with at least one tempered pane offer better resistance. Multi pane tempered units provide stronger protection, especially on elevations facing a slope or heavy vegetation.
Window replacement commonly costs $500 to $1,500 per opening. Large units, custom shapes, difficult access, and new flashing increase the price. Exterior doors should fit tightly and have solid, noncombustible or fire resistant construction where practical. Replace worn weather seals and repair loose frames.
Keep combustible curtains, furniture, and stored items away from windows. A strong window cannot protect a room from burning objects pressed against the glass.
Siding and Exterior Walls
Fiber cement siding, stucco, brick, stone, and metal can reduce exterior ignition risk. The wall assembly still matters. Gaps, exposed sheathing, plastic trim, and combustible insulation details can create weak points.
Installed siding costs commonly range from $8 to $25 per square foot. Fiber cement often costs less than masonry, while stucco repairs depend on wall condition and finish matching. Remove damaged siding, seal joints with approved products, and keep siding several inches above soil.
Do not seal drainage openings or cover required vents without a building professional. Moisture trapped behind siding can cause rot and mold.
Decks, Fences, and Gutters
Wood decks can ignite from embers beneath the boards. Composite products differ widely, so check the tested fire performance rather than assuming all composite decking resists fire. Metal framing can reduce hidden ignition points, but it does not protect combustible decking or stored items.
Deck replacement may cost $25 to $70 per square foot. Cleaning and screening gaps may cost far less. Keep the underside free of leaves, boxes, and propane cylinders.
Use metal or masonry sections where a wood fence meets the house. Clean gutters and install compatible guards if they do not trap dry debris. Gutter cleaning often costs $150 to $400, while replacement systems may cost $1,000 to $4,000.
Defensible Space: The Lowest Cost Upgrade
Defensible space is the managed area around a structure. The first five feet deserve special attention. Remove dry mulch, firewood, cardboard, dead plants, and flammable furniture. Use gravel, pavers, concrete, or bare maintained soil near walls.
In the next zone, prune branches away from roofs and chimneys. Space shrubs apart and remove dead material. Keep grass short and irrigated when local water rules allow. On sloped lots, vegetation spacing may need to increase.
Land clearing can cost $500 to $5,000 for a modest property. Steep terrain, large trees, hauling, permits, and difficult access raise the bill. Hire an arborist for trees near power lines or structures. Never cut utility lines or remove protected trees without approval.
Step-by-Step Protection Plan
Tools and materials:
- Ladder with a stable base
- Work gloves, eye protection, and a dust mask
- Gutter scoop and hose
- Hand pruners and loppers
- Metal trash cans or approved yard waste containers
- Ember resistant vent products
- Exterior sealant approved for the surface
- Inspect from the ground. Walk around the home and photograph gaps, debris, vents, windows, decks, and fences.
- Clean the roof and gutters. Remove needles and leaves. Check valleys, roof edges, and downspouts.
- Clear the first five feet. Move firewood, furniture, bins, and dry mulch away from walls.
- Trim vegetation. Remove dead branches and keep limbs away from roofs and chimneys.
- Seal small gaps. Use compatible materials around doors, siding joints, and utility penetrations. Do not seal drainage or ventilation openings.
- Schedule repairs. Get written estimates for roofing, vents, windows, siding, and deck work.
- Check the result. The home should have clear access, clean roof edges, tight openings, and no stored fuel against the structure.
Stop if you find damaged wiring, structural rot, gas lines, asbestos materials, or work near utility lines.
Real Cost Planning
A basic cleanup and inspection may cost $200 to $1,500. Targeted vent, gutter, or seal repairs often range from $500 to $5,000. Exterior upgrades across a typical home can cost $15,000 to $60,000. Full replacement of roofing, windows, siding, and decks may exceed $100,000.
Prices rise with larger homes, steep lots, premium materials, demolition, permits, engineering, and regional labor rates. Insurance discounts may help, but ask your insurer for written requirements before choosing products. Get at least three detailed bids that list materials, testing, disposal, permits, and warranty limits.
DIY vs Professional Work
Homeowners can handle cleaning, basic trimming, and small gap sealing. Roof work, structural changes, electrical work, and code questions require licensed contractors. Many insurance policies require professional installation for coverage to remain valid. Check your policy language before starting any project.
Your Next Steps
Begin with a thorough inspection of your property. Document problem areas with photos and notes. Prioritize the most exposed sections first. Work with qualified professionals for major upgrades. Maintain your improvements throughout the year. Consistent attention to these details provides the best protection against wildfire threats.