Introduction to Flood-Proofing Your Home
Flooding poses a significant threat to homes, especially with increasing storm intensity. In 2025, proactive upgrades can mitigate risks and protect investments. This article outlines key strategies, from basic drainage enhancements to advanced structural modifications, helping homeowners build resilience.
Focus on solutions that balance cost, effectiveness, and ease of implementation. Whether addressing minor water intrusion or preparing for severe events, these upgrades provide long-term security. Begin by assessing your property's vulnerabilities, such as soil type, elevation, and proximity to water sources.
Understanding Cost Factors
Budgeting for flood-proofing requires careful consideration of several variables. These elements influence the overall expense and help in planning a feasible project.
- Scope and size: Properties with larger areas demand extensive drainage networks and greater excavation volumes, escalating material and labor needs.
- Material grade and finish: Opt for cost-effective options like PVC pipes or perforated HDPE over premium cast iron or concrete systems for standard applications.
- Site conditions and accessibility: Challenging terrains, such as sloped lots or rocky ground, raise excavation difficulties and equipment requirements.
- Labor market and season: Demand peaks during wet seasons or post-storm periods, leading to higher rates; schedule during off-peak times for savings.
- Custom work and change orders: Additional features, like integrating concrete repairs or aesthetic landscaping, can significantly increase the final bill.
Typical costs range from $500 for simple DIY tasks to $20,000 or more for comprehensive professional installations. Factor in potential insurance discounts, which can offset expenses by up to 15 percent for compliant upgrades.
DIY Versus Professional Installation
Determine which tasks suit your skills to control costs and ensure quality. Simple measures often require minimal tools, while complex ones demand expertise to avoid structural issues.
Tasks suitable for DIY:
- Clean and maintain gutters and downspouts to prevent overflow.
- Extend downspout discharge pipes at least 10 feet away from the foundation wall.
- Fit window well covers and install door sweeps to block surface water entry.
- Apply waterproof sealants to interior basement walls for added protection.
- Construct minor swales or rain gardens where yard grading permits natural water diversion.
Tasks requiring professional expertise:
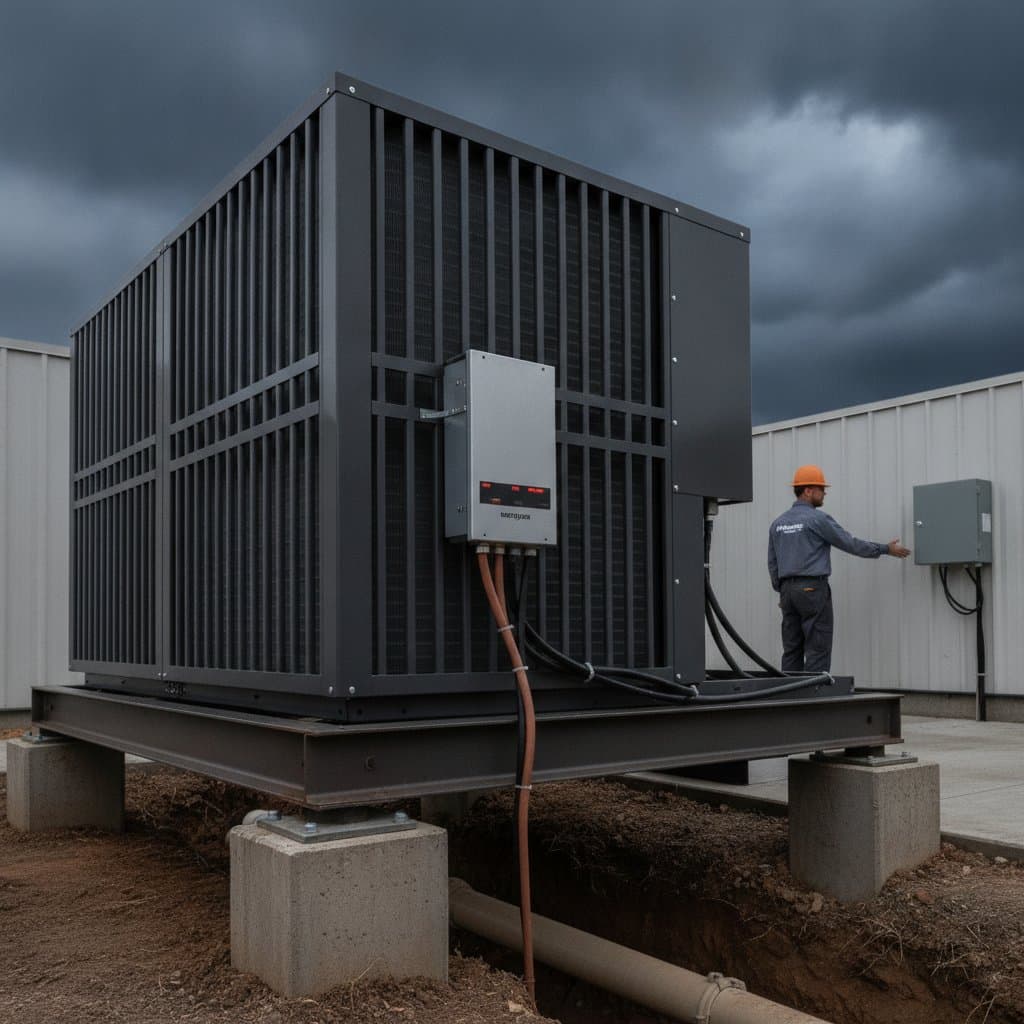
- Install sump pumps or French drain systems for reliable water removal.
- Elevate utilities or add flood vents to foundation walls.
- Seal exterior foundation surfaces below grade level.
- Integrate backflow preventers into the main sewer line.
- Perform structural lifts or install support piers for elevation.
Safety and compliance considerations:
Flood-proofing often involves electrical wiring, confined excavations, and load-bearing adjustments. Systems connected to plumbing or structural elements must adhere to local building codes. Engage licensed professionals for these to maintain warranty coverage and insurance eligibility. Always obtain permits where required to prevent fines or voided protections.
Strategies to Save on Upgrades Without Compromising Quality
Implement smart planning to reduce expenses while achieving durable results. Prioritize high-impact changes that deliver immediate benefits.
- Phase implementations: Initiate with surface-level drainage and sump pump setups before advancing to foundation treatments.
- Select durable mid-range materials: PVC drain pipes offer longevity comparable to higher-end options at a fraction of the cost.
- Time projects strategically: Arrange work during drier seasons to sidestep premium pricing from urgent demands.
- Combine related projects: Merge grading adjustments, gutter repairs, and landscaping to minimize contractor travel and setup fees.
- Solicit multiple bids: Request at least three detailed quotes to evaluate comprehensive proposals.
Essential Quote Comparison Checklist
- Detailed itemization of project scope
- Specification of material types and brands
- Inclusion of preparation, cleanup, and repairs for existing damage
- Clear listing of permit and waste disposal fees
- Explicit warranty durations and conditions
- Milestone-based payment terms
This approach ensures transparency and helps identify value-driven options.
Step-by-Step Guides for Core Upgrades
Follow these detailed instructions for two pivotal flood-proofing enhancements. Adapt based on your home's specifics, and consult professionals for site-specific advice.
Installing a Sump Pump with Professional Oversight
A sump pump actively removes accumulated water, preventing basement flooding. This installation suits supervised DIY efforts but requires caution around electrical components.
Safety precautions: Shut off power to the area before any cutting or wiring. Utilize circuits protected by ground-fault circuit interrupters.
Required tools and materials: Shovel, bucket, level, PVC piping, sealant, drill, check valve, submersible pump, pit liner, and gravel.
- Identify the lowest basement floor point adjacent to an electrical outlet.
- Outline and excise a 24-inch diameter concrete section.
- Dig a 30-inch deep pit, removing debris carefully.
- Layer gravel at the pit bottom for drainage, then insert the liner.
- Position the pump within the liner and attach the discharge pipe, routing it exteriorly.
- Bore a small weep hole in the pipe just above the pump level to vent air.
- Secure the surrounding floor with hydraulic cement for a watertight seal.
- Activate the system using a water-filled bucket; observe discharge flow and adjust as needed.
For areas prone to power outages, incorporate a battery backup or secondary water-powered pump to ensure continuous operation.
Installing Flood Vents
Flood vents equalize hydrostatic pressure, allowing water to flow through rather than exert force on walls. This task mandates professional involvement due to structural implications.
- Consult a structural engineer to determine optimal vent locations and quantities relative to foundation area.
- Precisely cut openings in the foundation walls at ground level.
- Mount engineered vents designed for bidirectional water passage during inundation.
- Apply masonry-rated exterior caulk to seal all edges.
- Arrange for official inspection to confirm adherence to building standards.
These vents reduce the risk of foundation cracks and collapses by accommodating water movement.
Project Timeline and Scheduling Essentials
Efficient timing prevents disruptions and controls costs. Plan around material availability and weather patterns.
- Material procurement: Standard drain pipes and pumps arrive in about one week; bespoke flood vents may require two weeks.
- On-site labor duration: Basic drainage corrections span two to three days; extensive foundation work or elevations extend to two weeks.
- Key inspection milestones: Validate grading inclines prior to sodding, measure sump discharge distances, and inspect vent placements before refilling excavations.
Coordinate with local authorities early for permit approvals, which can add one to two weeks.
Maintenance Routines and Expected Lifespan
Regular upkeep extends the effectiveness of flood-proofing investments. Neglect can lead to failures during critical events.
Inspect gutters and downspouts quarterly, clearing debris to maintain flow. Test sump pumps monthly by simulating water inflow, and replace batteries annually if equipped. Examine flood vents for blockages or damage after heavy rains, ensuring flaps operate freely.
Most components last 10 to 25 years: PVC pipes endure 50 years, pumps require replacement every 7 to 10 years, and sealants need reapplication every 5 years. Document maintenance to support warranty claims and insurance reviews.
Implementing Your Flood-Proofing Plan
Start by conducting a professional flood risk assessment to prioritize upgrades. Secure financing through home improvement loans or grants for resilient features, then select contractors via verified references.
Track progress with a project log, noting changes and completions. Upon finishing, update your homeowner's insurance to reflect enhancements, potentially lowering premiums. These steps not only fortify your home but also elevate its market appeal, yielding strong returns on investment during resale.