Smart Multigenerational Home Layouts and Costs
Quick Take
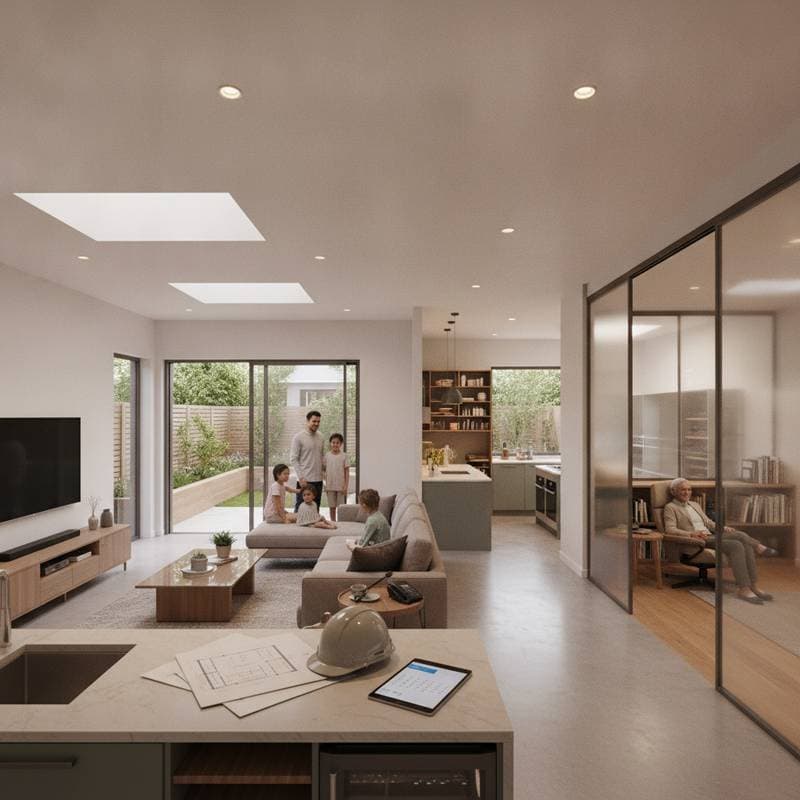
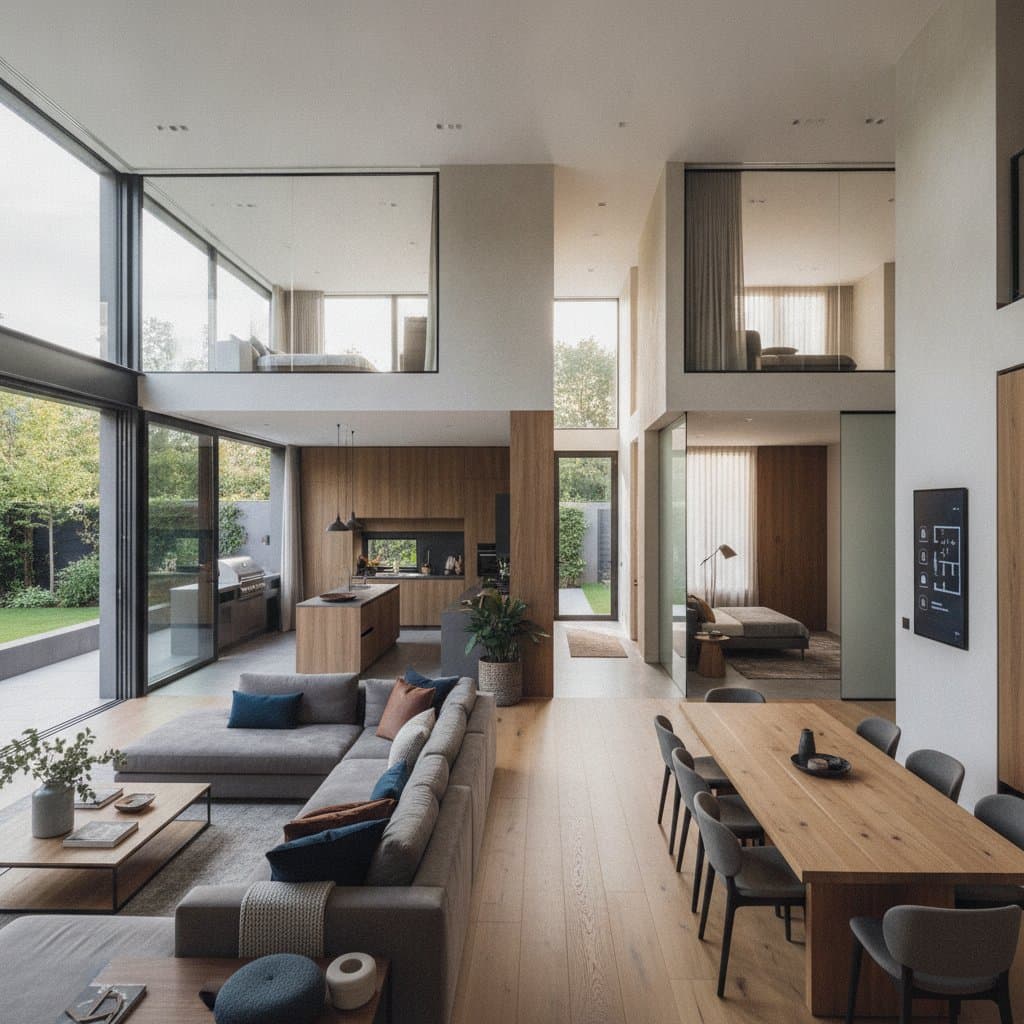
- Smart multigenerational layouts establish private zones alongside shared spaces to foster family connection.
- Incorporating or converting an accessory dwelling unit (ADU) provides the most adaptable expansion option.
- Total costs range from $80,000 to $350,000, influenced by layout complexity, material selections, and site preparation requirements.
- Early planning addresses accessibility features, sound control measures, and utility separations for optimal results.
Pros and Cons
Pros
- Reduces housing and caregiving expenses through efficient shared living.
- Strengthens family bonds while maintaining individual privacy.
- Enhances property value and offers versatility for future adaptations.
- Lowers overall utility expenses via integrated systems.
Cons
- Demands extensive zoning approvals and permit processes.
- Involves significant initial investments in construction or renovation.
- Requires specialized soundproofing and accessibility modifications.
- Potential resale challenges arise from highly customized configurations.
Step-by-Step: Planning a Smart Layout
Tools and Materials
- Graph paper or digital floor planning software
- Tape measure for precise dimensions
- Building code compliance checklist
- Budget tracking spreadsheet
Time: 2 to 6 months for design development and permit acquisition
Difficulty: Moderate to complex, depending on structural changes
- Define Needs. Identify all household members, specify required privacy levels, and outline essential shared areas such as kitchens or living rooms.
- Map Existing Space. Accurately measure every room, noting load-bearing walls, existing plumbing, electrical lines, and key access points like doors and windows.
- Pick a Layout Type. Select from options including a basement conversion, garage transformation, detached ADU, or internal reconfiguration to suit site constraints.
- Plan Separate Access. Incorporate an exterior entrance or dedicated interior hallway to ensure privacy, emergency egress, and daily convenience.
- Add Sound Barriers. Install double layers of drywall, acoustic insulation, or resilient channels in walls and ceilings dividing living areas.
- Include Accessibility Features. Design doorways with minimum widths of 32 inches, install lever-style handles, opt for low-threshold showers, and choose slip-resistant flooring materials.
- Review Utilities. Evaluate options for shared or independent HVAC, water, and electrical systems; separate metering facilitates equitable cost allocation.
- Get Permits. Prepare and submit detailed plans for review of structural integrity, plumbing standards, and electrical safety.
- Hire Specialists. Engage a structural engineer or architect for projects involving load-bearing modifications or multi-level additions.
- Inspect and Adjust. During framing stages, verify adequate clearances, natural lighting, and ventilation to comply with local codes.
A well-structured plan minimizes unexpected change orders and controls expenses throughout the project.
DIY vs Pro
Safe for DIY
- Interior painting, flooring installation, and trim work.
- Non-structural framing, provided load paths are clearly understood.
- Hardware additions such as grab bars, cabinet pulls, or adjustable shelving.
Hire a Pro When
- Relocating or installing new plumbing or electrical systems.
- Altering load-bearing walls or roof structures.
- Integrating new HVAC units or independent metering.
What a Pro Will Do Differently
Licensed contractors guarantee adherence to building codes, achieve required insulation levels, and ensure proper venting. They oversee inspections, synchronize trade schedules, and prevent expensive rework from overlapping efforts.
Alternatives
Option A: Interior Suite Conversion
Suitable for compact lots, this approach transforms a portion of the primary residence into a self-contained suite with a full bathroom and compact kitchenette. Expenses typically fall between $40,000 and $120,000. While privacy remains somewhat limited, implementation occurs relatively swiftly.
Option B: Attached ADU
This configuration extends the home with an additional wing or over-garage structure, perfect for aging parents or extended guests. Costs range from $120,000 to $250,000. It shares certain utilities yet provides a distinct entryway for enhanced independence.
Option C: Detached ADU
Constructed as a separate small residence on the property, this delivers maximum privacy and strong resale appeal. Budget $180,000 to $350,000 based on square footage and finish quality. Ideal for those prioritizing autonomy within family proximity.
FAQs
How big should a multigenerational suite be?
Target 400 to 600 square feet to accommodate comfortable living and essential accessibility elements without feeling cramped.
Can I rent out the ADU later?
Affirmative, provided local zoning permits it. Verify regulations on short-term versus long-term rentals to avoid violations.
Do I need separate utilities?
Separate utilities prove unnecessary in all cases, yet individual meters enable precise usage monitoring and fair billing among residents.
Will it increase property taxes?
Generally, yes, as expanded square footage elevates the assessed property value and corresponding tax obligations.
Is accessibility worth the cost upfront?
Absolutely. Incorporating features like wider doorways, reduced thresholds, and ergonomic handles during initial construction avoids far higher expenses from subsequent retrofits.
Implementing Your Design
Begin by articulating your family's spatial sharing preferences. Conduct thorough measurements of the current home, consult zoning ordinances, and draft initial layouts prior to engaging builders. Thoughtful decisions on elements like hallway widths and acoustic treatments enhance everyday functionality. With foresight into privacy, accessibility, and safety, your multigenerational residence evolves into a versatile haven supporting family dynamics for years ahead.