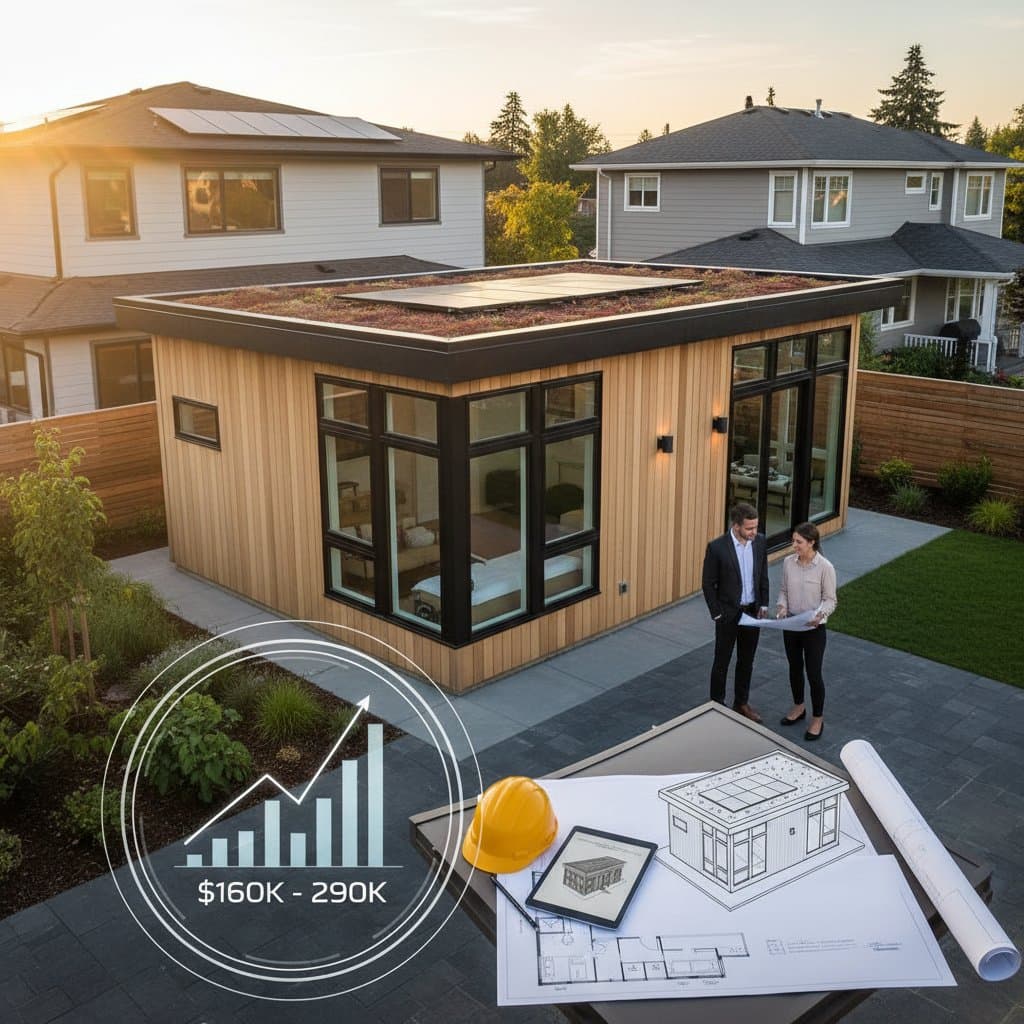
Understanding Granny Flat Construction Costs for Investors in 2026
Granny flats, also known as accessory dwelling units (ADUs), offer investors a way to generate additional income from existing properties. In 2026, the total cost for a complete build typically falls between $160,000 and $290,000. These figures account for materials, labor, and basic finishes, but investors must also factor in site preparation, permitting fees, and utility connections, which can increase expenses by $15,000 to $40,000.
Local regulations play a significant role in final costs. For instance, urban areas with strict zoning may require additional engineering reports or environmental assessments. Investors who overlook these elements risk budget overruns. To proceed confidently, obtain multiple quotes from licensed contractors familiar with regional codes.
DIY kits appear as a cost-saving option, often priced under $100,000. However, they frequently exclude compliance with building standards, utility integrations, or site-specific adaptations. Investors attempting this route should consult engineers to verify structural integrity and code adherence, as non-compliance can lead to demolition orders or fines.
Rental returns vary by location. In high-demand markets like coastal cities, monthly rents for a 600-square-foot granny flat may reach $2,000, yielding a payback period of 10 to 15 years. In suburban or rural settings, rents might average $1,200, extending recovery time. Long-term upkeep, including repairs and insurance premiums, influences net profitability. Investors benefit from conducting a thorough market analysis before committing funds.
Advantages and Disadvantages of Granny Flat Investments
Advantages
Granny flats enable steady rental income without purchasing new land. A well-designed unit can generate $15,000 to $30,000 annually, depending on size and location. This supplemental revenue supports mortgage payments or builds equity.
Property values often increase by 10 to 20 percent with an added ADU. Resale appeal grows, particularly for buyers seeking multigenerational housing options. Many municipalities offer tax incentives, such as reduced property taxes for the first few years or expedited permitting for compliant builds.
The space provides flexibility for family members, aging parents, or short-term guests. In some cases, owners convert the unit for home office use during economic shifts, maintaining its utility.
Disadvantages
Upfront costs exceed those of internal renovations, which might run $50,000 to $100,000. Investors must secure financing, often through home equity loans with interest rates around 6 to 8 percent in 2026.
Permitting processes can span three to six months, involving multiple reviews and potential appeals. Surprise fees, such as impact fees for increased water usage, add thousands to the budget.
Ongoing expenses include separate insurance policies, estimated at $500 to $1,000 yearly, plus maintenance for roofs, HVAC systems, and landscaping. Utility bills rise if separate meters are installed.
Zoning restrictions in certain neighborhoods cap unit size at 800 square feet, limit heights to one story, or mandate additional parking spaces. Non-compliance results in project halts or redesigns.
Step-by-Step Guide to Planning and Constructing a Granny Flat
Effective granny flat projects require meticulous preparation. Allocate six to twelve months from initial planning to occupancy. The process demands moderate to high skill levels, so beginners should involve professionals early.
Essential Tools and Preparation Materials
Gather a tape measure, spirit level, and surveying stakes to outline the build area accurately. Obtain utility locator maps from local providers and zoning diagrams from the city planning department. Create a detailed budget spreadsheet tracking all expenses, from materials to labor.
Wear personal protective equipment, including heavy-duty gloves, safety glasses, and ear protection during site work. Secure at least three builder quotes or architectural design plans that align with your vision and budget.
1. Verify Zoning and Site Suitability
Begin by measuring your lot dimensions and identifying setbacks, typically 5 to 10 feet from property lines. Review height restrictions, often limited to 16 feet, and maximum allowable square footage, usually 1,000 square feet or 50 percent of the primary residence.
Contact the city planning office to discuss ADU ordinances, utility capacity for your address, and parking mandates, which may require one additional space per unit. If existing sewer lines or electrical panels lack capacity, plan for upgrades costing $5,000 to $15,000. Document all findings to support permit applications.
2. Develop the Design
Select from attached, detached, or garage conversion configurations based on lot constraints. Attached units suit narrow properties by sharing a wall with the main house, reducing foundation needs. Detached options provide tenant privacy and command higher rents, up to 20 percent more.
Garage conversions minimize costs at $80,000 to $150,000 but may eliminate vehicle storage, prompting alternative parking solutions. Engage a designer certified in local energy efficiency standards and fire safety requirements, such as 1-hour fire-rated walls between units.
3. Secure Permits and Approvals
Prepare and submit site plans, engineered structural drawings, and energy compliance forms to the building department. Anticipate fees: $2,000 to $5,000 for plan reviews, plus impact charges of $3,000 to $10,000 based on unit size.
Utility companies will review connections separately, adding $1,000 to $3,000 in inspection costs. Retain copies of all documents for reference during construction. Incomplete submissions can postpone progress by four to eight weeks; follow up weekly to track status.
4. Site Preparation
Remove vegetation, rocks, and debris from the build area, then grade the soil to ensure a level base with proper drainage slopes of at least 2 percent away from foundations. For sloped lots over 10 percent, rent a mini excavator or hire a grading specialist to avoid erosion issues.
Trench carefully for water, sewer, and electrical lines, using underground utility locators to mark existing infrastructure and prevent damage. Address potential obstacles like tree roots or poor soil by incorporating retaining walls or soil stabilization, which may add $5,000 to the budget.
5. Erect the Structure
Adhere strictly to approved plans during framing: install concrete footings at least 24 inches deep in frost-prone areas, then raise walls with pressure-treated lumber. Position roof trusses for optimal load distribution and cover with weather-resistant sheathing.
Schedule inspections at key phases: foundation pour, rough framing, electrical rough-in, plumbing installation, insulation placement, and final walkthrough. Each inspection ensures compliance; failures require corrections that delay timelines by days or weeks and incur rework fees.
6. Integrate Utilities and Complete Finishes
Connect municipal water, sewer, natural gas, and electrical services per code, using licensed plumbers and electricians. Pressure-test plumbing lines and circuit-test electrical panels before enclosing them in walls to identify leaks or faults early.
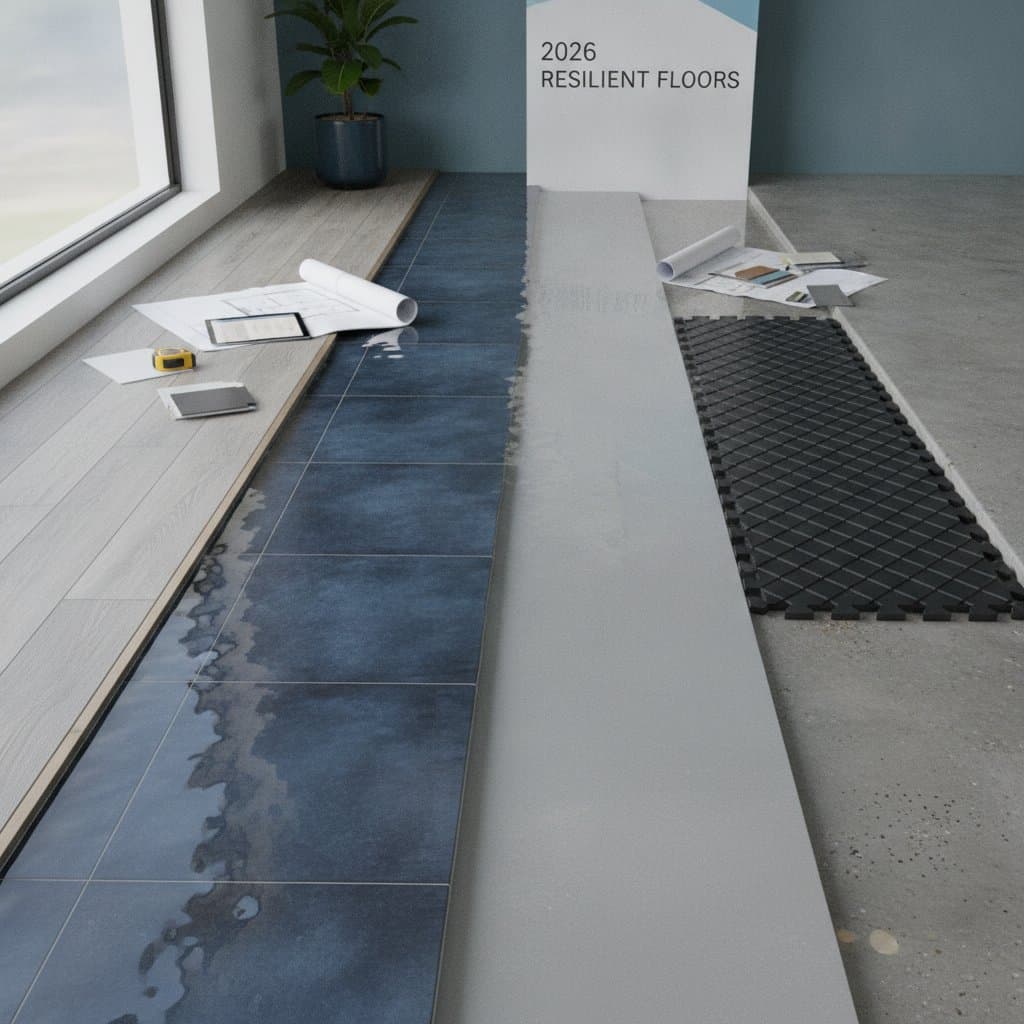
Install drywall, resilient flooring like vinyl plank, modular cabinetry, and low-VOC paint for durability and health. Incorporate double-pane, energy-efficient windows and R-19 insulation to satisfy Title 24 standards and reduce utility costs by 15 to 20 percent.
7. Final Inspection and Occupancy
Arrange the comprehensive final inspection to verify all systems function and codes are met. Address any deficiencies on the punch list, such as minor leaks or incomplete caulking, within the allotted timeframe.
Register the new unit with the county assessor's office if local laws require separate addressing. For rental purposes, install sub-meters for water and electricity to enable accurate billing and demonstrate income potential to lenders.
DIY Approaches Versus Professional Builds
Tasks Suitable for DIY
Homeowners can handle initial planning, including code research and budget creation using free online zoning tools. Light demolition of non-structural elements, along with interior tasks like painting walls or laying laminate flooring, saves on labor.
Basic landscaping, such as sod installation or mulch spreading around the unit, enhances curb appeal without specialized skills. Cleanup throughout the project keeps the site organized and compliant with local ordinances.
When to Hire Professionals
Engage experts for foundation work, including excavation and concrete pouring, to ensure stability against settling or seismic activity. New installations of plumbing, gas lines, or electrical systems demand licensed tradespeople to meet safety standards.
Projects involving roof integrations or modifications to load-bearing walls require structural engineers to calculate stresses and prevent collapses. Municipalities often mandate licensed general contractors for permitting and inspections in these areas.
Key Differences in Professional Execution
Licensed builders perform load calculations using software to predict material needs accurately, file permits efficiently, and sequence subcontractors like framers and roofers to minimize downtime. Their familiarity with inspection protocols avoids common pitfalls, such as improper wiring that could cause fires.
While DIY efforts cut labor costs by 20 to 30 percent on minor tasks, errors in critical areas like grading lead to foundation cracks costing $10,000 to fix. Professionals deliver warranties on workmanship, providing investors peace of mind for rental operations.
Alternative Options to Full Granny Flat Builds
Garage Conversions
Ideal for properties with existing concrete slabs and walls, this approach reduces costs by 20 to 40 percent compared to ground-up construction. Focus on adding insulation, windows, and interior partitions while preserving structural elements.
The process accelerates rental income generation, often completing in two to four months. However, assess parking impacts; consider carports if spaces are lost to maintain compliance and tenant satisfaction.
Basement Apartments
Suitable for homes in temperate or cold regions, basements leverage existing foundations and roofs, cutting expenses by 30 percent. Install egress windows for emergency exits and sump pumps for moisture control to meet habitability codes.
This option excels for family use, offering privacy below ground level. Waterproofing investments of $3,000 to $7,000 prevent future flooding issues common in high-water-table areas.
Prefabricated ADUs
Manufactured off-site and delivered in sections, prefab units assemble in weeks, minimizing weather delays and site mess. Costs range from $120,000 to $220,000, including transport, but customization options remain limited to standard floor plans.
Verify transport routes for large modules, as oversize fees apply in congested areas. On-site foundations and utility ties still require local contractors, adding $10,000 to $20,000.
Project Readiness Checklist for Granny Flats
-
Measure lot boundaries and verify zoning allowances for ADUs.
-
Select layout type: attached, detached, or conversion, based on site analysis.
-
Obtain and compare quotes from three or more qualified builders.
-
Allocate budget reserves for permits, utility upgrades, and unforeseen site issues.
-
Arrange financing through loans or equity lines with current rate comparisons.
-
Submit permit applications at least 60 days before intended start date.
-
Plan inspection schedules aligned with construction milestones.
-
Develop a post-completion maintenance schedule covering HVAC servicing and pest control.
Executing Your Investment Strategy
Approach granny flat development as an extension of your property portfolio, emphasizing financial viability from the outset. Conduct zoning inquiries and budget projections before any ground breaks. Early consultations with building officials clarify fees and timelines, streamlining approvals.
Compare builder proposals that encompass full scopes: site work, utility integrations, and quality finishes. When rental projections cover costs within 10 to 15 years, the investment strengthens financial security. Prioritize code adherence and durability to ensure the unit delivers consistent income and elevates overall property performance for years ahead.