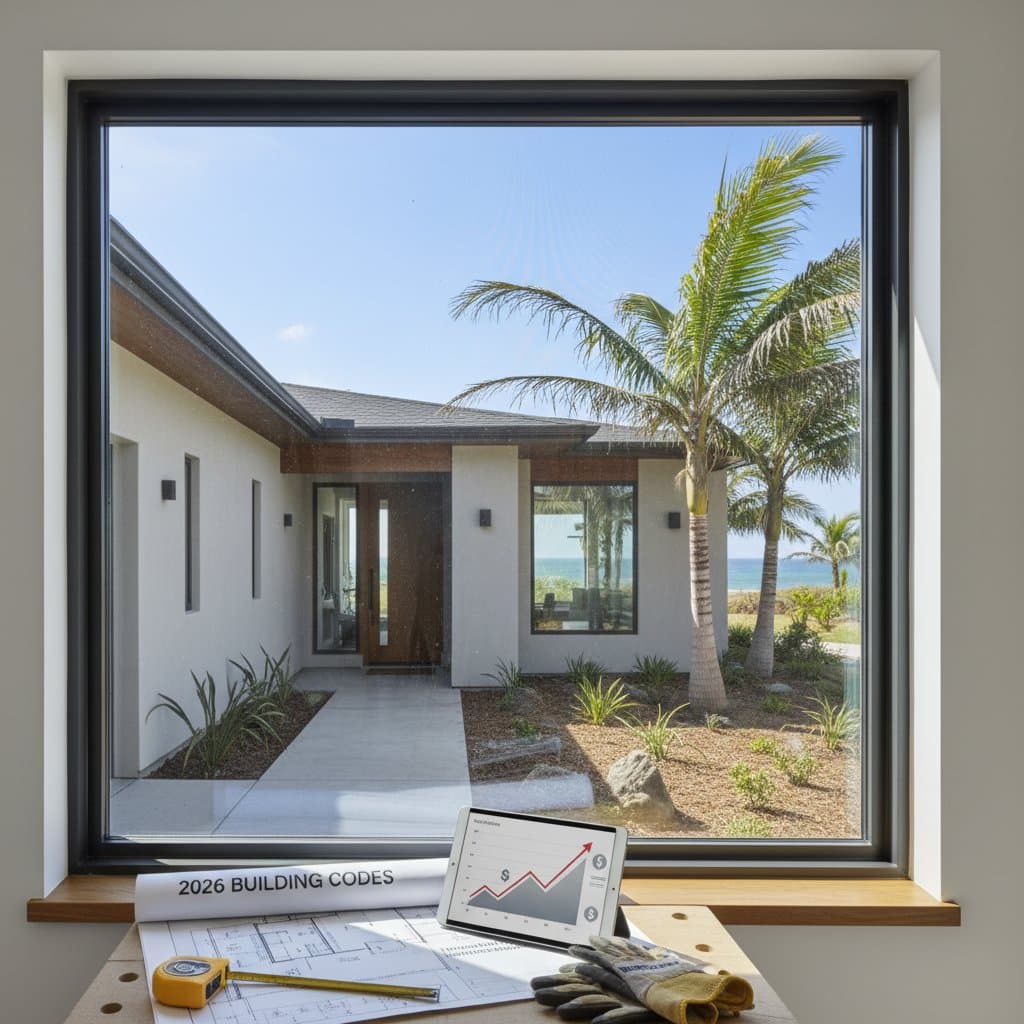
2026 Costs for Hurricane-Proof Window Installations
Homeowners in coastal or storm-prone areas view hurricane-proof windows as essential upgrades for safety and property value. This guide addresses key questions about expenses, including what influences pricing and options for handling the work. Readers gain insights into real-world costs, installation factors, and preparation steps to achieve reliable storm protection.
Understanding Hurricane-Proof Windows and Their Applications
Hurricane-proof windows, also known as impact-rated units, feature laminated glass with a durable interlayer that holds fragments in place upon breakage. Frames consist of reinforced aluminum, vinyl, or steel, secured with robust fasteners into the building structure. Building codes mandate these windows in many coastal areas, and experts recommend them for regions where winds surpass 120 miles per hour.
Consider installation in these situations:
- Residences in coastal or high-wind zones.
- Properties where insurance policies demand impact resistance.
- Homes seeking fixed storm barriers without relying on shutters.
- Replacements for outdated single-pane or basic double-pane windows.
Advantages, Drawbacks, and Ideal Applications
Advantages
- Minimize damage from storms and enhance security against intrusions.
- Potentially reduce insurance rates through improved protection.
- Boost energy efficiency and dampen external noise.
- Elevate market value for properties in coastal locations.
Drawbacks
- Initial expenses exceed those of conventional windows.
- Added weight demands sturdy framing and expert installation.
- Repairs for damaged glass involve higher costs.
Ideal Applications
- Structures within 25 miles of the shoreline.
- Buildings with extensive glass surfaces or sliding doors.
- Owners intending to reside in the home for a minimum of ten years.
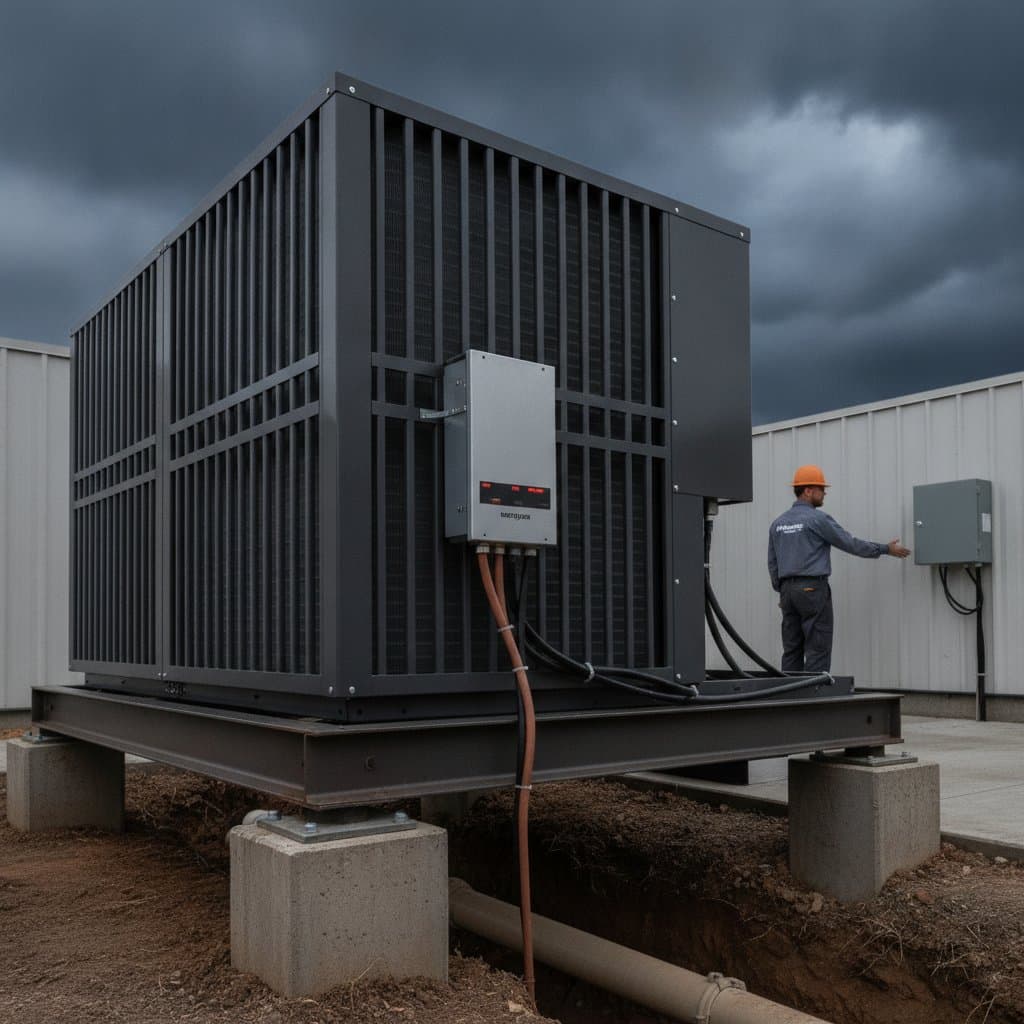
Detailed Cost Analysis and Influencing Elements
Installed hurricane-proof windows typically cost between 60 and 130 dollars per square foot. For a standard three-bedroom house featuring 15 to 20 window openings, the overall expense falls between 18,000 and 35,000 dollars, encompassing materials and labor.
| Scope Item | Material Cost Range | Labor Cost Range | Total Range | Notes on Drivers |
|---|---|---|---|---|
| Small single-hung window (24x36 in.) | 350 - 700 | 150 - 300 | 500 - 1000 | Size, frame type, and access height |
| Large picture window (48x60 in.) | 700 - 1500 | 300 - 700 | 1000 - 2200 | Weight, glass specification, and handling |
| Sliding glass door (72x80 in.) | 1500 - 2800 | 700 - 1200 | 2200 - 4000 | Track alignment and waterproofing |
| Whole-house install (15-20 units) | 12,000 - 22,000 | 6,000 - 13,000 | 18,000 - 35,000 | Mix of sizes and removal of old units |
Key Cost Influences
- Material Quality – Variations in impact glass, frame materials, and hardware finishes.
- Labor Demands – Challenges from height, wall construction (masonry versus wood), and old unit removal.
- Project Site Factors – Exposure to coastal corrosion, requirements for scaffolding, and potential weather interruptions.
Installation Procedure Overview
Prioritize safety by donning gloves, eye protection, and hearing safeguards. Employ a respirator during tasks involving cutting or grinding near stucco or concrete surfaces.
- Measure and Procure – Obtain precise measurements, allowing 1/4 inch total clearance per side for adjustments. Confirm compliance with ASTM E1996 standards or Miami-Dade Notice of Acceptance certifications.
- Extract Existing Window – Cut along caulk lines, remove trim carefully, and sever fasteners. Safeguard interior surfaces from damage.
- Evaluate Opening – Examine for decay, rust, or masonry fractures. Address repairs prior to new installation.
- Position for Fit – Place the window temporarily to verify alignment in plumb, level, and square positions.
- Secure Anchors – Fasten with stainless or galvanized screws that extend at least 1.5 inches into framing. Adhere to manufacturer guidelines, such as 6-inch spacing at corners and 12 inches along sides.
- Apply Seals – Insert backer rod followed by sealant suitable for coastal conditions. Maintain a continuous application without voids.
- Complete Finishing – Affix trim, operate the window to test functionality, and clean all surfaces.
Professional teams complete 10 to 12 windows over two to three days. Independent efforts extend based on experience and equipment availability.
Compliance, Permits, and Safety Protocols
These windows adhere to structural and building envelope regulations. Local authorities generally require permits and inspections. Verify that the unit's pressure rating aligns with the design pressure for the area; coastal properties often need ratings of 50 or greater.
Essential Safety Measures
- Isolate electrical circuits near work areas involving wall penetration.
- Position ladders on firm, level ground.
- Avoid solo handling of large glass panels; involve at least two individuals or use suction devices rated beyond 200 pounds.
Noncompliance risks insurance invalidation and complicates post-storm claims. Retain product documentation and inspection records for reference.
Pitfalls to Sidestep
- Inadequate Anchoring – Insufficient screw length or overlooked studs lead to frame shifts during high winds.
- Substandard Sealing – Inferior caulk deteriorates from ultraviolet rays and salt exposure.
- Neglected Evaluations – Uninspected work may hinder property sales or insurance approvals.
- Faulty Shimming – Uneven support distorts frames and risks glass fractures.
- Inconsistent Ratings – Varied protection levels across openings compromise system integrity.
Longevity and Upkeep Strategies
With diligent maintenance, impact windows endure 25 to 40 years. Properly sealed laminated glass resists yellowing or separation.
Routine Maintenance Schedule
- Immediate Post-Installation – Wipe frames, assess alignment, and verify locks.
- Seasonal Intervals – Clean glass, clear weep holes, and review caulk integrity.
- Yearly Inspections – Adjust hardware tension, apply lubrication to mechanisms, and repair any corrosion or sealant cracks.
- Replacement Indicators – Address seal breaches or internal fogging between glass layers.
Steer clear of high-pressure washing near seals. Opt for mild soap solutions and soft cleaning materials.
Guidelines for Professional Versus Independent Installation
Apply this decision framework to determine involvement level.
- Experience Assessment – Individuals with framing and carpentry backgrounds may manage smaller openings. Structural or large-scale projects necessitate licensed professionals.
- Risk Evaluation – Tasks at elevations above one story or proximate to electrical elements demand expert handling.
- Equipment Check – Procedures require torque tools, suction lifts, and marine-grade sealants; rental fees can offset savings.
Independent work cuts labor costs by 25 to 35 percent yet introduces liabilities like leaks, warranty nullification, and inspection failures. Licensed contractors prove preferable for comprehensive home replacements.
Evaluating Contractor Proposals
| Line Item | Specification or Scope | Contractor A | Contractor B | Contractor C | Variance Notes |
|---|---|---|---|---|---|
| Window Type | Laminated glass, DP 50 | Included | Included | Included | Consistent across bids |
| Frame Finish | White vinyl | White vinyl | Bronze aluminum | White vinyl | Aluminum incurs color premium |
| Installation Method | Full removal, new caulk | Full removal | Retrofit | Retrofit | Retrofit reduces cost but durability |
| Warranty Coverage | 20 years glass, 5 years labor | Lifetime frame | 10 years total | Varies by labor | Labor terms show greatest difference |
Request proposals based on uniform specifications. Demand documented design pressure ratings and manufacturer approvals in writing.
Preparation Essentials
Required Tools
- Drill, torque driver, pry bar, suction cups, sealant applicator
Necessary Skills
- Precise framing, effective caulking, and surface finishing
Safety Equipment
- Gloves, protective eyewear, respirator, helmet for elevated tasks
Permit Requirements
- Approval for window replacements and structural reviews
Preliminary Actions
- Relocate furnishings, dismantle shades, and shield flooring
Environmental Considerations
- Schedule sealing away from high humidity or precipitation
Resolving Common Issues
Address alignment problems by rechecking shims and anchors immediately after fitting. For sealing failures, remove old material completely and reapply in dry conditions. If operational stiffness occurs, lubricate hinges and tracks with silicone-based products. Persistent leaks signal inadequate flashing; consult a professional for reinforcement. Document all adjustments to maintain warranty eligibility.
Securing Your Home Against Storms
Investing in hurricane-proof windows fortifies residences while enhancing efficiency and value. By understanding costs, following installation best practices, and committing to maintenance, homeowners achieve lasting protection. Consult local experts to tailor solutions to specific needs and ensure compliance with regional standards.