Uncover the Benefits of Storm-Resistant Windows
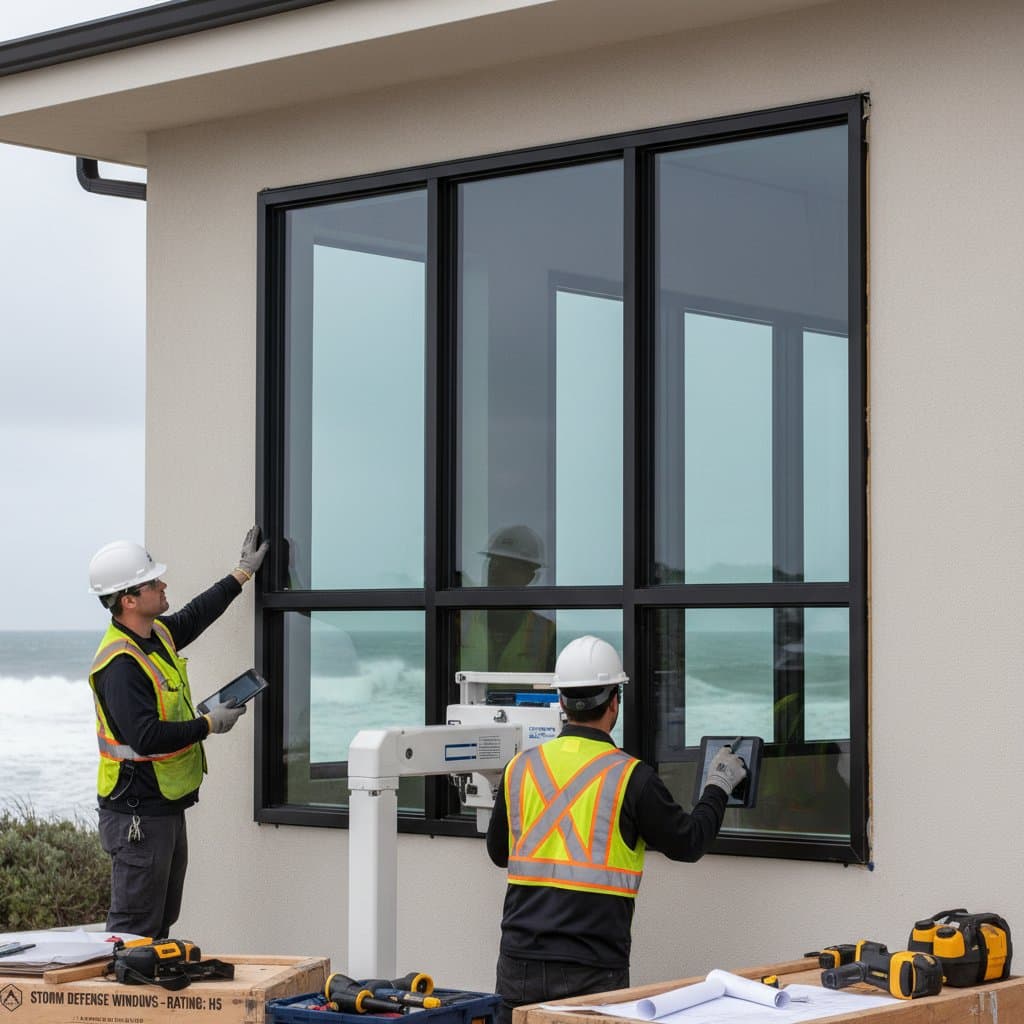
Storm-resistant windows serve as a robust defense for homes facing high winds, flying debris, and atmospheric pressure shifts common in severe weather events. These specialized units not only mitigate potential damage during storms but also contribute to year-round energy savings and enhanced security. Homeowners in hurricane-prone or coastal zones stand to gain the most from this upgrade.
Key Highlights
Storm-resistant windows offer multifaceted protection and efficiency.
- They shield against wind and debris impacts, potentially qualifying for insurance premium reductions.
- They enhance overall home security by resisting break-in attempts.
- They promote energy conservation through superior insulation and reduced air leakage.
- Professional installation remains essential to satisfy building codes and activate warranties.
Advantages and Drawbacks
Advantages
- These windows withstand high-velocity winds and debris strikes, providing critical protection during hurricanes and intense storms.
- They block excessive noise infiltration, harmful ultraviolet rays, and unnecessary heat transfer, leading to lower utility bills.
- Installation can increase property resale value and unlock discounts from insurers who recognize the added resilience.
- The reinforced glass and frames deter forced entry, bolstering home security beyond storm seasons.
Drawbacks
- Initial purchase and setup costs exceed those of conventional double-pane options.
- Their substantial weight often demands reinforced framing or modifications to existing structures.
- Errors during installation risk invalidating warranties or failing mandatory inspections.
- Availability of design varieties may prove limited depending on regional suppliers and manufacturers.
Installation Process: A Detailed Guide
Required Tools and Materials
- Measuring tape for precise dimensions.
- Level and square to ensure alignment.
- Impact-rated screws designed for high-stress conditions.
- Caulk gun loaded with durable, exterior-grade sealant.
- Flashing tape to create waterproof barriers.
- Drill equipped with appropriate driver bits.
- Safety glasses and gloves for personal protection.
Estimated Time and Skill Level
- Professionals typically complete one window in two to four hours.
- The task rates as moderate to high in difficulty, given the need for exact measurements and adherence to safety codes.
Installation Steps
-
Prepare the Window Opening. Carefully remove existing sashes, trim pieces, and accumulated debris. Inspect the frame thoroughly for signs of rot or distortion, then repair or replace any compromised sections of wood.
-
Measure and Perform a Dry Fit. Ensure the replacement window aligns with gaps no larger than one-quarter inch on all sides. Position it temporarily without adhesives to verify compatibility.
-
Install Flashing Tape. Apply tape along the sill and adjacent sides to block water penetration. Overlap the tape by at least six inches at every corner for comprehensive coverage.
-
Position the Window Unit. Insert the window into the opening and employ shims to achieve perfect level and squareness.
-
Secure the Anchors. Drive impact-rated screws through the frame directly into the building structure, adhering to the manufacturer's recommended spacing intervals.
-
Apply Perimeter Sealant. Distribute a uniform layer of exterior-grade caulk around the entire frame edge. Tool the caulk smooth to form an impenetrable seal against moisture.
-
Conduct Inspection and Testing. Operate the window mechanism repeatedly to confirm fluid movement and uniform spacing. Simulate rain with a light water spray to detect any leakage points.
-
Complete Finishing Touches and Cleanup. Reinstall interior trim as needed, polish the glass surfaces, and dispose of debris in accordance with local environmental regulations.
Deciding Between DIY and Professional Installation
Conditions Suitable for DIY Efforts
- Possess advanced finish carpentry expertise along with access to essential power tools.
- Target smaller windows located at accessible ground-level positions.
- Verify all measurements, local codes, and anchoring specifications prior to commencement to avoid costly errors.
Scenarios Requiring Professional Expertise
- Reside within designated coastal wind zones subject to rigorous inspection protocols.
- Encounter window openings that necessitate reframing or structural enhancements.
- Face insurance policies or permitting processes that mandate certified workmanship.
Distinct Professional Approaches
Professionals prioritize verification of pressure resistance ratings and full compliance with prevailing building codes. They execute flashing and sealing techniques tailored to regional standards. Additionally, they furnish essential documentation to support insurance claims and enhance property marketability.
Viable Alternatives to Full Window Replacement
Temporary Storm Shutters. Ideal for vacation properties or budget-conscious setups, these exterior panels deploy manually before approaching storms. While more affordable initially, they demand dedicated storage space, pre-storm preparation, and routine upkeep.
Plywood Boarding. Suited for urgent, one-off protections, this method involves quick fabrication from affordable sheets. However, it falls short of code compliance for permanent solutions and requires accurate cutting plus dry storage to remain effective.
Protective Window Films. These provide basic shatter-prevention for interior safety but fail to satisfy storm-rated standards. Consider them as an adjunct measure rather than a standalone substitute for engineered impact glass.
Pre-Purchase Preparation Checklist
- Accurately measure every window opening and evaluate the integrity of surrounding framing.
- Research applicable local wind zone classifications and associated permitting obligations.
- Evaluate offerings from a minimum of three reputable, certified manufacturers.
- Request documented evidence of impact resistance and pressure performance testing.
- Review warranty terms to confirm protection for glass, frames, and labor components.
- Allocate funds for expert labor fees and any required repairs to trim or adjacent areas.
- Plan the installation timeline to occur well before peak storm periods, minimizing disruption risks.
Steps to Secure Your Upgrade
Begin your project by consulting local building codes and reviewing your homeowner's insurance policy details. Many high-risk areas mandate impact-rated windows for new builds or extensive renovations. If existing windows show signs of rattling or drafts, proactive replacement averts substantial future repair expenses from weather events.
Solicit bids from at least two licensed specialists in impact window systems. Inquire about code conformity, anchoring materials, and sealing methods specific to their installations. Scrutinize warranty provisions to ensure comprehensive coverage for both products and workmanship.
Following completion, retain all invoices and certification paperwork. Such records often facilitate insurance premium adjustments or elevate your home's appeal in real estate transactions.
Investing in storm-resistant windows fortifies your residence against threats while delivering sustained comfort and financial returns. The upfront commitment pales in comparison to the safeguards against unpredictable storm devastation.