Understanding the 2025 Building Code Changes for Mold Prevention
Mold prevention transitions from a mere suggestion to an essential requirement under the 2025 building codes. These updates impose stricter controls on moisture management and material selection in both residential and commercial projects. The primary objective remains clear: minimize mold hazards during the initial design and construction phases to avoid expensive repairs later. Key areas impacted include framing techniques, insulation choices, HVAC system designs, and inspection protocols. Property owners, construction professionals, and building inspectors must grasp these modifications to achieve compliance while controlling expenses.
This evolution stems from growing evidence linking mold to health issues such as respiratory problems and allergies. Codes now specify minimum standards for vapor barriers and ventilation rates, tailored to regional climates. For instance, in humid areas, requirements emphasize continuous air barriers to prevent moisture infiltration. Builders who adapt early position themselves for smoother project timelines and enhanced reputation in sustainable construction.
Benefits, Drawbacks, and Ideal Applications
Benefits
- Reduced incidence of mold growth, leading to fewer remediation claims and associated costs
- Extended durability of building materials, particularly in humid or coastal environments
- Improved indoor air quality, resulting in decreased health complaints related to allergens
- Simplified attainment of green building certifications, such as LEED, through integrated compliance
Drawbacks
- Elevated initial investments in specialized materials and skilled labor
- Increased demands for detailed inspections and comprehensive documentation
- Restricted availability of compliant products in rural or underserved markets
Ideal Applications
New construction or extensive renovations in regions prone to humidity or flooding represent prime scenarios for these measures. Projects featuring airtight building envelopes or high-efficiency HVAC systems benefit most from the integrated approach. Institutional facilities, where occupant health ranks as a priority, also align well with these standards, ensuring long-term safety and operational efficiency.
Implementation Workflow: Step-by-Step Guide
Before beginning, gather essential personal protective equipment, including gloves, a respirator, safety glasses, and knee pads. Assemble tools such as a moisture meter, vapor barrier tape roller, caulk gun, stapler, and thermal camera. These items enable precise execution and verification of code-compliant work.
-
Evaluate Moisture-Prone Areas. Pinpoint vulnerable zones like bathrooms, laundry spaces, kitchens, and subterranean walls. Consider local climate data to anticipate seasonal humidity fluctuations.
-
Choose Compliant Materials. Opt for products meeting ASTM standards, such as mold-resistant drywall, vapor-retarding membranes, and fasteners resistant to corrosion. Verify certifications through manufacturer documentation.
-
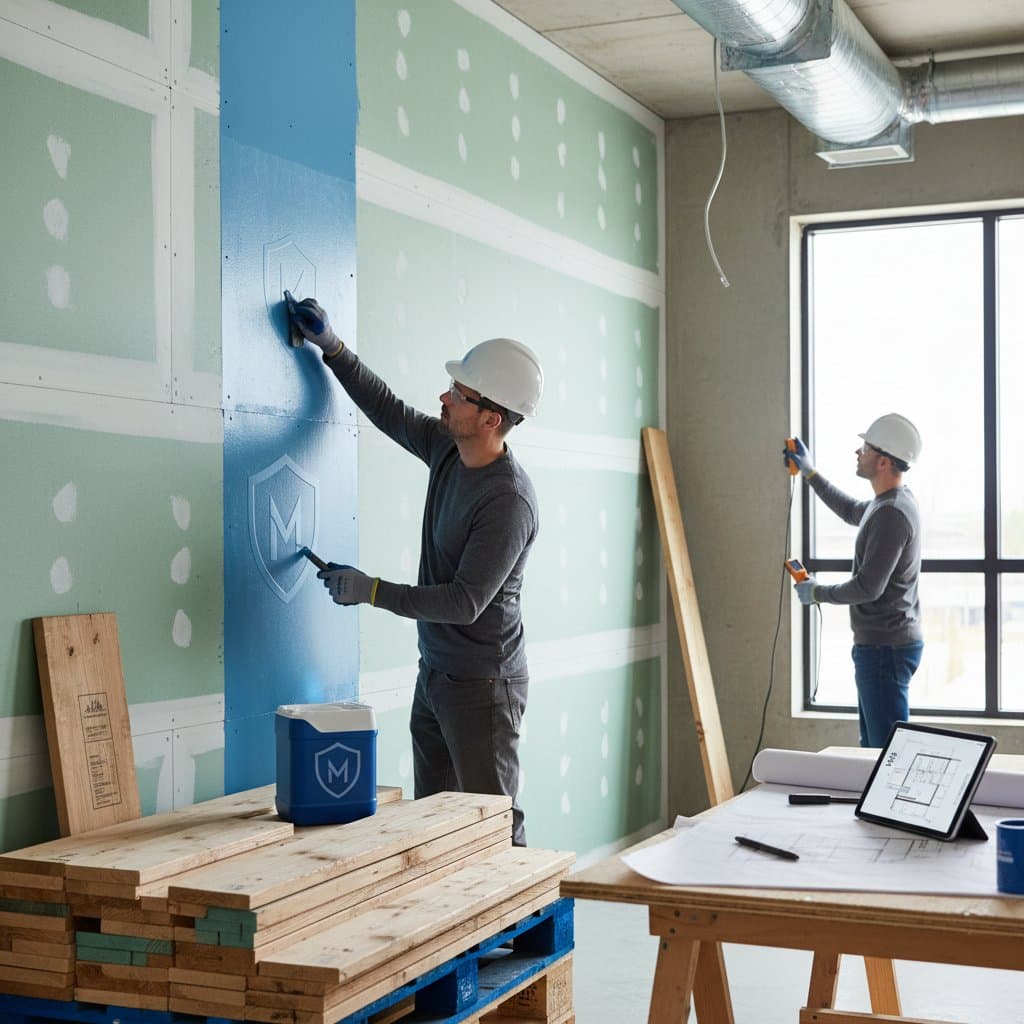
Apply Continuous Vapor Barriers. Overlap plastic sheeting by at least six inches and secure seams with butyl tape. Conduct a visual inspection of all joints prior to enclosing wall cavities.
-
Ensure Adequate Ventilation. Maintain balance between supply and return airflows within 10 percent variance. Equip exhaust fans to discharge outdoors, avoiding attic recirculation.
-
Manage Indoor Humidity Levels. Aim for 40 to 55 percent relative humidity indoors. Integrate dehumidifiers or heat recovery ventilators (HRVs) in designs for consistent control.
-
Conduct Testing and Documentation. Employ a pin-type moisture meter to ensure wood moisture content stays below 15 percent prior to drywall application. Log all measurements for submission during inspections.
-
Perform Final Assembly Inspections. Confirm proper installation of flashing, caulking, and foundation slopes directing water away from the structure. Examine roof penetrations to verify unbroken seals.
For a complete home retrofit, allocate 5 to 10 working days. In new builds, these steps extend the framing and drywall phases by one to two days, yielding a more resilient outcome.
Common Pitfalls and Prevention Strategies
Failure to balance ventilation can create negative air pressure, forcing moisture into wall assemblies. Avoid paper-faced drywall in high-moisture areas, as it promotes mold proliferation. Always align vapor barrier placement with the prevailing vapor drive direction in your climate zone to prevent unintended condensation.
Overlook no seam during vapor barrier installation; even minor gaps invite hidden moisture buildup. Maintain thorough documentation, including moisture test results and material labels, to pass inspections without delays. Contractors benefit from crew training that includes photographing each phase, archiving data, and affixing labels to materials. Such practices bolster warranty claims and audit readiness.
Deciding Between Professional and DIY Approaches
Apply these decision criteria to determine the best path forward.
-
Assess Skill Alignment. Experienced individuals may handle drywall installation or vapor barrier application, but professional equipment proves necessary for HVAC balancing and accurate moisture testing.
-
Evaluate Safety Considerations. Engage licensed contractors for any tasks involving electrical systems or structural modifications to mitigate risks.
-
Check Tool Access. Absence of a thermal camera or calibrated moisture meter precludes reliable compliance verification.
DIY efforts suit limited projects, such as a single bathroom refresh, isolated drywall replacement, or dehumidifier addition. Professional involvement becomes essential for new constructions, comprehensive basement completions, or installations requiring mechanical ventilation and framing adjustments.
Errors in execution risk enclosing moisture within walls, fostering undetected mold. Remediation expenses often exceed $10,000 and could invalidate insurance policies, underscoring the value of expertise.
Pre-Project Readiness Checklist
| Category | Items |
|---|---|
| Tools Required | Moisture meter, tape roller, caulk gun, stapler, thermal camera |
| Skills Required | Drywall installation, vapor barrier sealing, ventilation balancing |
| Safety Gear | Gloves, respirator, goggles, knee pads |
| Permits Needed | Building and mechanical permits for significant renovations |
| Preparation Tasks | Removal of outdated materials, drying of framing, verification of site grading |
| Site Constraints | Postpone work during periods of elevated humidity or precipitation |
Reviewing this checklist prior to commencement averts setbacks and inspection rejections, streamlining the overall process.
Addressing Typical Implementation Challenges
If condensation appears on windows, inspect ventilation equilibrium and humidity settings. Consider adding trickle vents or extending exhaust fan operation times to resolve the issue.
A musty odor following rainfall signals potential problems with roof flashing or wall sheathing joints. Deploy a thermal camera to identify cold bridges indicative of moisture entrapment, then seal affected areas promptly.
Persistent damp spots in basements often trace to inadequate foundation drainage. Install sump pumps or extend downspouts to redirect water, preventing recurrence.
Steps to Implement Compliance Today
Begin by auditing your project design to highlight all potential moisture entry points. Revise specifications to incorporate certified materials, backed by performance documentation.
Prepare your team through targeted training on sealing techniques and testing protocols ahead of inspections. Arrange for early scheduling of mechanical and building envelope evaluations to catch issues before enclosing surfaces.
These proactive measures not only ensure adherence to the 2025 codes but also deliver enduring benefits: healthier living spaces, cost savings over time, and structures built to withstand environmental challenges.