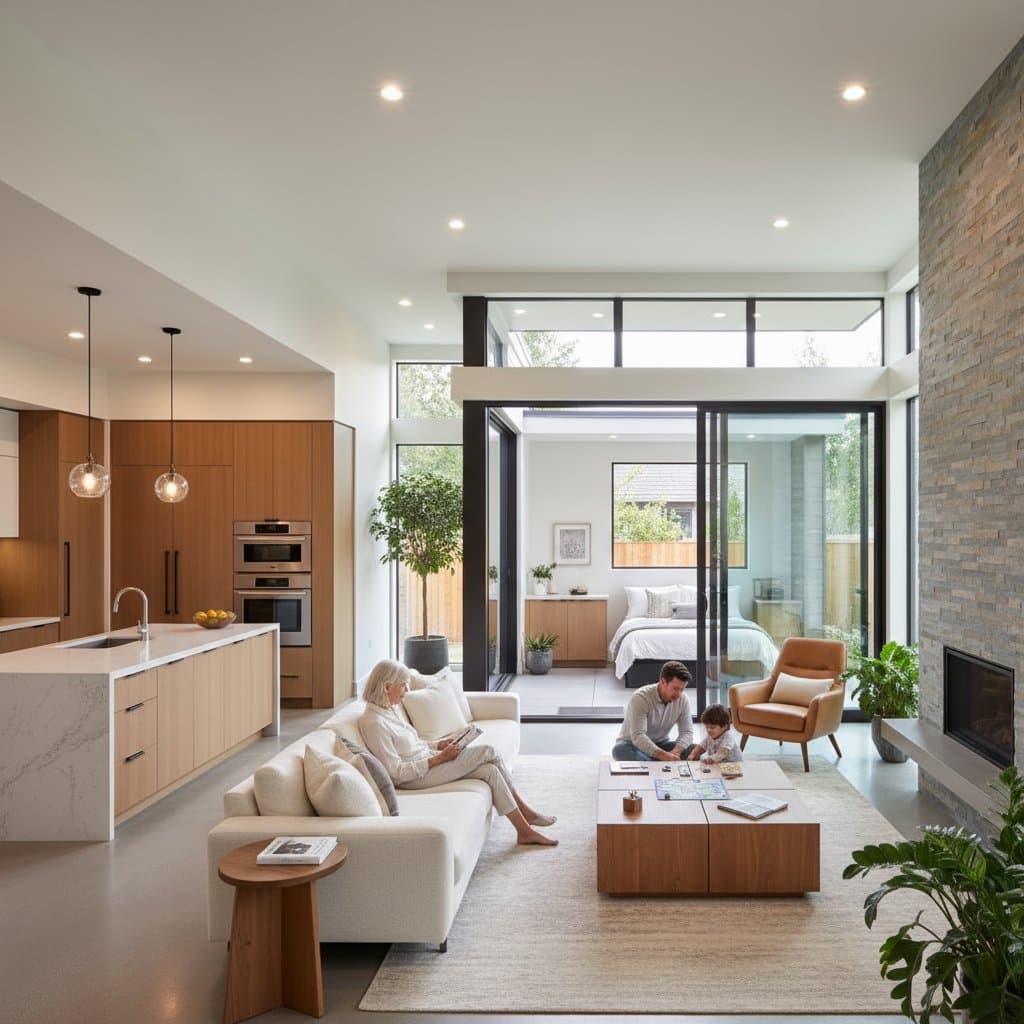
The Rise of Modular ADUs: A Cost-Effective Housing Solution
Accessory dwelling units, or ADUs, have gained popularity as a way to maximize property use. Modular ADUs stand out due to their factory-built construction, which ensures precision and quality control. In 2025, these units cost 30 percent less to install than site-built alternatives, making them accessible for many homeowners.
Traditional site-built homes require on-site labor, which exposes projects to weather delays and material inconsistencies. Modular ADUs, by contrast, arrive nearly complete from the factory. This approach reduces labor expenses and accelerates timelines, often completing in weeks rather than months.
Homeowners benefit from standardized designs that meet building codes upfront. These units serve multiple purposes, from guest houses to home offices or rental income sources. The cost savings stem from efficient production lines and reduced waste, positioning modular ADUs as a smart choice for residential expansion.
Key Advantages of Modular Construction
Factory environments allow for advanced manufacturing techniques that site-built projects cannot match. Components undergo rigorous testing before transport, minimizing defects. This results in structures that withstand environmental stresses better than many conventional builds.
Energy efficiency represents another strong suit. Modular ADUs incorporate insulation and sealing methods that exceed standard requirements. Solar-ready designs and smart home integrations further lower long-term operating costs.
The 30 percent savings calculation includes foundation, delivery, and setup fees. For a typical 600-square-foot unit, installation might total $50,000, compared to $70,000 for site-built equivalents. These figures account for current material prices and labor rates as of 2025.
Preparing for Modular ADU Installation
Successful installation begins with site assessment. Homeowners must evaluate space availability and zoning rules. Local regulations often dictate minimum distances from property lines, known as setbacks.
Utility connections play a critical role. Locate existing water, sewer, and electrical lines to avoid surprises. Professional surveys ensure compliance and prevent costly adjustments.
Weather conditions influence timing. Soft soil during rainy seasons can complicate crane operations. Schedule installations for dry periods to maintain stability and safety.
Essential Safety Measures
Safety remains paramount during setup. Crews require proper equipment to handle heavy modules. The following items form the core of on-site protection:
- Helmets to shield against falling objects
- Gloves for secure handling of materials
- Harnesses for elevated work on roofs or walls
- Steel-toe boots to guard feet from impacts
Trained installers follow industry protocols to mitigate risks. Homeowners should observe from a safe distance and coordinate with professionals throughout.
Required Permits and Preparations
Permitting varies by locality but typically includes several approvals. Secure building permits for the overall structure. Electrical and plumbing permits address specific systems.
Crane permits may apply if lifting large modules over obstacles. Submit plans early to account for review times, which can span weeks.
Preparation tasks set the stage for smooth execution:
- Clear an access path for delivery trucks and cranes.
- Mark utility locations to prevent damage during excavation.
- Verify setback compliance with a licensed surveyor.
These steps reduce delays and ensure regulatory adherence.
Step-by-Step Planning Guide
Step 1: Consult Local Authorities
Contact your building department to review zoning and setback rules. Discuss utility extensions and any environmental restrictions. This initial consultation clarifies feasibility and outlines necessary documentation.
Gather site plans and property surveys. Officials provide guidance on ADU size limits and design standards. Address potential issues, such as historic district rules, at this stage.
Step 2: Select Certified Installers
Choose installers experienced in modular projects. Request bids from at least three reputable firms that manage foundations and final assembly. Evaluate their portfolios for similar backyard installations.
Compare quotes on total costs, timelines, and warranties. Certified professionals ensure code compliance and handle subcontractor coordination. This expertise translates to fewer headaches for homeowners.
Step 3: Design and Customize
Work with installers to select or modify designs. Standard models offer quick turnaround, while custom options allow personalization. Factor in interior finishes and exterior materials to match your property.
Budget for foundational work, such as concrete slabs or piers. These elements support the module and integrate with existing utilities. Finalize financing, as modular projects qualify for various home improvement loans.
Step 4: Oversee Delivery and Setup
Delivery involves transporting modules via specialized trucks. On-site cranes position units precisely. Crews connect utilities and complete finishing touches, such as siding and landscaping.
Monitor progress to confirm quality. Most projects wrap up in one to two weeks, weather permitting. Post-installation inspections verify safety and functionality.
Realizing the Benefits of Your New ADU
Once complete, modular ADUs enhance property value and utility. Rental potential provides steady income, while family use fosters multigenerational living. The quick setup minimizes neighborhood disruption.
Long-term, these units promote sustainable housing. Reduced construction waste and energy-efficient features align with eco-friendly goals. Homeowners enjoy flexible spaces that adapt to life changes.
In summary, the 30 percent cost edge makes modular ADUs a practical investment. They deliver reliable, high-quality expansions that transform backyards into valuable assets. Start planning today to join the growing trend of efficient home additions.


