Understanding 2026 Whole-Home Dehumidifier Costs
Key Cost Overview
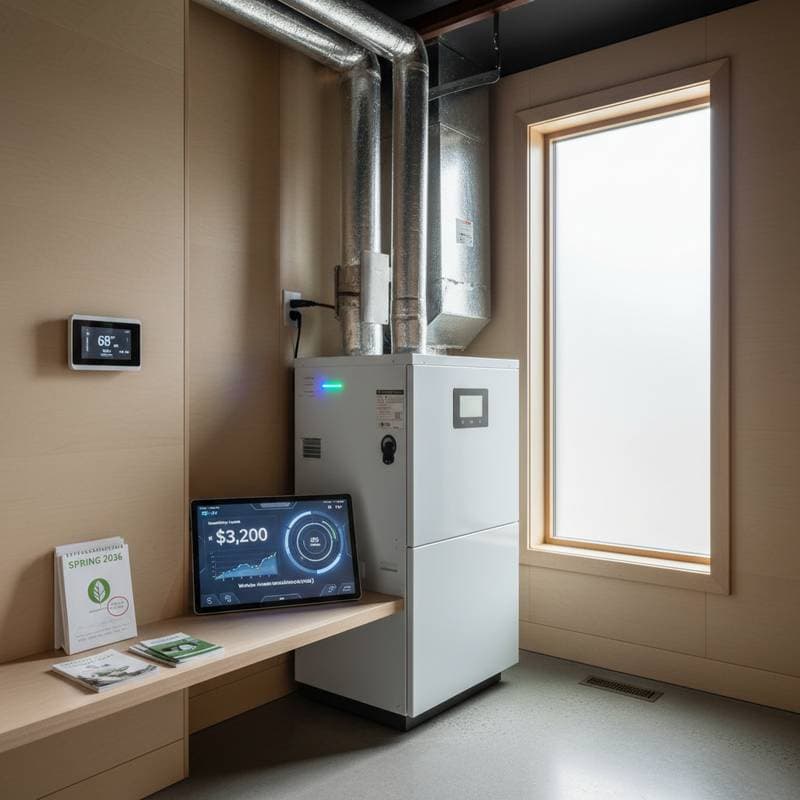
National average cost: $3,200
Typical range: $2,200 to $4,800
Low end and high end: $1,500 to $6,500
Time to complete: 4 to 8 hours
DIY or Pro: Professional installation recommended
ROI or resale impact: Moderate comfort and indoor air quality upgrade
Updated: April 2026
Whole-home dehumidifiers maintain balanced moisture levels throughout the residence. These systems prevent mold growth, eliminate musty odors, and protect wooden surfaces from warping. They also reduce strain on heating, ventilation, and air conditioning systems. Total expenses vary based on unit capacity, integration with existing ductwork, and potential pairing with new air handlers or furnaces.
Factors Influencing Costs
Scope and Size
Homes with greater square footage demand units with higher capacity. For instance, a 2,000-square-foot residence typically requires a 70-pint system, whereas a 4,000-square-foot home may need 130 pints or larger. Each increase in capacity adds $300 to $600 to the overall price.
Material Grade and Features
Entry-level models feature plastic housings and manual controls. Advanced options include metal casings, digital interfaces, and smart home compatibility. Upgrading to premium materials increases costs by approximately 25 percent.
Site Conditions and Accessibility
Challenging locations such as confined crawl spaces, attics, or completed basements extend labor duration. A simple basement setup requires about 4 hours. Complex attic configurations may demand a full day of work.
Labor Rates and Seasonal Variations
Heating, ventilation, and air conditioning professionals charge between $85 and $150 per hour. Peak summer periods elevate quotes by 10 to 20 percent due to high demand. Booking during off-peak seasons like fall or winter can reduce expenses by several hundred dollars.
Custom Modifications and Additions
Requirements for new ductwork, electrical circuits, or drainage systems significantly raise costs. Verify with the contractor that the initial estimate covers these elements to avoid unexpected charges.
DIY Versus Professional Installation
Tasks Suitable for Skilled Homeowners
Prepared individuals can perform preliminary work, such as clearing the installation area, routing a drain hose to an existing floor drain, or securing the humidistat on the wall. Positioning the unit for easy access by the installation team also proves helpful.
Specialized Requirements
Integration with primary HVAC ducts involves precise sheet metal fabrication and airtight sealing. Electrical connections to a dedicated circuit necessitate a licensed electrician's expertise. Airflow calibration must comply with local building codes.
Potential Hazards and Compliance Concerns
Faulty drainage leads to water leaks and subsequent mold development. Electrical mistakes risk circuit overloads or code violations. Always disconnect power at the main breaker prior to any intervention. Upon activation, monitor for unusual condensation or electrical scents, and contact the professional immediately if issues arise.
Warranty Considerations
Manufacturers generally mandate professional installation to preserve warranty coverage. Self-performed setups risk invalidating protection against compressor malfunctions or coil damage.
Strategies to Reduce Costs Effectively
Cost-Effective Alternatives
Opt for a mid-tier model with manual operation if smart features remain unnecessary. Eliminate the need for a condensate pump by utilizing gravity-fed drainage where feasible. Choose plastic drain pans over metal variants if regulations permit.
Preparation to Minimize Labor Time
Ensure unobstructed access to the HVAC equipment before the team arrives. Pre-install the drainage route and verify electrical outlet availability. Such readiness can decrease labor by up to one hour.
Optimal Timing and Project Bundling
Arrange service during autumn or winter when demand for HVAC work declines. If furnace or air handler replacement coincides, integrate the dehumidifier project. Utilizing shared duct infrastructure lowers labor expenses by 15 to 20 percent.
Obtaining and Evaluating Quotes
Gather bids from at least three licensed contractors using a standardized checklist for uniformity.
Quote Evaluation Checklist
- Itemized breakdown of project scope
- Specified materials, grades, and brands
- Inclusion of surface preparation and site cleanup
- Coverage of permits and waste disposal fees
- Detailed warranty conditions and durations
- Payment terms linked to project milestones
Request confirmation on inclusions like drainage lines and electrical upgrades. Inquire about post-installation airflow testing procedures.
Detailed Installation Process
While whole-home dehumidifiers demand professional oversight for most, familiarity with the sequence aids in project coordination.
Essential Tools
- Drill with appropriate bits
- Sheet metal cutting shears
- Assorted screwdrivers
- Spirit level
- PVC pipe cutter
- Protective gloves and safety eyewear
Helpful Accessories
- Cordless impact driver for efficient securing
- Flexible duct transition collars
Safety Equipment
- Cut-resistant gloves
- Respiratory dust mask
- Protective eyewear
Step-by-Step Procedure
-
Determine Unit Location. Position the dehumidifier adjacent to the air handler or furnace, maintaining 12 inches of clearance on each side for maintenance access.
-
Map Duct Integrations. Assess supply and return duct dimensions. Configure the unit to intake from the primary return and output to the supply plenum.
-
Secure the Mounting Platform. Employ vibration-dampening pads or a sturdy shelf capable of supporting 60 to 100 pounds.
-
Connect Duct Components. Precisely cut duct openings, affix collars, and seal connections using foil tape or approved mastic sealant.
-
Install Drainage System. Attach PVC or vinyl tubing to a floor drain or pump, ensuring consistent downward inclination for proper flow.
-
Handle Electrical Wiring. Engage a licensed electrician to link the power source and control circuits.
-
Position the Humidistat. Affix the sensor to an interior wall, distant from direct airflow vents.
-
Verify Functionality. Adjust the setpoint to 45 percent relative humidity. Confirm proper cycling, drainage operation, and absence of leaks.
Halt proceedings and consult a professional if duct configurations or electrical capacity prove inadequate. Errors compromise HVAC performance and warranty validity.
Project Timeline and Coordination
Material Procurement Delays
Common dehumidifier models remain readily available. Custom or oversized units may require one to two weeks for delivery.
On-Site Duration
Routine retrofits conclude in one day. Electrical additions or restricted access extend the schedule by half a day.
Required Inspections
Certain jurisdictions mandate electrical reviews for new circuits. Mechanical evaluations may follow if duct modifications trigger permit requirements.
Ongoing Maintenance and Durability
Routine Upkeep
Replace or clean the air filter quarterly. Clear the drain line with a diluted vinegar solution biannually. Annually inspect and clean the evaporator coil and exterior surfaces.
Identifying Common Issues
Persistent high humidity or unusual noises indicate clogged drains, soiled filters, or unsecured duct fittings. Accumulated water signals drainage blockages. Continuous fan operation points to relay malfunctions or humidistat failures.
Repair Versus Replacement Decisions
Address minor control or wiring problems through repairs. Significant compressor or coil failures after 10 years often warrant full replacement. Newer units offer energy efficiency gains and superior air purification.
Regional Considerations
Costs fluctuate by location due to climate and labor differences. In humid southeastern states, higher-capacity units prevail, elevating averages by 10 to 15 percent. Arid western regions may favor smaller systems, potentially lowering expenses. Local building codes influence electrical and drainage specifications, so consult regional contractors for precise estimates.
Finalizing Your Dehumidifier Upgrade
Investing in a whole-home dehumidifier enhances living conditions and safeguards property value. By selecting the appropriate capacity, preparing thoroughly, and timing the project wisely, homeowners achieve balanced indoor environments without excessive spending. Professional installation ensures reliability, while diligent maintenance extends system longevity for years of improved air quality.


