Preparation involves systematic checks to identify and resolve potential issues before warranty enrollment. Allocate one to two hours for basic assessments, using common tools like a flashlight, screwdriver set, level, fin comb, and digital thermometer. An inspection form helps track findings systematically.
Prioritize Safety
Disconnect power at the main breaker or unit switch. Allow components to come to a complete stop before accessing panels. Wear protective gloves and eyewear to guard against sharp edges or residual moisture.
Step 1: Assess Visible Damage
Examine the unit for signs of deterioration, such as rust on coils, oil stains around fittings, or bent fins. Dented cabinets or exposed wiring indicate pre-existing wear that could disqualify coverage. Note any irregularities and plan repairs accordingly.
Step 2: Evaluate Airflow Components
Inspect filters for dirt accumulation or tears; replace them immediately to restore efficiency. Clear debris from return vents and duct openings to ensure unobstructed circulation. Poor airflow often signals underlying problems that warranties scrutinize.
Step 3: Verify Thermostat Operation
Cycle the thermostat through heat and cool settings, observing response times. Use a digital thermometer to measure output temperatures against manufacturer specifications, typically 15 to 20 degrees Fahrenheit above intake air. Inaccurate readings suggest calibration needs or sensor faults.
Step 4: Inspect Refrigerant System
Clean connections and inspect lines for oily residues, which point to leaks. Tighten fittings gently without over-torquing. Leaks represent a major exclusion factor, as they compromise system integrity and environmental compliance.
Step 5: Maintain Condensate Management
Clear the drain line using a vinegar solution to dissolve buildup, followed by a water rinse. Check the drain pan for cracks or corrosion that could lead to water damage. Proper drainage prevents secondary issues like mold growth.
Step 6: Review Electrical Integrity
Secure all terminal connections and inspect wiring for insulation wear. Confirm breaker ratings align with unit specifications, usually 15 to 30 amps depending on model size. Faulty electrics pose safety risks and warranty voids.
Step 7: Compile Documentation
Capture photographs of the unit, including model and serial numbers. Retain receipts from past services and generate a detailed report summarizing checks. This portfolio forms the backbone of your warranty application.
Indicators of a Successful Inspection
The system operates without unusual noises, maintains steady temperatures, and shows no visible leaks. If anomalies appear, consult a professional to certify readiness. Early intervention preserves eligibility and operational reliability.
Deciding Between DIY Efforts and Professional Services
Suitable DIY Activities
Homeowners can handle filter replacements, vent cleaning, and basic visual scans of outdoor condensers. These tasks build familiarity with the system and support ongoing care routines.
Thermostat adjustments and simple coil brushing also fall within safe DIY scope, provided power remains off during work.
Situations Requiring Expert Help
Professional intervention proves essential for refrigerant handling, which demands EPA certification. Load-testing electrical systems or verifying code adherence requires specialized tools and knowledge.
Certification for warranty purposes often necessitates an official report from a licensed technician, detailing performance metrics like static pressure and efficiency ratings.
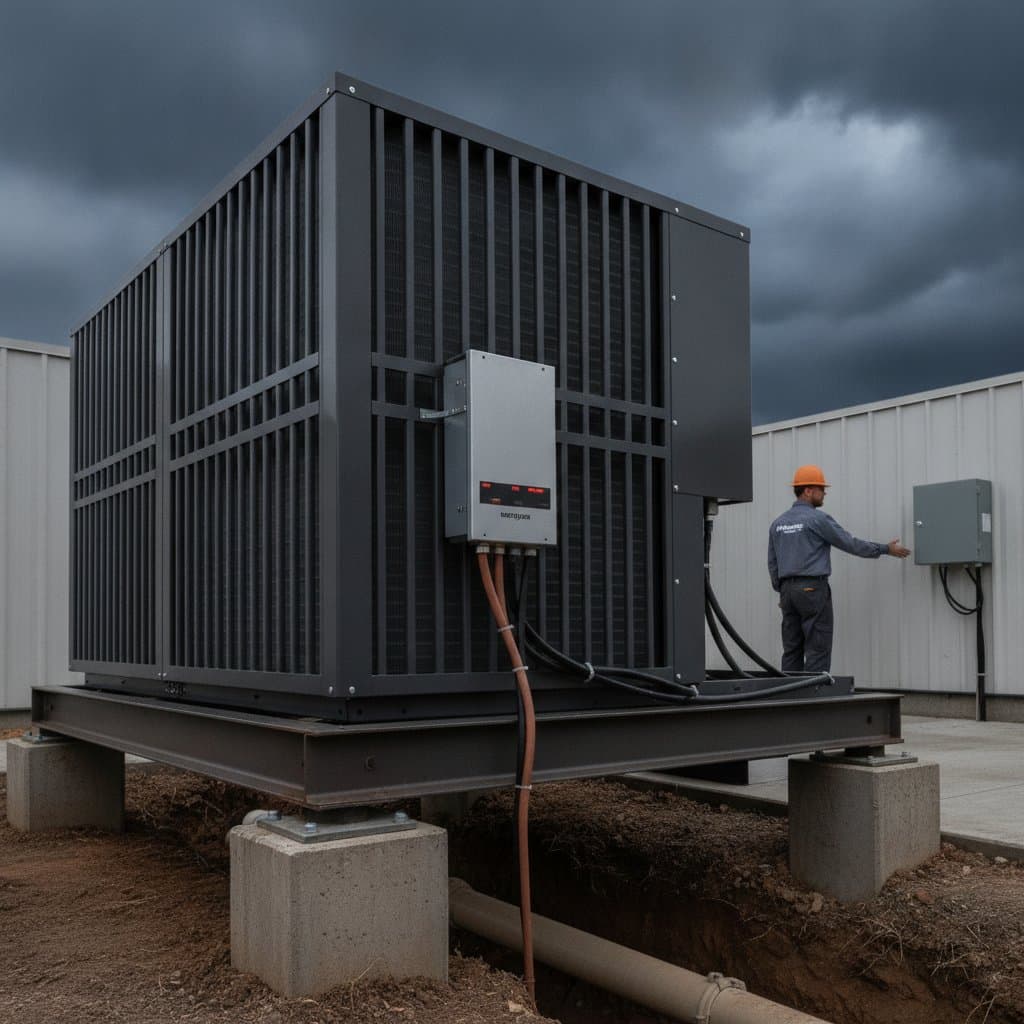
Value of Professional Involvement
Technicians provide objective assessments that carriers trust, including baseline data on airflow and energy use. They ensure adherence to standards like those from the Air Conditioning Contractors of America, reducing denial risks. Investing in their expertise yields long-term savings through prevented claims issues.
Exploring Coverage Alternatives
Extended Manufacturer Warranties
Ideal for units under five years old, these plans extend protection periods up to 10 years. They maintain exclusions for prior defects but offer robust support for new installations, including parts and labor.
Comprehensive Home Warranties
These policies encompass HVAC alongside appliances and plumbing, simplifying multi-system coverage. Denials remain possible for documented pre-existing damage, so initial inspections prove crucial.
Maintenance Agreements with Local Providers
Contracts from regional HVAC firms deliver scheduled inspections, priority service, and tune-ups tailored to warranty compliance. They foster proactive care, often including minor repairs at no extra cost.
Select alternatives based on system age and usage patterns. Each reinforces the need for initial condition proof to activate benefits effectively.
Essential Pre-Warranty Activation Checklist
- Schedule a comprehensive inspection by a certified HVAC professional.
- Install fresh filters and eliminate vent blockages.
- Document equipment details through photos and serial number logs.
- Address all identified defects, such as leaks or structural damage.
- Organize service records in accessible digital and physical formats.
- Validate installation against prevailing building codes.
- Submit the certified inspection alongside warranty enrollment forms.
Securing Reliable HVAC Protection
Begin with a documented, issue-free system to align with 2025 standards. Professional inspections prior to enrollment shield against rejections and uphold safety. Routine upkeep, precise records, and prompt fixes position owners for seamless coverage.
These practices curb breakdown expenses and prolong equipment durability. While the guidelines demand diligence, they facilitate equitable protection for well-maintained systems, ensuring comfort year-round.