Navigating 2026 ADU Costs: Strategies for Building Your Granny Flat Efficiently
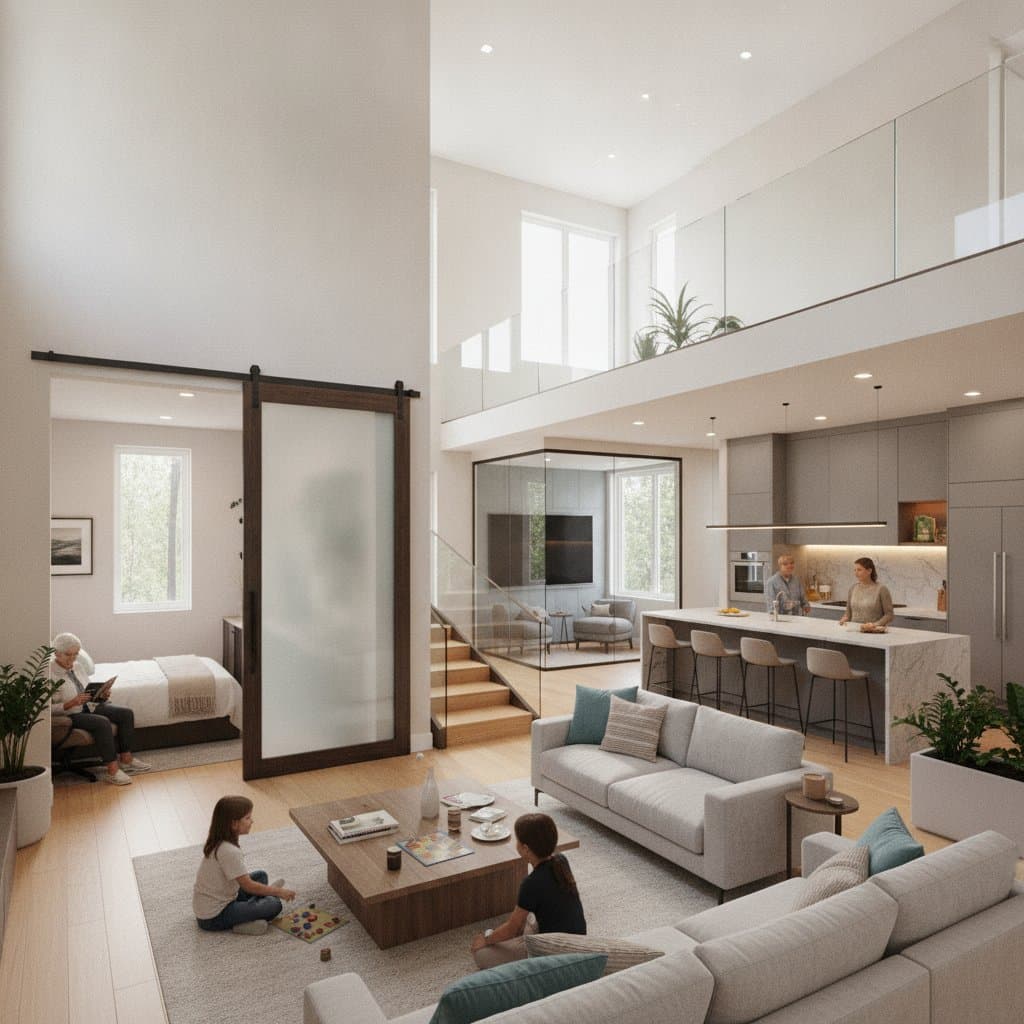
Building an accessory dwelling unit, commonly known as a granny flat or ADU, offers homeowners opportunities to generate income, enhance living flexibility, and increase property value. The primary concern for many remains the overall expense involved. This guide details the factors influencing ADU costs, outlines a structured planning process, and provides guidance on choosing between DIY efforts and professional services. Readers will gain tools to develop a realistic budget and sidestep common pitfalls that result in unexpected expenses.
Cost Breakdown and Influencing Factors
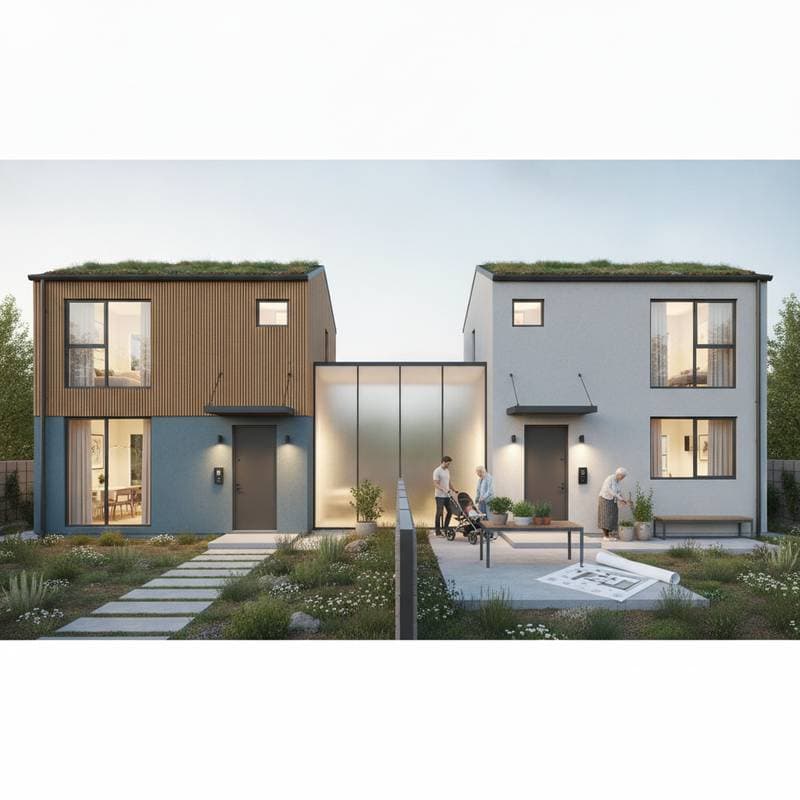
ADU expenses differ based on the unit type, square footage, and regional labor rates. Detached units typically incur the highest costs due to requirements for complete foundations, walls, roofs, and utility connections. In contrast, attached units or conversions benefit from shared infrastructure, which lowers expenses.
National Cost Estimates
| Scope Item | Material Cost Range | Labor Cost Range | Total Cost Range | Key Influencing Factors |
|---|---|---|---|---|
| Detached ADU (400–800 sq ft) | $80,000–$200,000 | $70,000–$180,000 | $150,000–$380,000 | Complete site preparation, utilities, foundation, and roofing |
| Attached ADU | $60,000–$130,000 | $50,000–$110,000 | $110,000–$240,000 | Shared walls minimize framing and roofing needs |
| Garage Conversion | $40,000–$100,000 | $40,000–$90,000 | $80,000–$190,000 | Existing structure avoids new foundation, but upgrades for slabs and insulation apply |
| Basement Conversion | $50,000–$120,000 | $40,000–$100,000 | $90,000–$220,000 | Excavation, egress windows, and waterproofing increase expenses |
| Prefab or Modular ADU | $70,000–$150,000 | $40,000–$90,000 | $110,000–$240,000 | Factory assembly reduces on-site time, though transportation and crane operations add costs |
Three primary factors shape these costs:
- Material Quality: Select finishes and insulation levels that balance durability with budget constraints.
- Labor Intensity: The scope of framing, plumbing, and electrical work determines workforce needs.
- Site-Specific Challenges: Terrain slope, distance to utilities, and local permitting fees impact the total.
Homeowners should obtain multiple quotes from suppliers and contractors to refine these estimates for their location.
Structured Building Process
Approach ADU construction as a phased project to maintain control over timelines and expenses. Each step builds on the previous, ensuring compliance and efficiency.
Essential Safety Equipment
Before starting any work, assemble protective gear including hard hats, gloves, safety glasses, dust masks, and hearing protection. These items safeguard against common hazards on construction sites.
Step 1: Site Feasibility Assessment
Evaluate property boundaries for setbacks, maximum heights, and parking mandates. Confirm that existing utilities can support additional load. Many municipalities mandate one off-street parking spot per ADU, with exemptions in transit-rich areas. Engage a surveyor if lot lines remain unclear.
Step 2: Design and Permitting
Consult an architect or designer experienced in local ADU regulations to create compliant blueprints. Anticipate two or more review cycles with the planning department. Permit fees generally range from $2,000 to $10,000, scaled by unit size and jurisdiction. Submit applications early to avoid delays.
Step 3: Utility Integration Planning
Assess connections for sewer, water, and electricity. If the primary electrical panel falls below 200 amps, plan for an upgrade to prevent overloads. For sewer lines exceeding 50 feet from the main, consider trenching or installing pump systems to ensure proper flow.
Step 4: Construction Phases and Inspections
Coordinate build stages with required inspections for foundation pouring, framing erection, electrical and plumbing rough-ins, insulation installation, and final walkthrough. Maintain a organized file of inspection approvals for future insurance claims or property sales. Select weather-resistant scheduling to protect ongoing work.
Step 5: Finalization and Habitation
Apply interior and exterior finishes, secure fixtures, and verify all systems operate correctly. Obtain the certificate of occupancy from authorities before use. Complete site restoration with cleanup and basic landscaping to integrate the unit seamlessly.
Project Timeline Projections:
- Design and permitting: 2 to 6 months
- Construction execution: 4 to 8 months
- Overall duration: 6 to 14 months, varying with project scale and approvals
Common Pitfalls and Prevention Strategies
Avoid these frequent errors to protect your investment:
- Overlooking Initial Site Analysis: Issues like poor drainage, limited utility capacity, or restrictive setbacks often emerge unexpectedly. Conduct a professional survey upfront.
- Neglecting Indirect Expenses: Allocate 15 to 20 percent of the budget for design, engineering, and permitting fees that accumulate quickly.
- Engaging Unqualified Workers: Unlicensed contractors risk invalidating warranties and complicating insurance coverage. Verify credentials through state licensing boards.
- Disregarding Maintenance Needs: Opt for climate-appropriate materials, such as moisture-resistant siding in humid areas, to minimize future repairs.
- Inadequate Access Preparation: Constrained lots elevate labor hours and equipment costs. Map entry points and clear obstacles in advance.
Addressing these proactively preserves budget and timeline integrity.
Deciding Between Professional and DIY Approaches
Evaluate your capabilities using a decision framework to determine involvement level:
- Assess Personal Expertise: Determine if you possess skills for safe handling of framing, electrical wiring, and plumbing installations.
- Weigh Safety Implications: Consider potential for structural failures or fire risks from errors.
- Review Resource Access: Confirm availability of necessary tools through ownership or rental options.
Suitable DIY elements include:
- Applying interior paints, installing flooring, and fitting trim work.
- Performing landscaping adjustments and initial site tidying.
Delegate complex tasks to professionals:
- Foundation laying, structural framing, electrical systems, and plumbing setups.
- Any modifications affecting load-bearing elements or utility ties.
- Managing permit processes and conducting final inspections.
Errors in critical areas may lead to costly corrections or regulatory fines. Insist on licensed specialists for electrical and plumbing components to ensure code adherence.
Preparation Checklist
| Category | Essential Elements |
|---|---|
| Required Tools | Tape measure, level, saw, drill, safety equipment |
| Necessary Skills | Fundamental carpentry and basic electrical knowledge |
| Safety Equipment | Gloves, eye protection, respirator, steel-toe boots |
| Required Permits | Building, electrical, plumbing, zoning approvals |
| Preliminary Tasks | Site clearing, utility location mapping, soil testing |
| Site Limitations | Schedule foundation work outside rainy or freezing periods |
Test soil stability prior to excavation. Inadequate drainage risks foundation shifts and eventual cracking.
Addressing Issues and Preventing Failures
Monitor for these typical challenges and implement solutions promptly:
- Moisture Infiltration: Install robust vapor barriers and proper flashing. Ensure bathroom vents exhaust outdoors effectively.
- Electrical Strain: Design subpanels with adequate capacity and distribute loads evenly across circuits.
- Foundation Settling: Inspect and seal minor cracks immediately to block water entry and escalation.
- Inadequate Airflow: Incorporate mechanical fans in units with limited natural light or window space.
- Drainage Obstructions: Routinely clear traps and examine pipes to maintain clear pathways.
Early intervention averts major overhauls and preserves unit functionality.
Executing Your ADU Project Successfully
Initiate the process by contacting your local building department to review zoning specifics for ADUs. Solicit quotes from at least three designers and two general contractors for competitive insights. Explore funding through home equity lines or community ADU incentive programs. Incorporate a 10 percent buffer in your financial plan to cover unforeseen adjustments.
Foster regular dialogue with your construction team and link progress payments to verifiable milestones. Conduct weekly site visits to identify deviations promptly. Document advancements with photographs to support records and dispute resolution if needed.
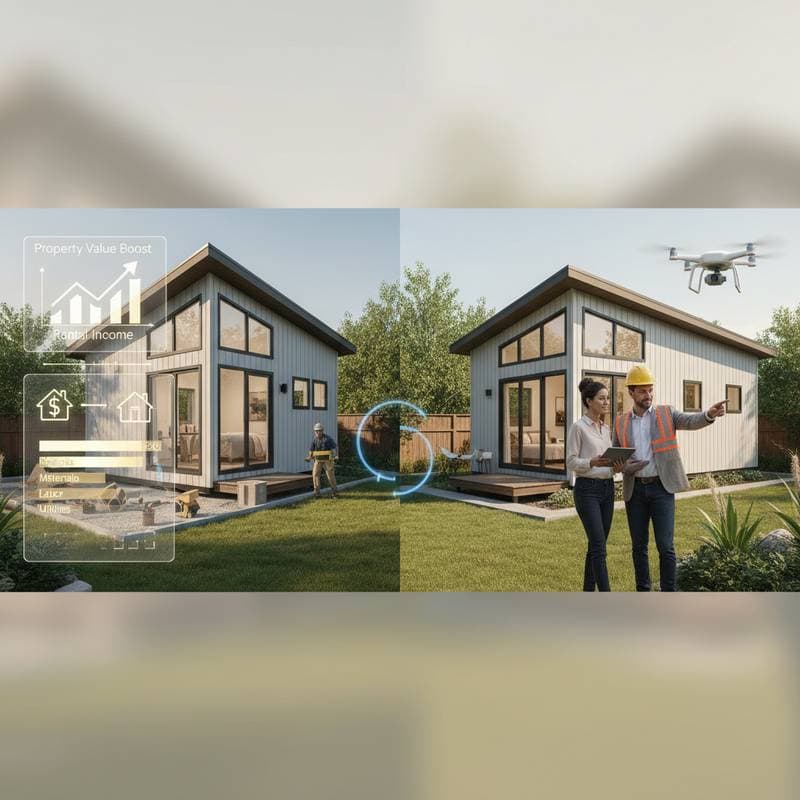
Over time, an ADU recoups its investment via rental revenue or reduced family housing needs. Adhere to building codes throughout and treat the unit with the same care as your primary residence. This approach yields a versatile addition that enhances daily comfort and elevates property worth.