2026 Solar Battery Costs: What Homeowners Really Pay
Quick Overview
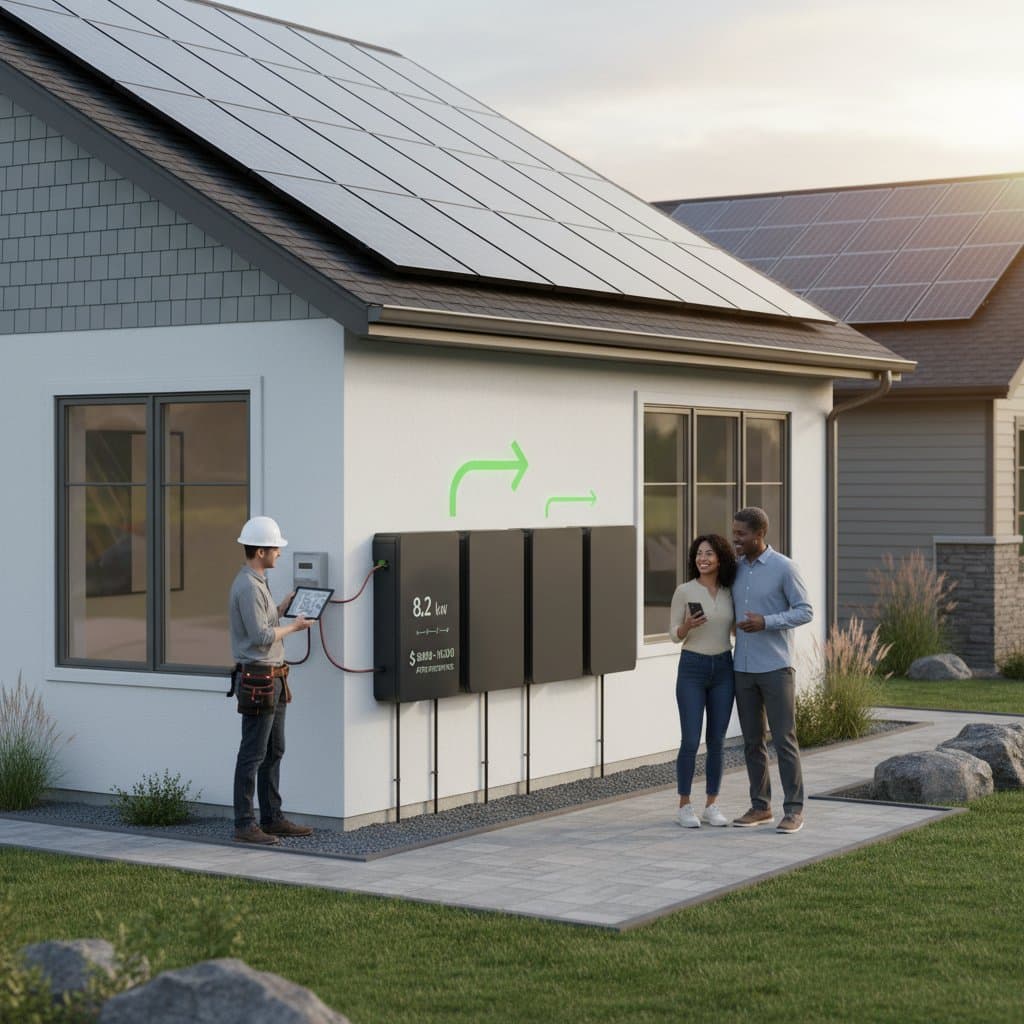
- Plan for $8,000 to $18,000 on a complete solar battery system, installation included.
- Factors such as battery capacity, manufacturer, and solar panel integration influence the majority of expenses.
- Incentives reduce costs by 20 to 40 percent, varying by location and utility provider.
- Professional installation ensures compliance with codes and preserves warranty validity.
Advantages and Drawbacks
Advantages
- Energy Independence. Solar batteries maintain power to lights and essential appliances during outages.
- Reduced Utility Bills. Stored energy discharges during peak periods, minimizing reliance on the grid.
- Clean Backup Solution. These systems produce no fumes, noise, or need for fuel, unlike gas generators.
- Access to Incentives. Batteries qualify for tax credits and rebates in many regions.
Drawbacks
- Substantial Initial Investment. Adding a battery often doubles the expense of a solar array.
- Finite Storage Capacity. Systems typically support essential loads for only a few hours.
- Periodic Replacement. Batteries require replacement after 10 to 15 years of use.
- Intricate Installation. Electrical modifications and permits increase both cost and timeline.
Step-by-Step Guide to Solar Battery Installation
Required Tools and Materials
- Voltage tester
- Torque wrench
- Wire cutters and strippers
- Mounting brackets and hardware
- Conduit and fittings
- Battery management system
- Safety equipment: gloves, goggles, hard hat
- Fire-rated enclosure, if mandated by local codes
Time and Skill Level
Professional teams complete installation in 1 to 2 days. For DIY preparation, allocate 3 to 5 hours for site clearing and surface preparation. Skill level: Advanced.
1. Evaluate Load Requirements
Identify critical circuits, such as lighting, refrigeration, and heating systems. Calculate total wattage to determine appropriate battery and inverter sizes. A standard household backup load ranges from 5 to 15 kilowatt-hours.
2. Select Battery Chemistry
Home installations commonly feature lithium iron phosphate (LiFePO4) or nickel manganese cobalt (NMC) batteries. LiFePO4 options offer extended lifespan and higher cycle tolerance, though at a modest premium.
3. Determine Installation Site
Select a dry, ventilated area close to the primary electrical panel. Maintain manufacturer-specified clearances, typically 6 inches from walls and 3 feet from adjacent equipment. Steer clear of humid basements or rain-exposed outdoor locations.
4. Disconnect Power Supply
Switch off the main breaker and secure it in the off position. Verify absence of voltage with a tester. Prioritize safety at every stage.
5. Secure the Battery Unit
Install wall brackets or floor mounts capable of supporting the battery weight, which ranges from 200 to 300 pounds. Anchor to wall studs or a concrete base for stability.
6. Route Electrical Connections
Install conduit from the main panel to the battery inverter input. Adhere to color coding and torque specifications. Employ wire gauged for the amperage and run length, and label all terminals.
7. Configure the Inverter
Mount or update the solar inverter to integrate with the battery. Hybrid inverters manage both solar input and storage seamlessly. Apply firmware updates and confirm data communication.
8. Perform System Testing
Restore power gradually under professional oversight. Monitor voltage levels, charging efficiency, and discharge performance. Ensure automatic transfer switches activate correctly in a simulated blackout.
9. Arrange for Official Inspection
Many jurisdictions mandate inspection prior to full operation. Provide permits and system documentation. Retain records for potential warranty support.
10. Final Cleanup
Remove packaging and dispose of conduit remnants according to local recycling guidelines. Lithium components must avoid standard waste disposal.
Practical Advice: Mark backup circuits distinctly. In an outage, this allows precise control over powered devices to prevent overloads.
DIY Options Versus Professional Services
Suitable DIY Tasks
- Prepare the installation area by clearing space.
- Attach battery brackets, if manufacturer permits.
- Install low-voltage communication cables.
- Track system output via dedicated mobile applications.
Situations Requiring Professionals
- Any high-voltage electrical work.
- Addition of subpanels or transfer switches.
- Upgrades to the home's primary electrical service.
- Compliance with building or fire safety regulations.
Professional Expertise Benefits
Licensed installers guarantee code adherence, proper grounding, and adequate ventilation. They manage inverter synchronization, load distribution, and warranty activation. Faulty connections or insufficient airflow risk voiding protections or creating hazards, making expert involvement essential.
Alternative Energy Storage Solutions
Grid-Connected Solar Without Storage
Ideal for residences with dependable grid access and net metering policies. Excess production credits offset future usage. Limitation: No outage protection.
Portable Power Units
Suited for apartments or compact dwellings. These devices offer 1 to 3 kilowatt-hours in a plug-in format. Limitation: Restricted scale and lack of seamless automation.
Hybrid Generator Systems
Integrates modest battery capacity with propane or natural gas generation. Appropriate for extended outage needs. Limitation: Requires fuel reserves and generates operational noise.
Financial Analysis: Aligning Costs with Benefits
Assess total system expenses relative to household consumption and regional electricity tariffs before purchase. Storage accelerates payback in areas with elevated peak pricing or regular blackouts. Stable grids and low rates extend return periods, yet deliver reliability.
Sample Payback Scenario
- System price: $12,000
- Applicable tax credit: 30 percent ($3,600 reduction)
- Effective cost: $8,400
- Annual grid savings: $600
Break-even occurs in approximately 14 years, aligning with typical battery durability. Returns improve with escalating rates or increased outage occurrences.
Maintenance Indicators: Detecting Issues Early
- Accelerated Charging. Rapid fill-up signals capacity degradation.
- Thermal Alerts. Blocked airflow or elevated room temperatures often trigger warnings.
- Linkage Failures. Inspect application connections or inverter software.
- Visible Deformation or Unusual Smells. Isolate power immediately and contact specialists.
Compliance and Sustainability Considerations
Install batteries within non-flammable housings, featuring prominent labels for responders. Certain regulations demand accessible disconnect switches. Ensure ventilation and spacing to mitigate thermal buildup. Recycle depleted units at approved sites; lithium elements pose fire hazards in landfills.
Strategies for Optimal Performance
- Integrate with Solar Expansions. Add storage during panel installations or replacements to minimize labor expenses.
- Match Capacity to Usage. Excessively large systems raise costs and underutilize cycles, reducing longevity.
- Leverage Rate Structures. Schedule discharges for peak pricing intervals to maximize bill reductions.
- Maintain Records. Store serial numbers, schematics, and invoices for support claims.
- Design for Scalability. Opt for modular designs permitting future capacity additions.
Action Plan for Implementation
Examine your past year's utility statements to quantify nighttime or outage consumption. Solicit quotes from at least three certified solar specialists, inquiring about battery type, effective storage, warranty terms, and oversight features. Evaluate post-incentive totals rather than base figures.
For existing solar setups, consult your provider on inverter suitability and conduit paths. Without panels, pursue bundled solar-storage offers for streamlined costs and control interfaces.
Post-installation, establish monthly inspections. Preserve site cleanliness, conduct yearly backup trials, and apply software enhancements. Proper setup and upkeep yield silent, dependable energy and sustained bill savings over the system's life.


