The True Costs of Aging-in-Place Home Modifications
Summary Box
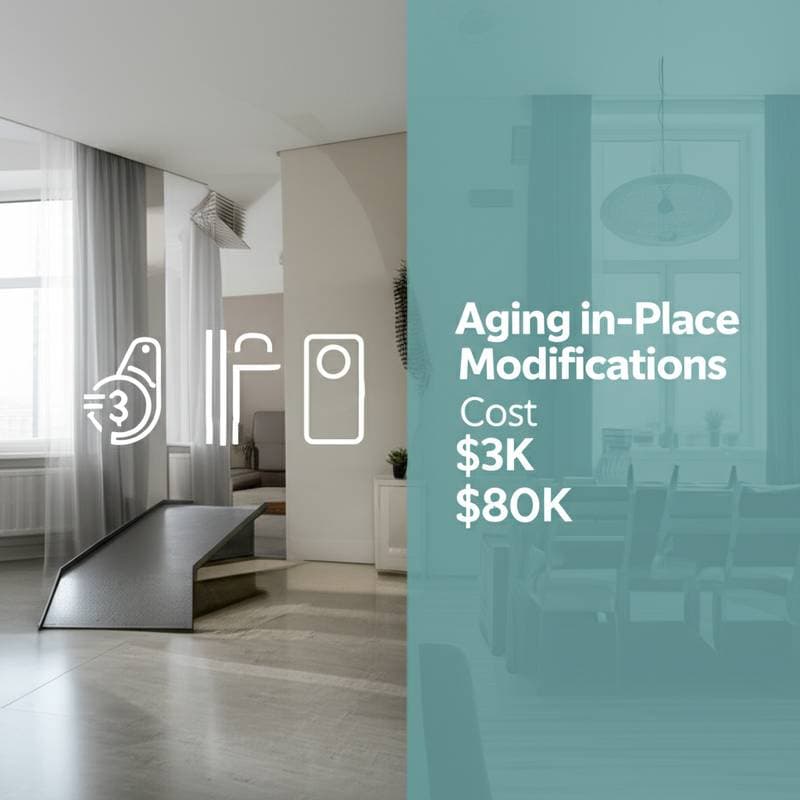
National average cost: $12,000
Typical range: $3,000 to $40,000
Low end: Basic single-room safety enhancements around $1,500
High end: Comprehensive accessible remodel including ramps, lifts, and bathroom adaptations up to $80,000
Time to complete: One day for minor tasks to several weeks for major projects
DIY or Pro: Combination of straightforward DIY installations and specialized professional services
ROI or resale impact: Potential recovery of 50 to 70 percent upon resale, provided designs appeal broadly
Updated: April 2023
Cost Breakdown
Aging-in-place initiatives vary from targeted safety improvements to complete overhauls for enhanced mobility. The following table presents common expenses based on standard project elements.
| Item | Unit Cost | Typical Quantity | Line Total | Notes |
|---|---|---|---|---|
| Grab bars | $25 to $80 each | 4 | $100 to $320 | Opt for stainless steel or powder-coated options for durability |
| Lever door handles | $30 to $60 each | 10 | $300 to $600 | Designed for reduced grip effort, ideal for those with arthritis |
| Widen interior doors | $300 to $800 per door | 4 | $1,200 to $3,200 | Encompasses framing adjustments, hardware, and trim work |
| Walk-in shower conversion | $4,000 to $8,000 | 1 | $4,000 to $8,000 | Features custom tiling, waterproof pan, and updated plumbing |
| Roll-under sink | $600 to $1,200 | 1 | $600 to $1,200 | Involves replacing the fixture and modifying base cabinets |
| Stair lift | $2,500 to $7,000 | 1 | $2,500 to $7,000 | Curved or straight-run models with safety sensors |
| Wheelchair ramp | $200 per linear foot | 20 feet | $4,000 | Constructed from non-slip aluminum for outdoor or entry use |
| Lighting upgrades | $150 per fixture | 6 | $900 | Incorporate energy-efficient LEDs paired with motion-activated sensors |
| Smart home controls | $100 to $300 per device | 4 | $400 to $1,200 | Enable voice commands or app integration for lights and locks |
| Labor | $50 to $120 per hour | Varies | $2,000 to $10,000 | Rates for skilled trades like carpenters, electricians, and plumbers |
| Permits and disposal | $200 to $800 | Flat fee | $200 to $800 | Required for structural, electrical, or plumbing alterations |
Total for a typical project: $10,000 to $25,000, influenced by the home's layout and customization level.
DIY Versus Professional Installation
Homeowners often blend self-directed efforts with expert involvement to optimize both cost and quality. Understanding which tasks suit each approach ensures efficient progress.
Tasks Suitable for DIY
Individuals with basic handyman skills can manage several upgrades independently:
- Secure installation of grab bars using wall anchors rated for heavy loads
- Substitution of traditional knobs with ergonomic lever handles
- Placement of high-luminosity LED lights in key areas
- Configuration of smart devices for automated control
- Application of anti-slip treatments to existing floors
These projects demand standard tools and attention to detail, typically completing in a weekend.
Projects Requiring Professional Expertise
Certain modifications necessitate certified specialists to meet safety and regulatory standards:
- Rewiring electrical systems or installing additional outlets
- Relocating pipes for accessible bathroom fixtures
- Expanding doorways through structural alterations
- Fitting stair or platform lifts with precise measurements
- Building ramps that integrate with foundational elements
Professionals handle permitting, engineering assessments, and final inspections, mitigating risks of structural compromise.
Key Safety and Compliance Considerations
Prioritize waterproofing in wet areas and electrical safeguards throughout. Install ground-fault circuit interrupter outlets adjacent to water sources. Structural changes behind walls require licensed oversight to prevent hazards.
Effects on Warranties
Expert installations typically carry warranties from one to five years, covering materials and labor. Self-installed components might lose coverage if installation errors contribute to malfunctions.
Planning and Execution Guide
Organize modifications methodically to minimize disruption and maximize effectiveness. This section outlines preparation for both modest and ambitious endeavors.
Essential Tools for DIY Efforts
Core equipment:
- Cordless drill with assorted bits
- Electronic stud finder for secure mounting
- Bubble level for precise alignment
- Adjustable wrench for fixture adjustments
- Comprehensive screwdriver assortment
Advanced options:
- Impact driver to expedite screw placement
- Caulking gun for weatherproof seals
Protective equipment:
- Work gloves for handling materials
- Safety goggles to shield eyes
- Sturdy, slip-resistant footwear
Sequential Steps for Accessibility Enhancements
- Evaluate the space. Conduct a thorough room-by-room inspection to identify obstacles such as uneven thresholds, dim corridors, or cluttered pathways.
- Install support features. Position grab bars at optimal heights, 33 to 36 inches from the floor, anchoring into wall studs with corrosion-resistant fasteners supporting at least 250 pounds.
- Upgrade entry mechanisms. Exchange standard doorknobs for lever-style handles that accommodate limited hand strength.
- Enhance illumination. Mount motion-sensing LED units in high-traffic zones like entryways, staircases, and restrooms to reduce fall risks.
- Refine surface materials. Select low-profile carpeting or resilient vinyl flooring, ensuring seamless transitions for mobility aids.
- Integrate technology. Deploy voice-responsive systems for climate control and security, minimizing physical exertion.
For expansive renovations, engage contractors versed in universal design principles. Request portfolios of prior accessibility work to verify expertise.
Criteria for Selecting Contractors
- Verify state licensing and comprehensive insurance coverage
- Confirm knowledge of ADA guidelines and inclusive design practices
- Demand a detailed proposal outlining tasks, timelines, and materials
- Establish payment terms tied to completed phases rather than full advance
- Review client testimonials focused on reliability and outcome satisfaction
Long-Term Upkeep and Durability
Sustained functionality depends on regular attention. Implement routines to extend the service life of installed features.
Recommended Maintenance Practices
Wipe down grab bars and walking surfaces each week to avoid residue accumulation. Inspect all hardware annually for tightness. Swap out any dimmed lighting immediately to maintain clear visibility.
Identifying and Addressing Issues
- Detect wobbling supports as signs of anchor degradation; reinforce with additional backing boards.
- Address faded ramp treads by applying fresh non-slip coatings or adhesive strips.
- Troubleshoot lift operations through routine battery checks and rail lubrication.
Decisions on Repairs or Replacements
Address small-scale problems with targeted fixes to preserve investments. As needs evolve, reassess overall layouts for comprehensive adaptations rather than isolated corrections.
Regional Variations in Expenses
Project budgets fluctuate based on location. Urban and coastal regions often incur 10 to 25 percent premiums from elevated labor and regulatory costs. In contrast, rural settings benefit from reduced hourly rates, though supply chain delays may extend timelines. Consult local authorities for specific mandates on installations like exterior ramps or electrical enhancements.
Achieving Sustainable Accessibility
Investing in aging-in-place modifications fosters prolonged independence and comfort. By aligning choices with personal needs and financial parameters, homeowners create environments that support well-being for years ahead. Start with a professional assessment to tailor solutions that deliver enduring security and ease.