2026 ADU Costs: Strategies for a Profitable Build
Quick Overview
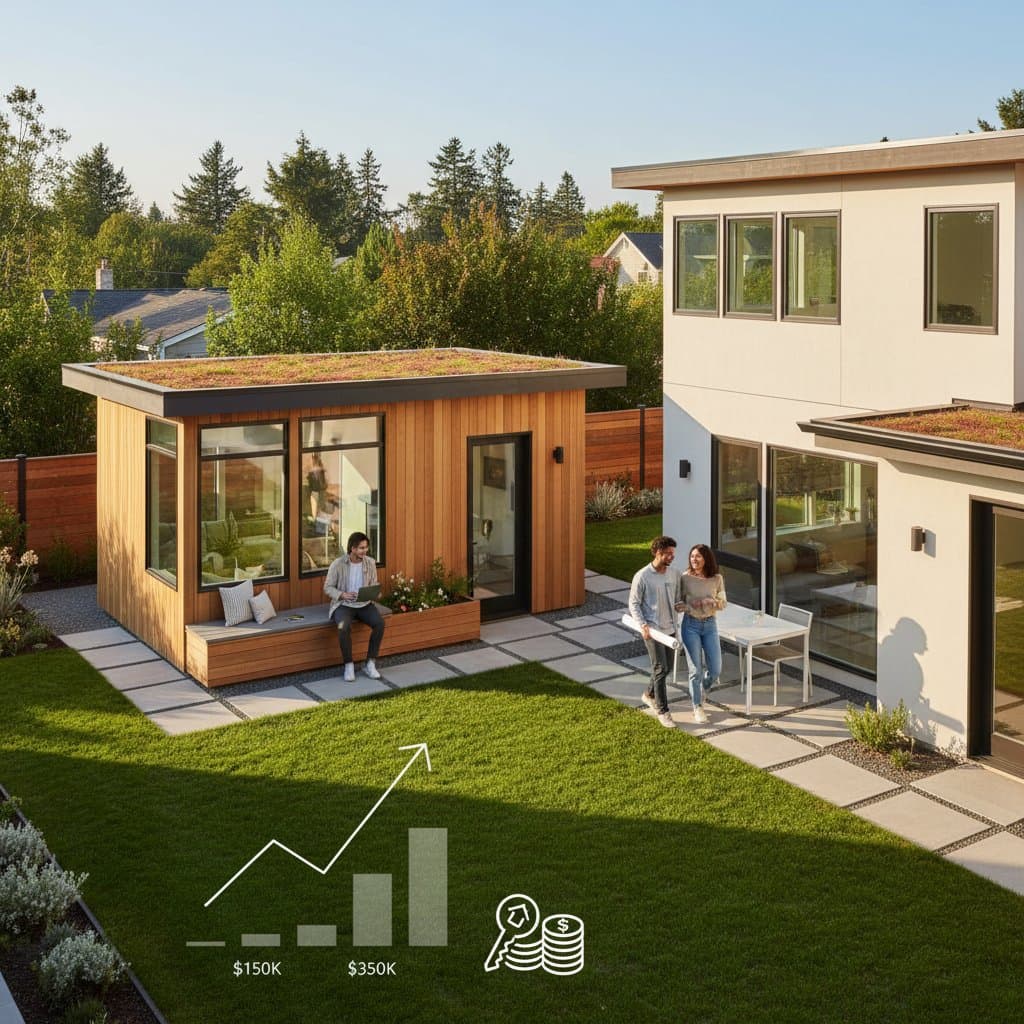
Constructing an accessory dwelling unit, commonly known as an ADU or granny flat, increases property value and generates reliable income when executed with careful planning.
- Total construction expenses typically range from $150,000 to $350,000, influenced by unit size and material quality.
- Site preparation, permitting, and utility integrations frequently contribute an additional $20,000 to $60,000.
- Limit do-it-yourself efforts to minor tasks such as landscaping or painting; engage licensed professionals for structural, plumbing, and electrical components.
Benefits and Drawbacks
Benefits
- Expands usable square footage and elevates resale potential.
- Provides opportunities for rental revenue or accommodations for family members.
- Enhances overall property adaptability, particularly during future sales.
- Offers a more economical alternative to purchasing an additional property.
Drawbacks
- Involves substantial initial investment.
- Demands adherence to permitting processes, site evaluations, and building codes.
- Potentially increases property taxes and insurance premiums.
- Diminishes available yard area and personal privacy if design lacks consideration.
Detailed Guide: Constructing an ADU
Required Tools and Materials
- Measuring tape, spirit level, and laser distance measurer.
- Concrete mix, reinforcing bars, and formwork boards for the foundation.
- Structural lumber, fasteners, and connectors for framing.
- Roofing shingles or panels, exterior siding, window units, and insulation materials.
- Plumbing pipes, fixtures, and electrical wiring (installation by professionals).
- Interior paint, flooring options, cabinetry, and lighting fixtures.
Essential Safety Equipment
- Protective helmet, work gloves, safety goggles, and ear protection.
- Dust mask or respirator for activities involving cutting or sanding.
- Ground-fault circuit interrupter outlets for operating power tools.
Project Timeline and Complexity
The entire process spans 6 to 12 months, accounting for permitting approvals, design finalization, and contractor availability. Complexity remains high due to demands in structural engineering, plumbing systems, and electrical installations.
Step 1: Develop Plans and Establish Budget
Begin by creating a detailed site diagram that delineates property boundaries, required setbacks, and current structures. Review municipal zoning regulations to confirm maximum allowable sizes and parking provisions. Select the preferred configuration, such as a detached unit, attached addition, or garage adaptation.
Obtain quotes from at least three architects or integrated design-build companies. Incorporate estimates for permitting fees, utility extensions, and preliminary site modifications into the financial projection.
Step 2: Obtain Necessary Permits
Prepare and submit architectural plans, including site layouts and engineering specifications, for official review. Cover the costs associated with plan examinations and issuance of building permits. Certain jurisdictions mandate supplementary documentation on stormwater management or energy efficiency.
Construction must commence only after receiving formal permit approval. Violations through unpermitted activities result in fines surpassing $10,000 and significant project setbacks.
Step 3: Prepare the Construction Site
Remove existing vegetation, grade the ground to ensure evenness, and outline pathways for utility lines. Implement erosion prevention measures as stipulated by local guidelines. Establish temporary electrical and water supplies to support on-site operations.
Properties with unstable soil or significant slopes may necessitate excavation or installation of retaining structures, potentially escalating expenses by several thousand dollars.
Step 4: Construct the Foundation
Form and pour a concrete slab foundation or establish pier footings for elevated designs. Verify precise alignment and perpendicularity prior to advancing to framing stages. Secure inspector approval at this phase to proceed without interruption.
Step 5: Erect Framing and Exterior Sheathing
Assemble wall frames, install roof trusses, and create precise openings for windows and doors. Employ pressure-treated lumber in areas contacting concrete surfaces. Adhere strictly to nailing schedules outlined in the engineering plans.
Conduct a framing inspection before proceeding to insulation or interior wall installations.
Step 6: Install Rough Utilities
Engage certified specialists to position electrical service panels, lay plumbing conduits, and route heating, ventilation, and air conditioning systems. Align these installations with the primary residence, considering shared metering or dedicated service connections.
This phase commonly uncovers unforeseen expenses, such as upgrades to the main electrical panel or sewer infrastructure.
Step 7: Apply Insulation and Drywall
Incorporate insulation materials compliant with regional energy standards. Mount drywall sheets, apply joint tape, and perform smoothing operations. Opt for moisture-resistant panels in high-humidity areas like bathrooms and kitchens.
Step 8: Complete Interior Finishes
Secure cabinets, lay flooring materials, install lighting fixtures, and add trim elements. Apply paint to walls and doors. Integrate plumbing fixtures and appliances, retaining all purchase receipts for warranty claims and tax deductions.
Step 9: Conduct Final Inspections and Enhance Landscaping
Arrange comprehensive inspections covering structural integrity, electrical systems, plumbing, and mechanical components. Upon clearance, finalize permanent utility connections.
Incorporate basic landscaping features, such as gravel walkways or drought-tolerant vegetation, to integrate the new structure seamlessly with the existing landscape.
Step 10: Occupy or Lease the Unit
Equip the interior with furnishings. Verify functionality of smoke alarms and carbon monoxide detectors. Determine appropriate rental pricing if intending to lease. Maintain a detailed record of all upkeep activities from the outset.
DIY Options Versus Professional Services
Suitable DIY Tasks
- Applying paint to interior and exterior surfaces.
- Fitting interior trim elements or flooring materials.
- Performing landscaping adjustments or constructing a modest deck.
Scenarios Requiring Professional Expertise
- Any involvement with structural framing, electrical wiring, or plumbing systems.
- Foundation pouring or roof assembly.
- Preparation of permit applications necessitating certified drawings or oversight inspections.
Advantages of Professional Involvement
Licensed contractors manage permitting procedures, orchestrate subcontractor coordination, and guarantee timely inspection clearances. They provide liability insurance and performance warranties that safeguard against future failures. Professionals possess in-depth knowledge of local codes related to ventilation requirements, setback distances, and energy performance benchmarks.
Alternative ADU Configurations
Garage Conversion
Ideal for constrained budgets, this approach leverages pre-existing frameworks but often requires foundation reinforcements and enhanced insulation.
Attached Addition
This design shares a common wall with the primary home, simplifying utility access while potentially compromising resident privacy.
Basement Apartment
Suitable for regions with stable subsurface conditions, such conversions demand emergency egress windows and comprehensive waterproofing measures.
Each variant alters the overall expense by tens of thousands of dollars; evaluate comprehensive project benefits beyond mere per-square-foot calculations.
Preparation Checklist for Your ADU Initiative
- Verify compliance with local zoning ordinances and permitting protocols.
- Assess lot dimensions and delineate required setback areas.
- Solicit detailed design proposals with itemized expense projections.
- Arrange funding sources or evaluate home equity options.
- Select the appropriate build type: detached, attached, or conversion.
- Factor in site preparation and utility expenses within the total budget.
- Engage certified specialists for foundation, plumbing, and electrical work.
- Book inspection appointments in advance to prevent scheduling conflicts.
- Record all expenditures for potential tax benefits or refinancing applications.
- Establish routine maintenance protocols upon project completion.
Ensuring Long-Term ADU Success
Undertaking an ADU construction represents a significant endeavor, yet one capable of delivering returns over many years. Such projects afford versatility for family needs, revenue generation, or improved marketability upon sale. Success hinges on thorough upfront planning, familiarity with regulatory requirements, accurate quoting, and meticulous expense tracking.
For limited funds, consider initiating with a compact layout and basic finishes, allowing for subsequent enhancements. Prioritize integrity in structural and safety elements to preserve investment viability. Post-construction, maintain the unit diligently by addressing minor repairs promptly and logging all service activities. A properly managed ADU secures desirable occupants and upholds insurance coverage.
With meticulous planning and selection of qualified professionals, an ADU emerges as a strategic enhancement to your property holdings, delivering expanded living areas, financial gains, and enduring appreciation on existing land.


